|
0 Comments
Variation |
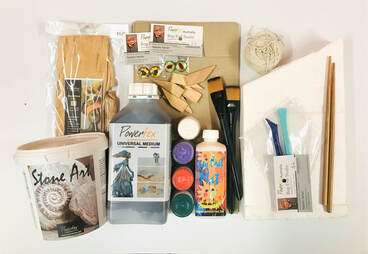
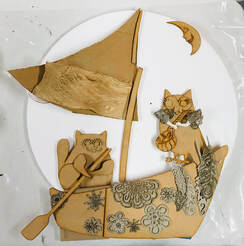
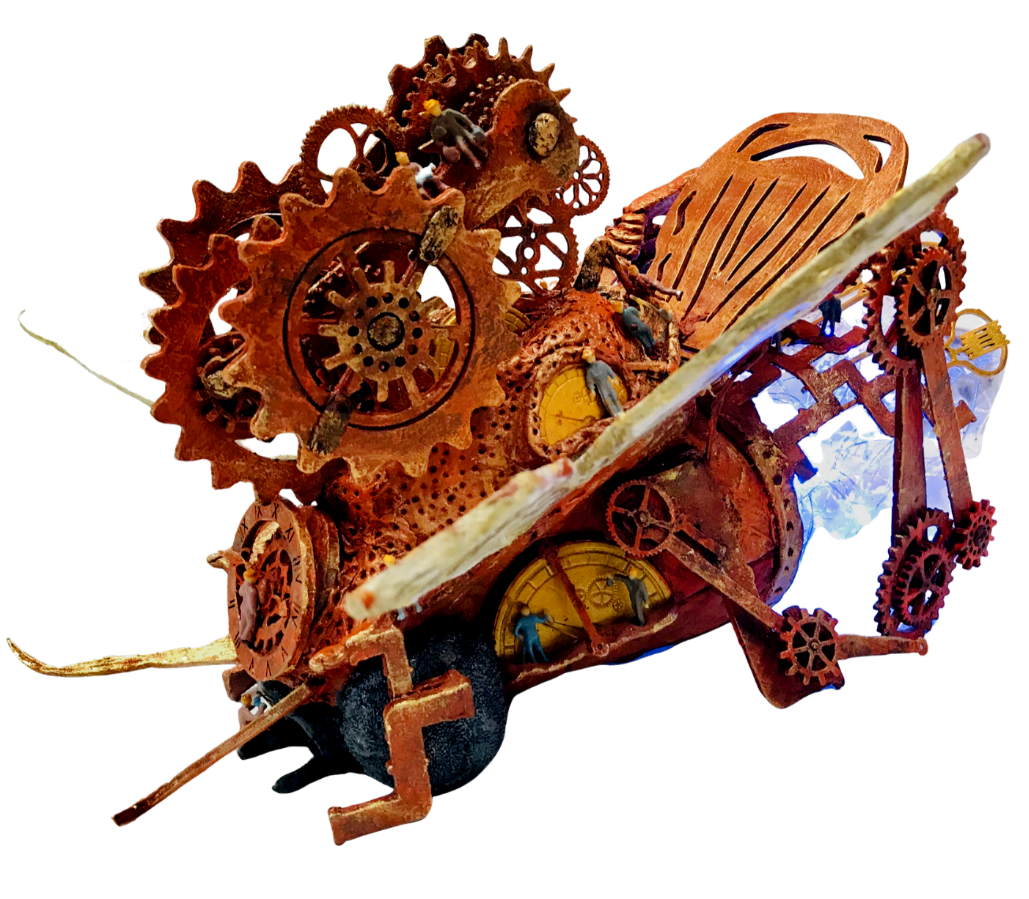
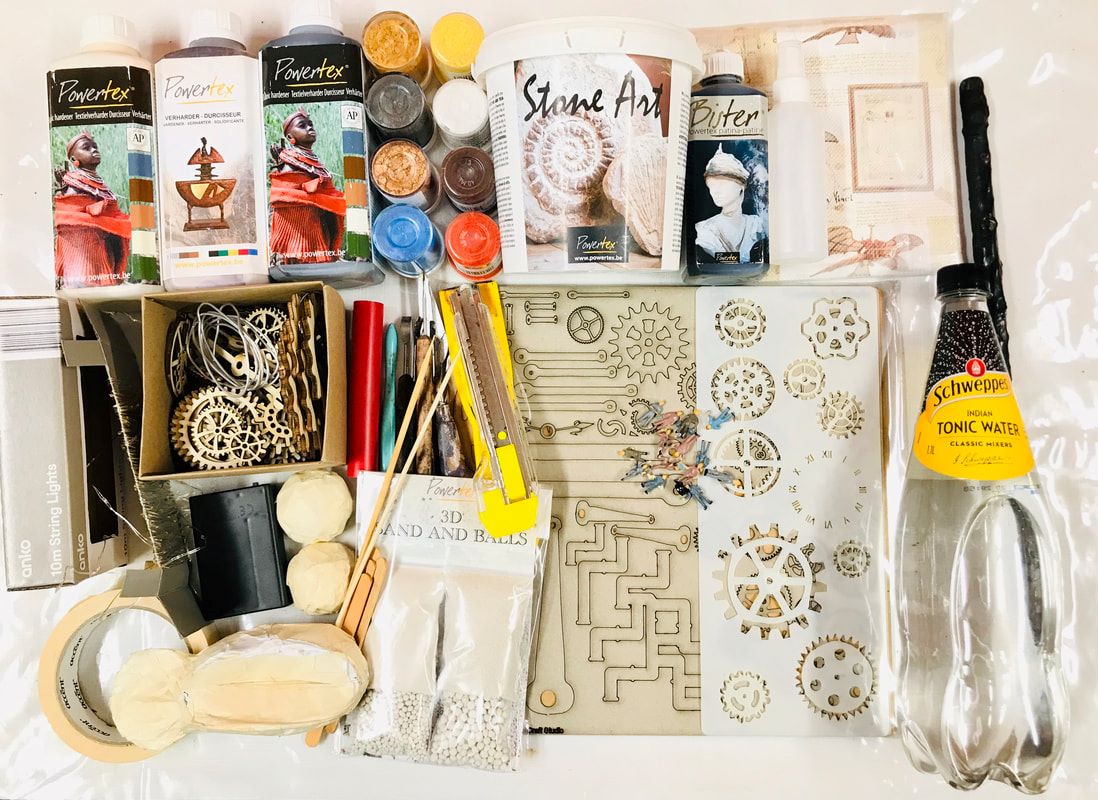
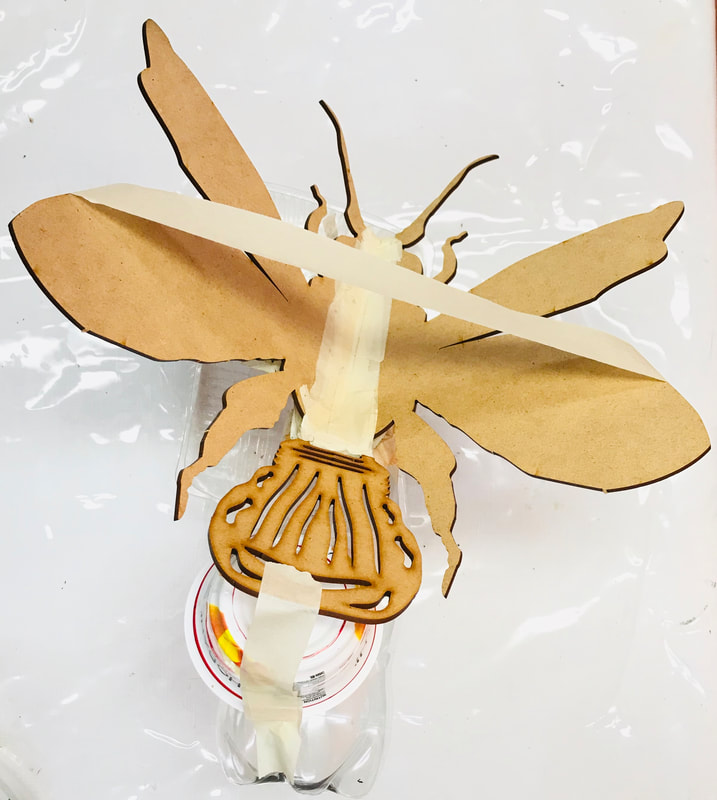
| Step 1: Design Layout
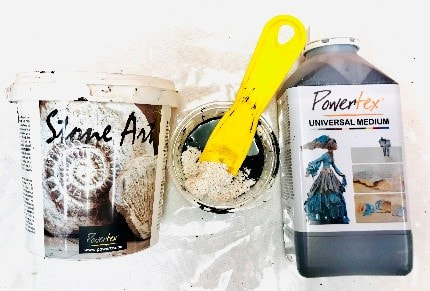
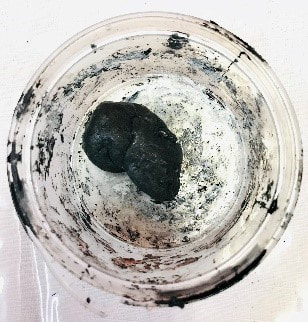
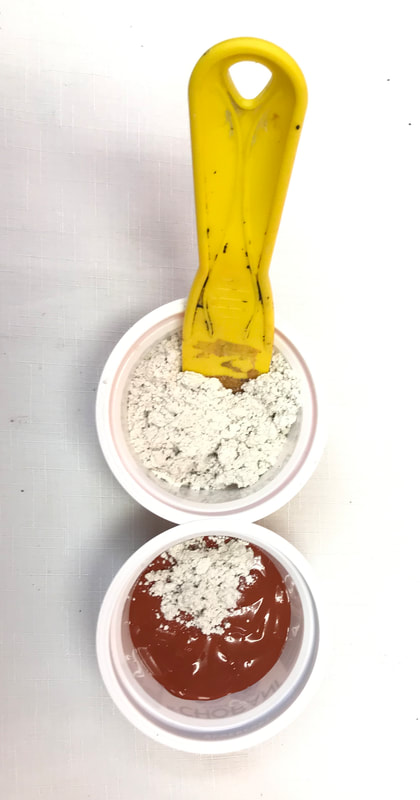
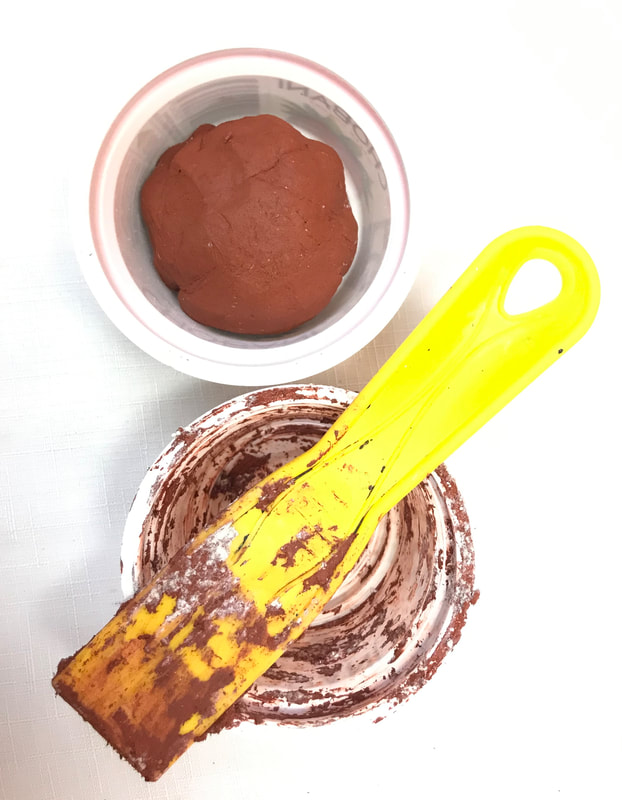
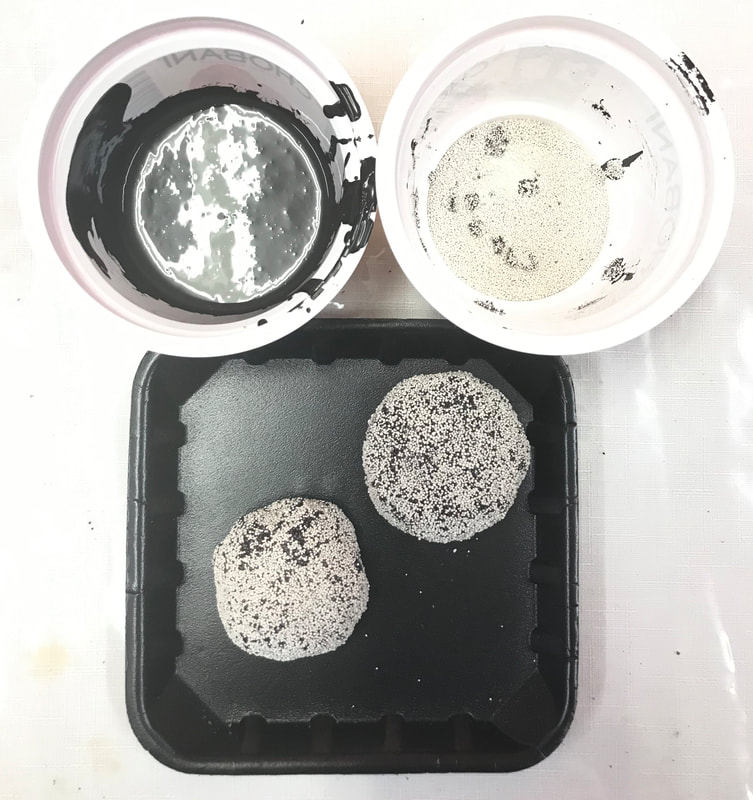
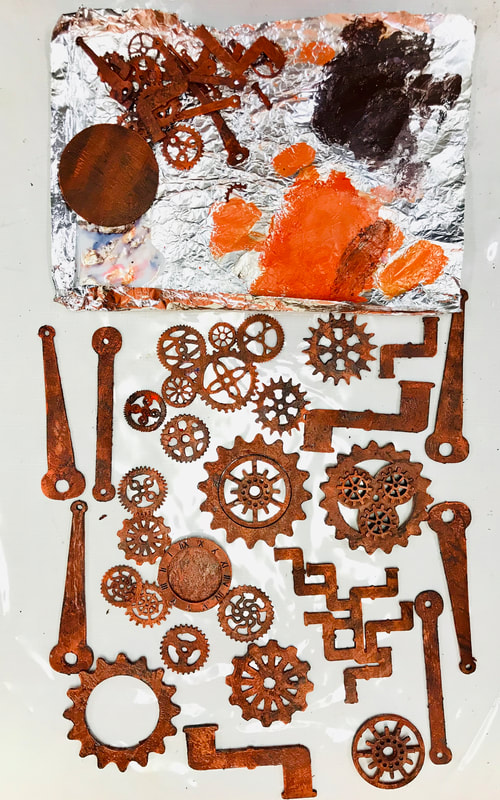
Step 2: Make Stone Art
Step 3: Making Compound Eyes
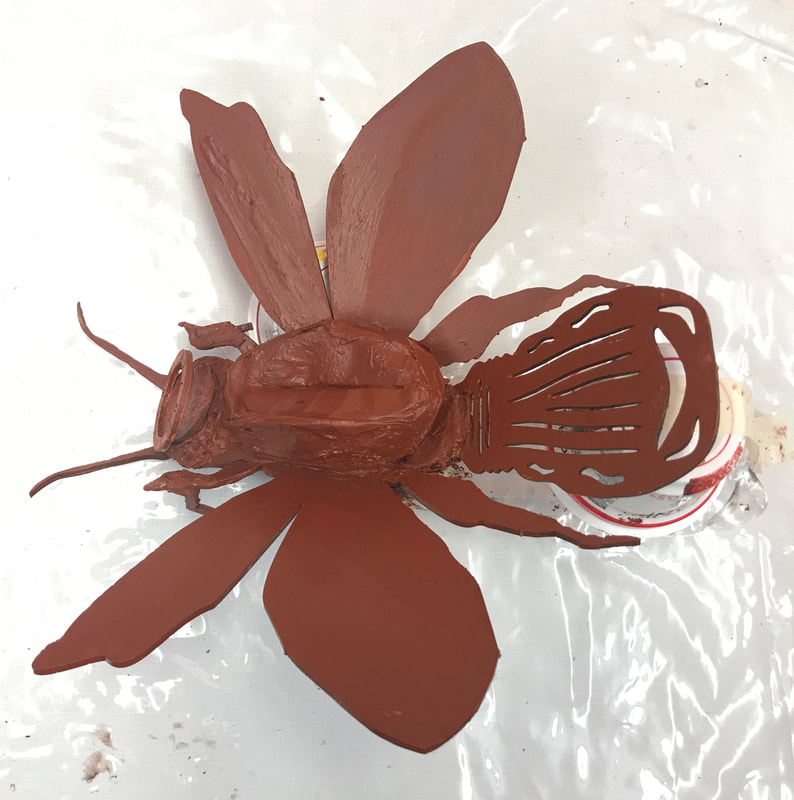
Step 4: Seal & Colour Kit Pieces
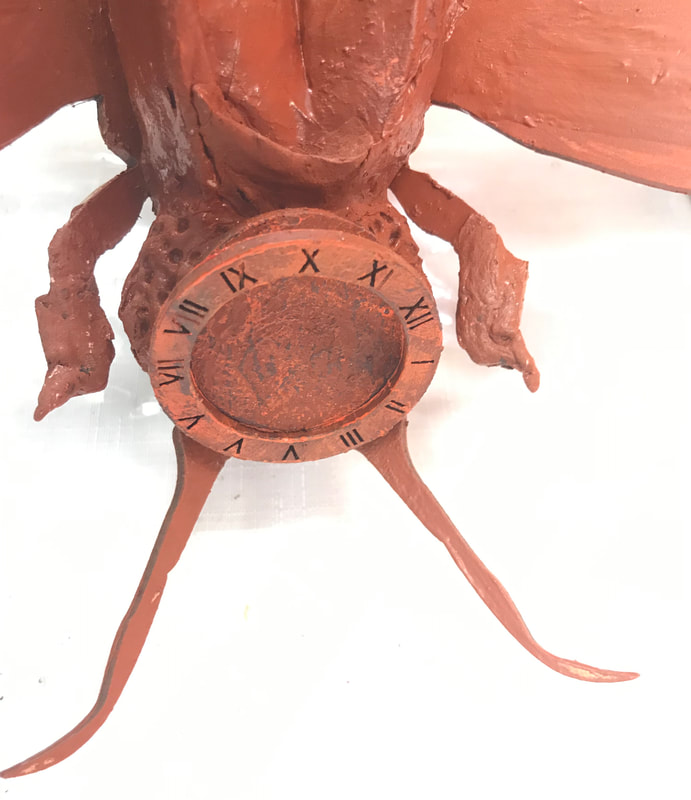
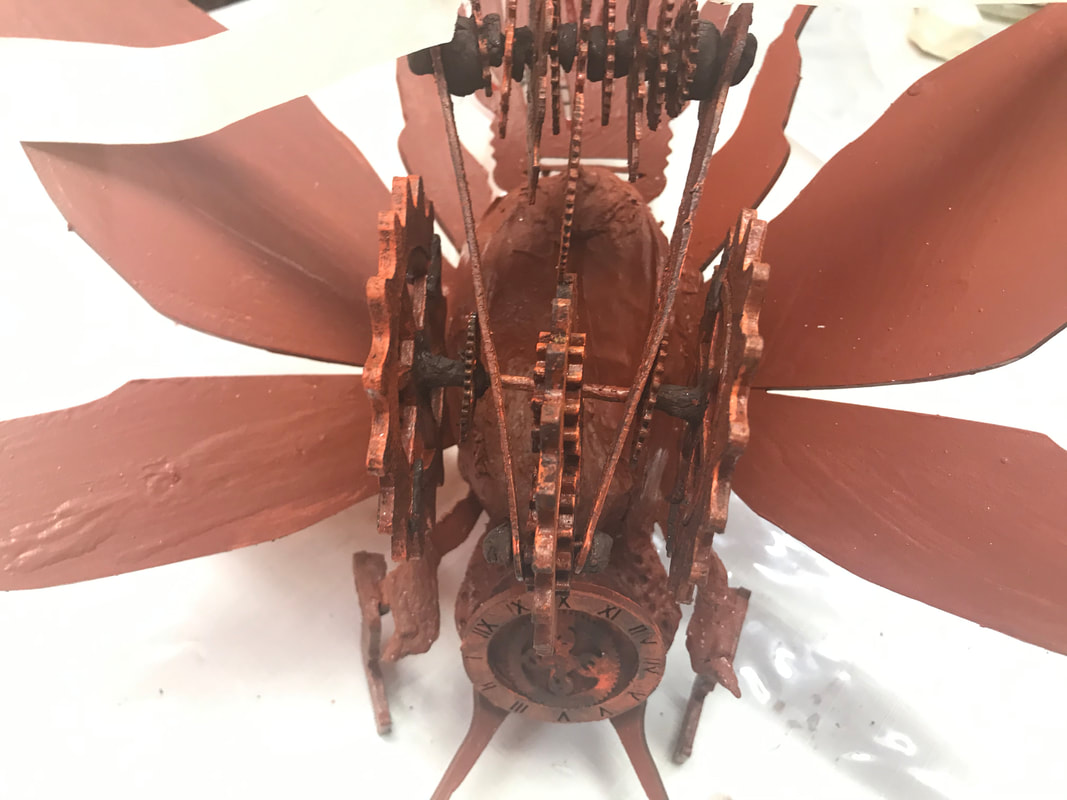
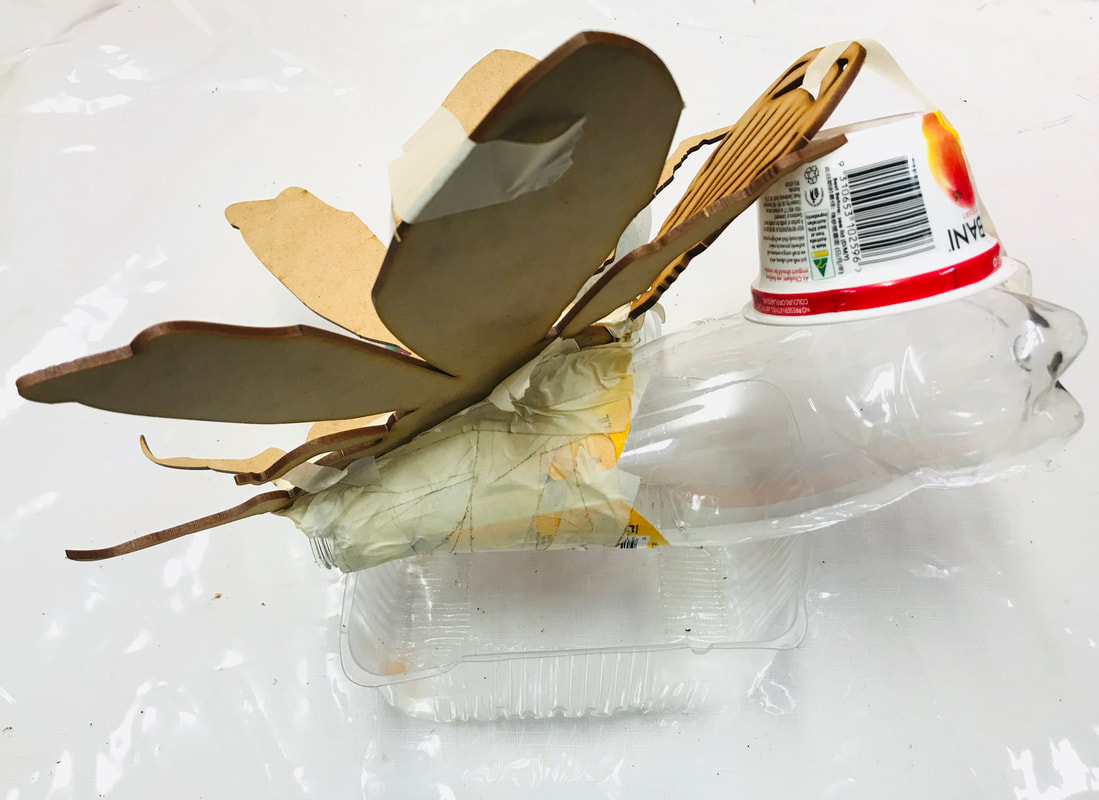
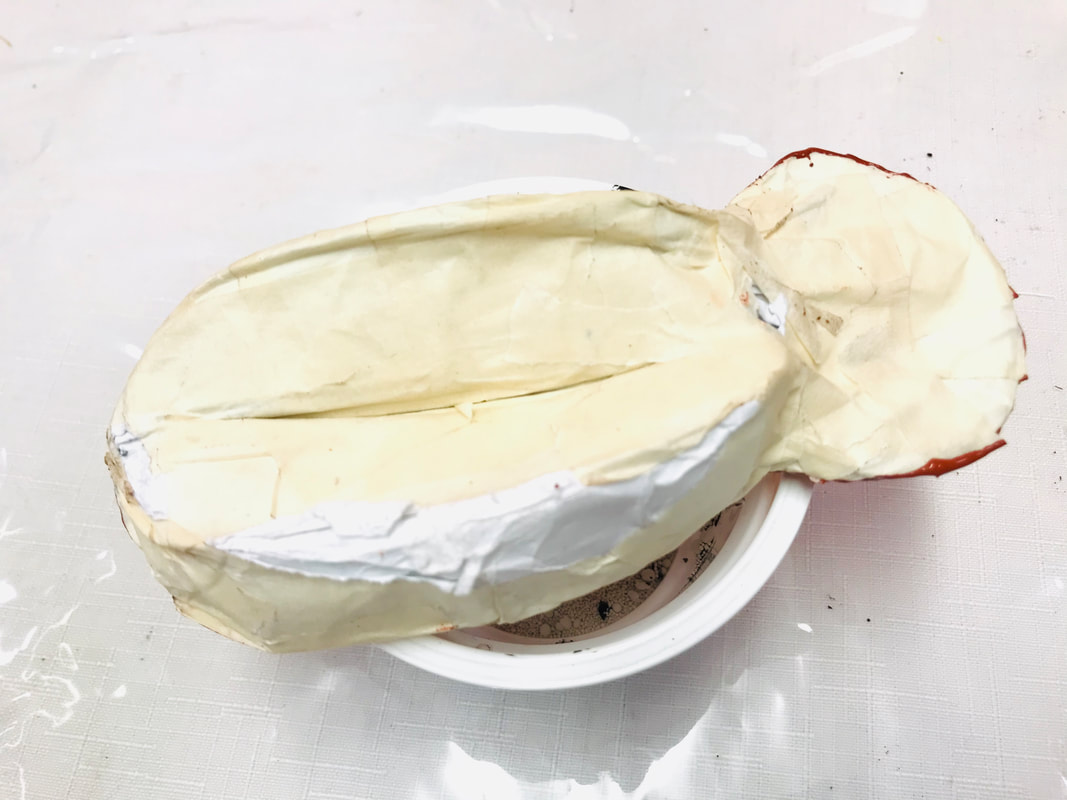
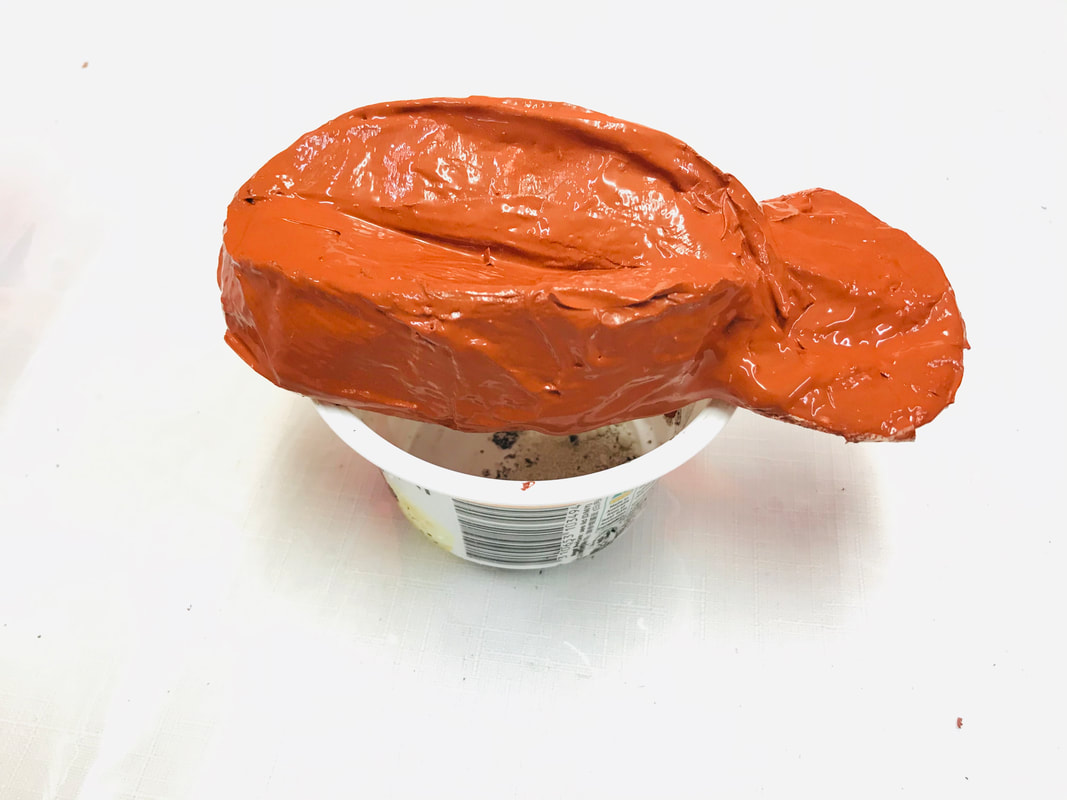
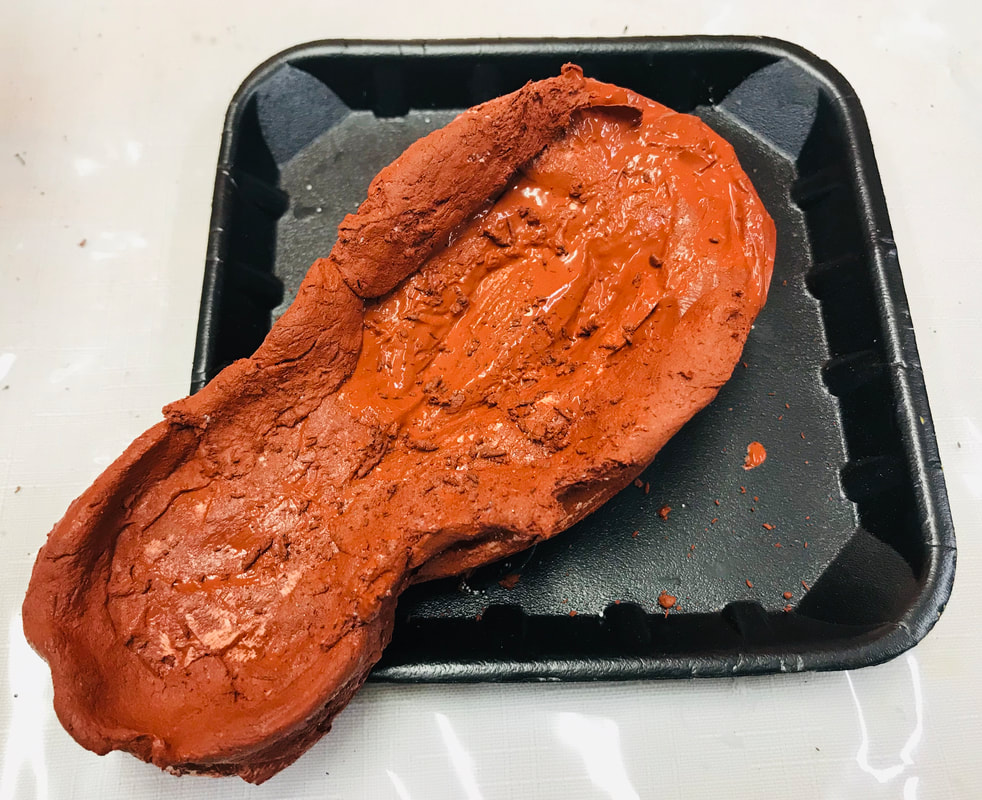
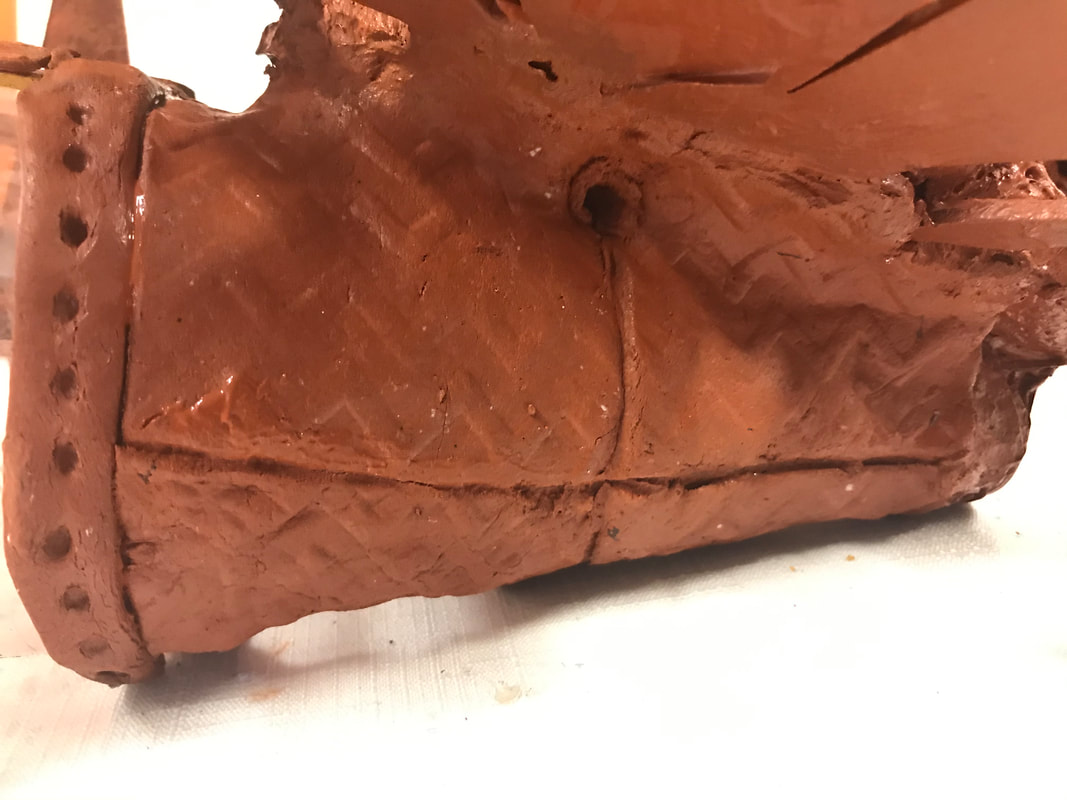
Step 5: Make Beetle Body & Head
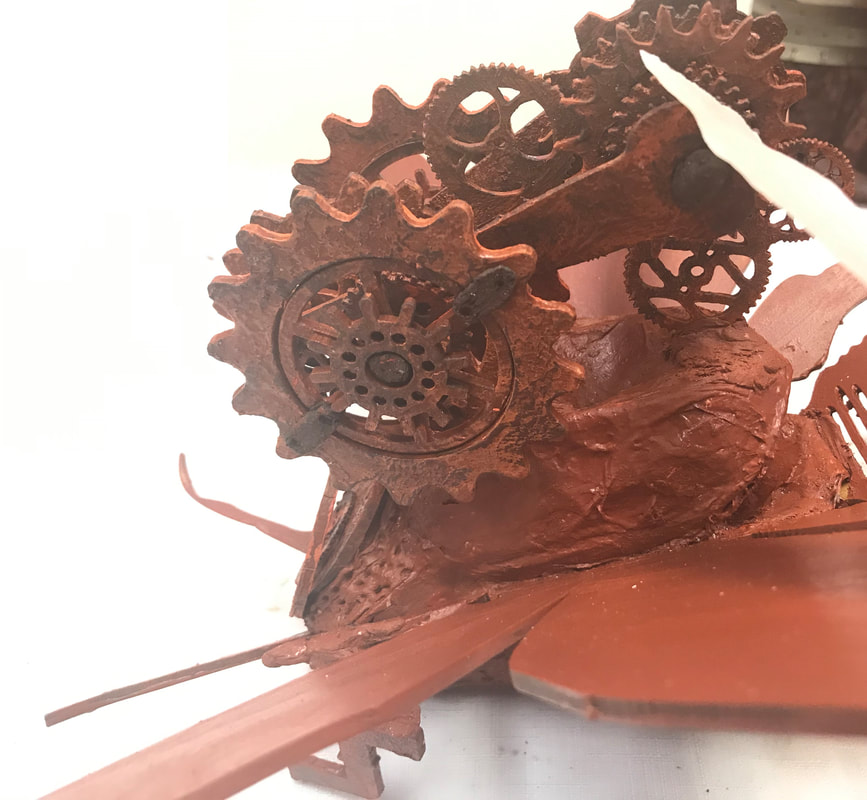
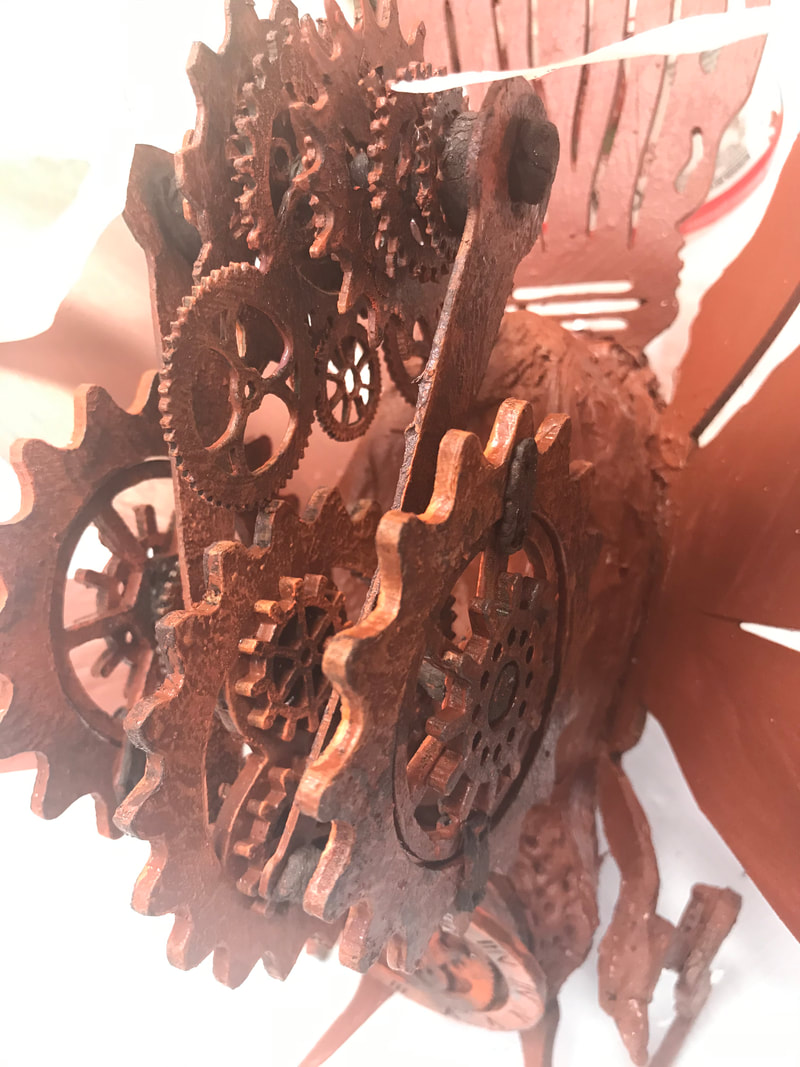
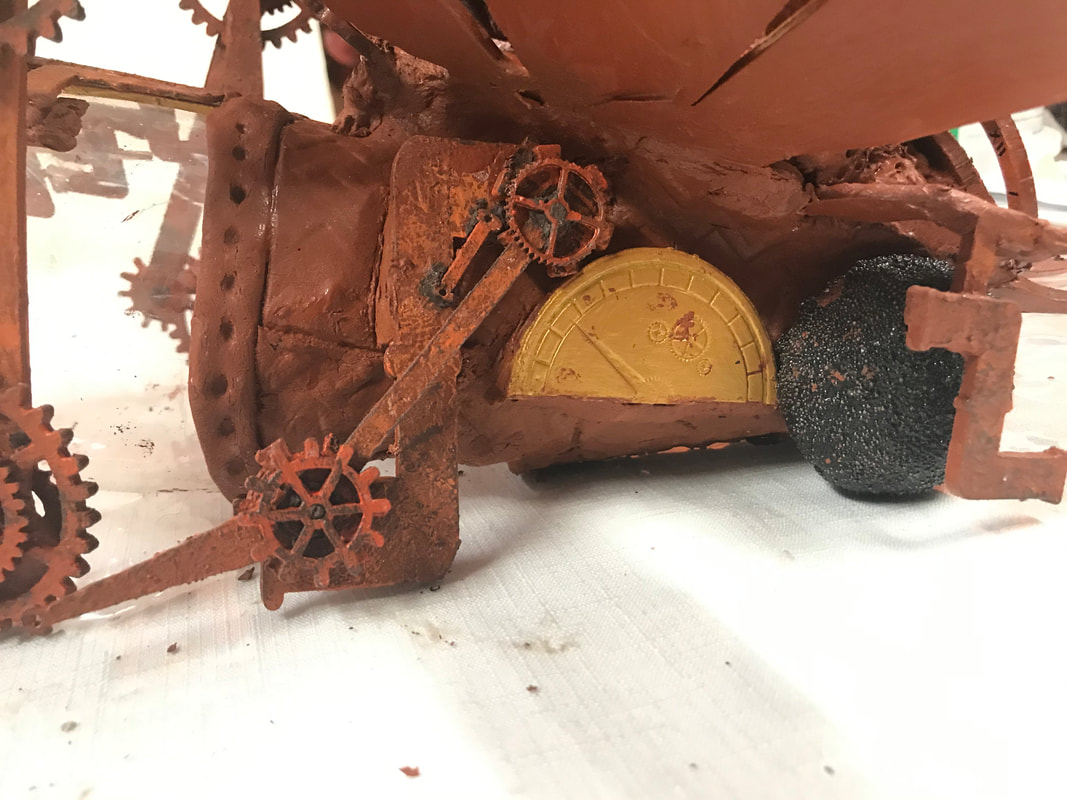
Step 6: Create Gears
Step 7: Stone Art the Bottle
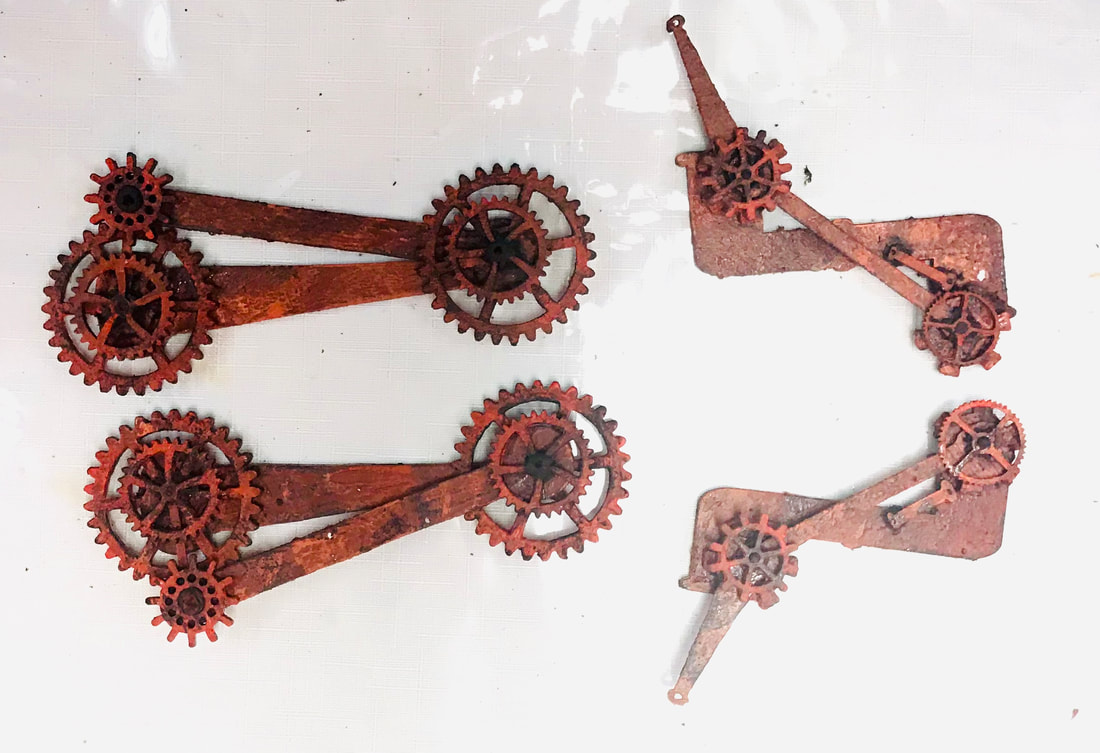
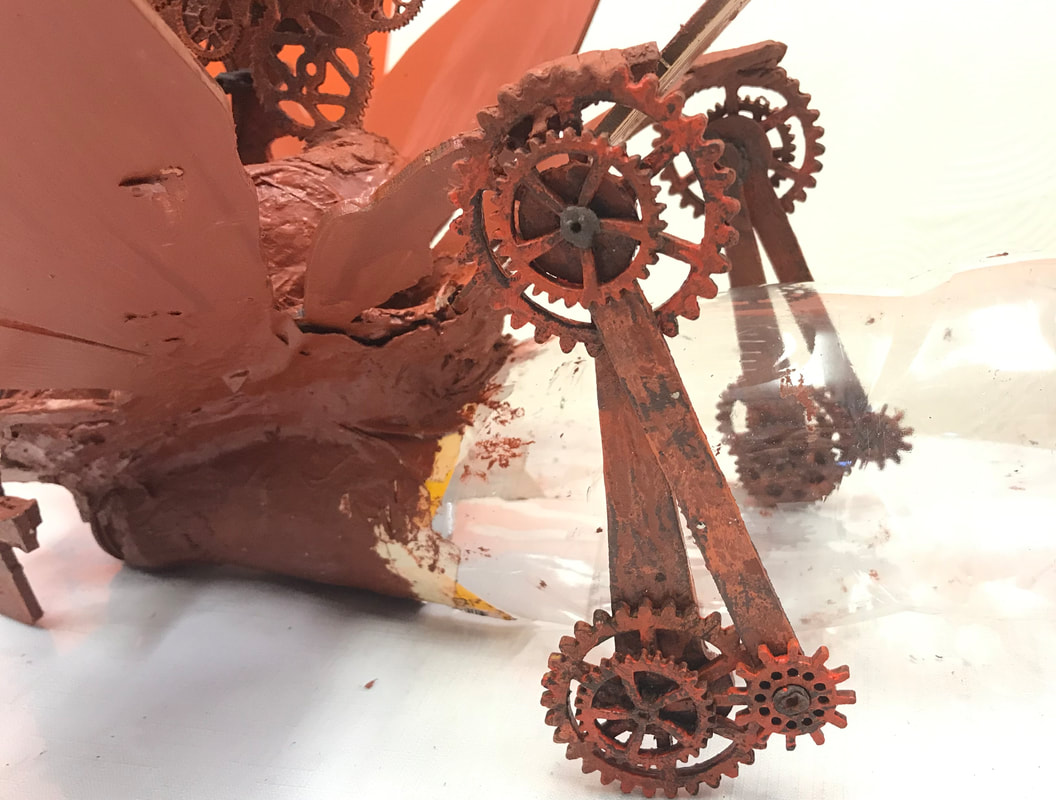
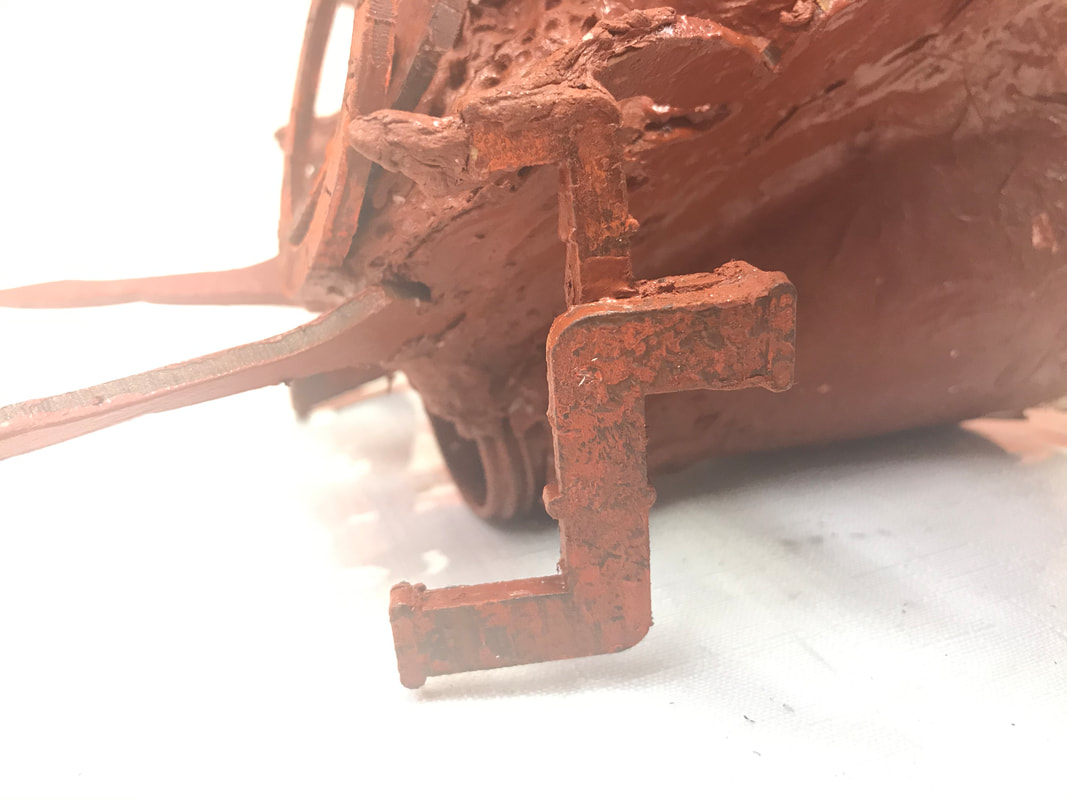
Step 8: Make Beetle Legs
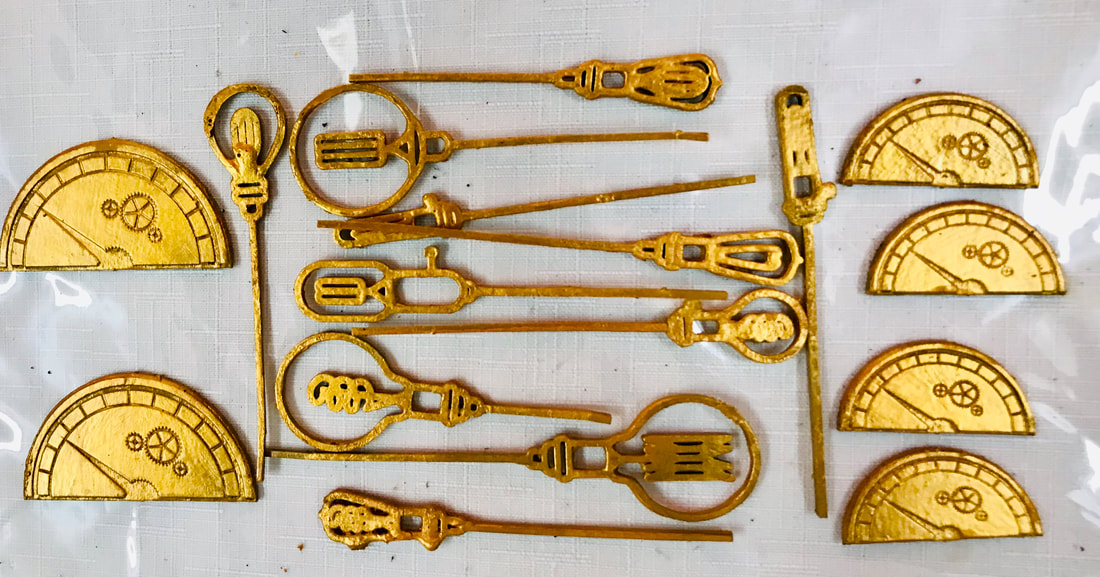
Step 9: Optional Gauges & Bulbs
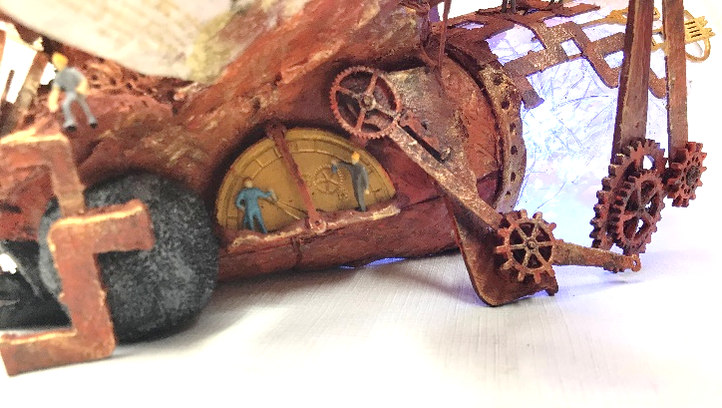
Step 10: Optional Little People
|
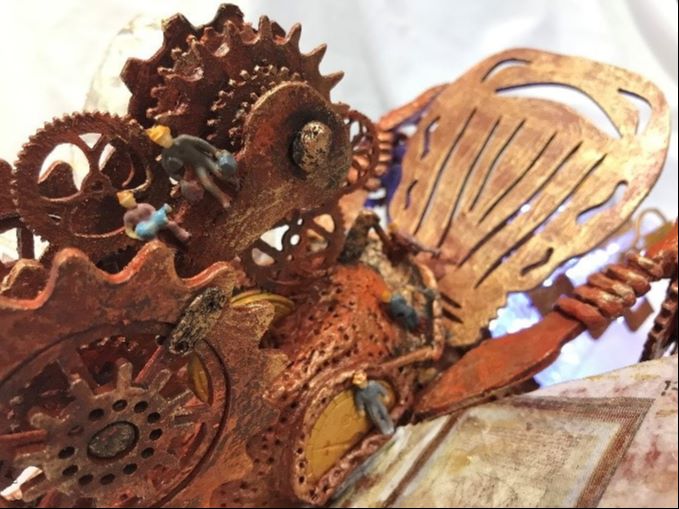
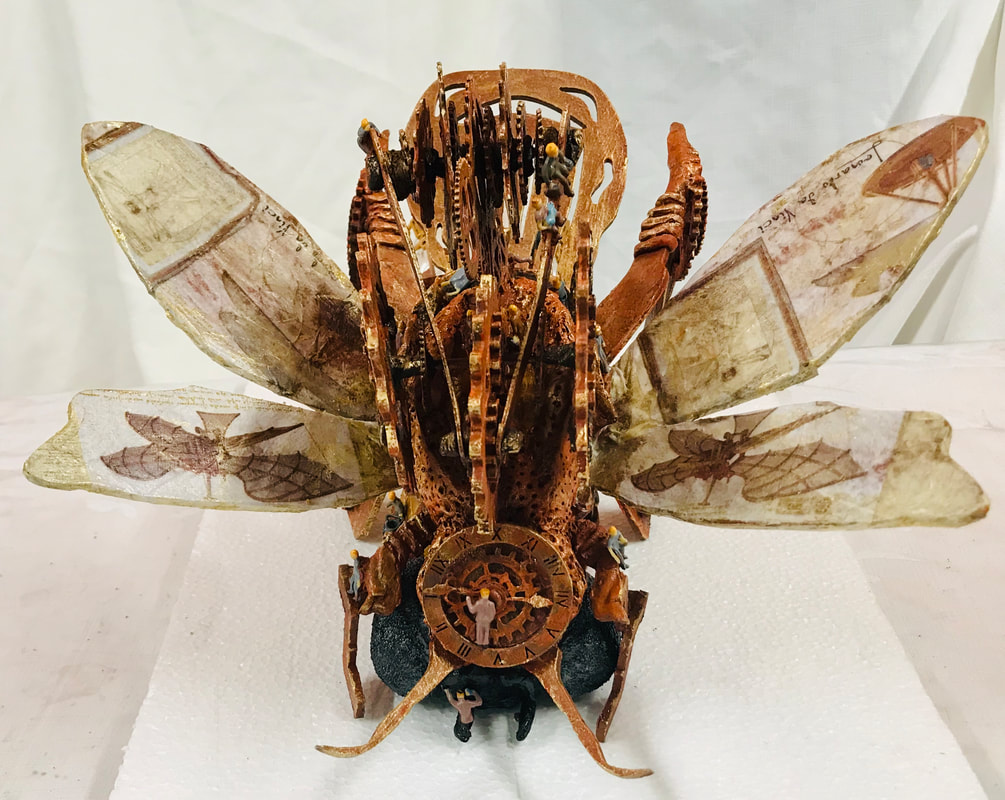
Step 11: Optional Decoupage Wings
- Cut your napkin into four pieces.
- Using easy coat glossy varnish and a paint brush, apply a thin layer onto the top of the wings and then decoupage paper onto the wings. Varnish the underside of your wing folding the napkins underneath. Carefully, seal napkins with another layer of varnish as napkins are more fragile than paper.
- I used Leonardo DaVinci napkins from Tamara’s paper napkins. https://www.etsy.com/market/tamaras_paper_napkin
- Finish off piece with a light dry brush of Colourtrix Golds (Rich, Bronze and Clear).
Step 12: Light Her Up Baby
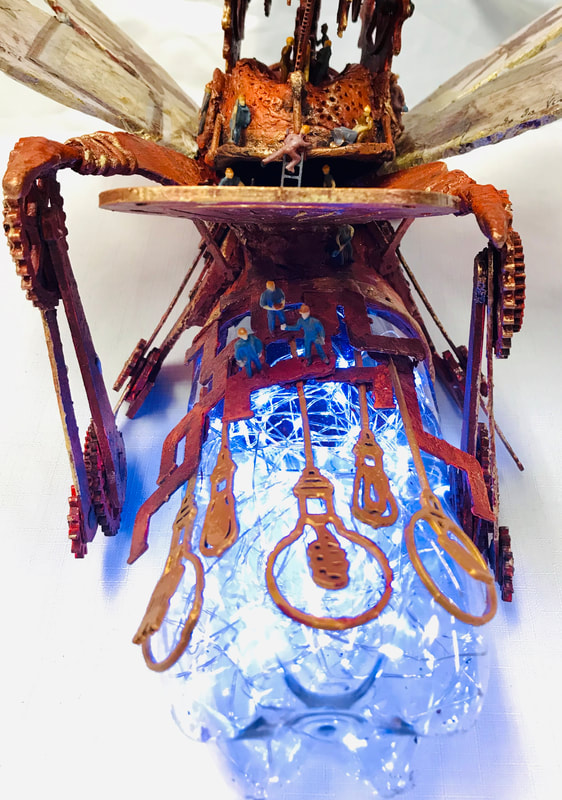
- Carefully, insert fairy lights filling the bottle bulb (firefly bottom) and turn on the attached battery pack and hide pack in the stone art covered front end of your fly. The K-Mart Lights come with a switch so I can turn it off and on without having to remove pack from the bottle until I need new batteries.
Congratulations you have finished
See you in June with some Anthropomorphic Nonsense.
Natalie Parish from Bag End Studio
See you in June with some Anthropomorphic Nonsense.
Natalie Parish from Bag End Studio
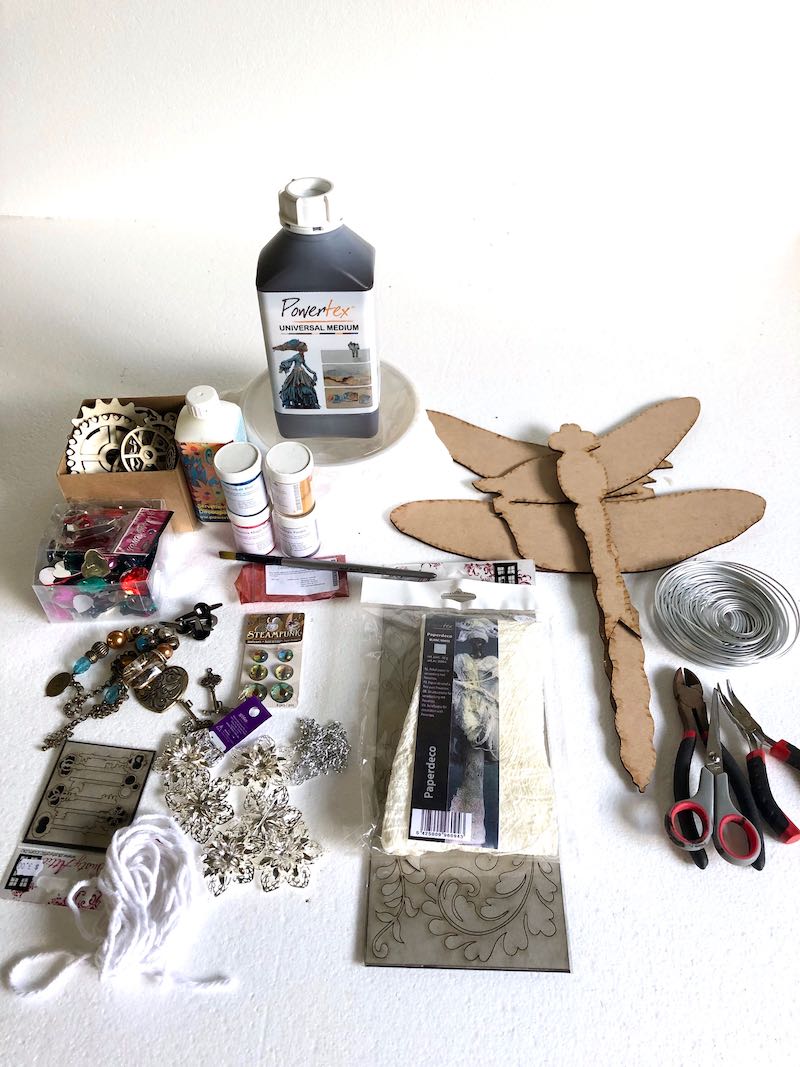
Artwork & Blogpost by Erika Venter, Mareeba, QLDThe inspiration theme for this month is Steampunk and the kit is a Dragonfly which is now available from powertex…
I was super excited to get started!
I was super excited to get started!
Step 1:
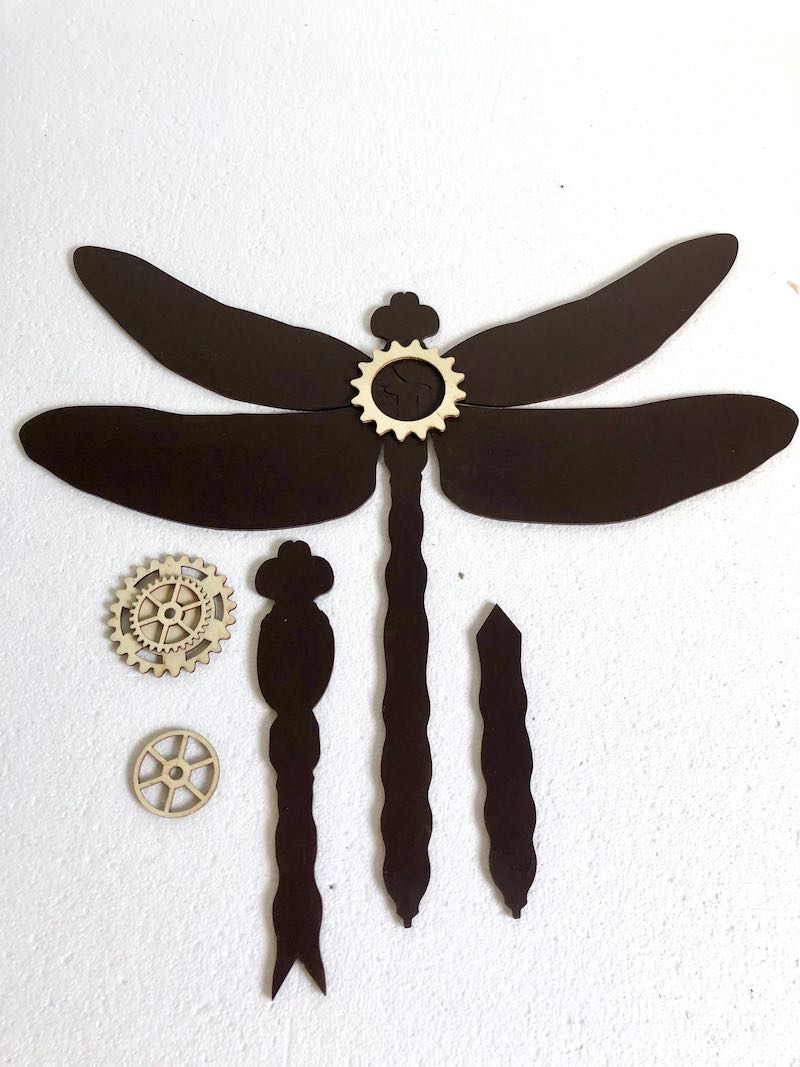
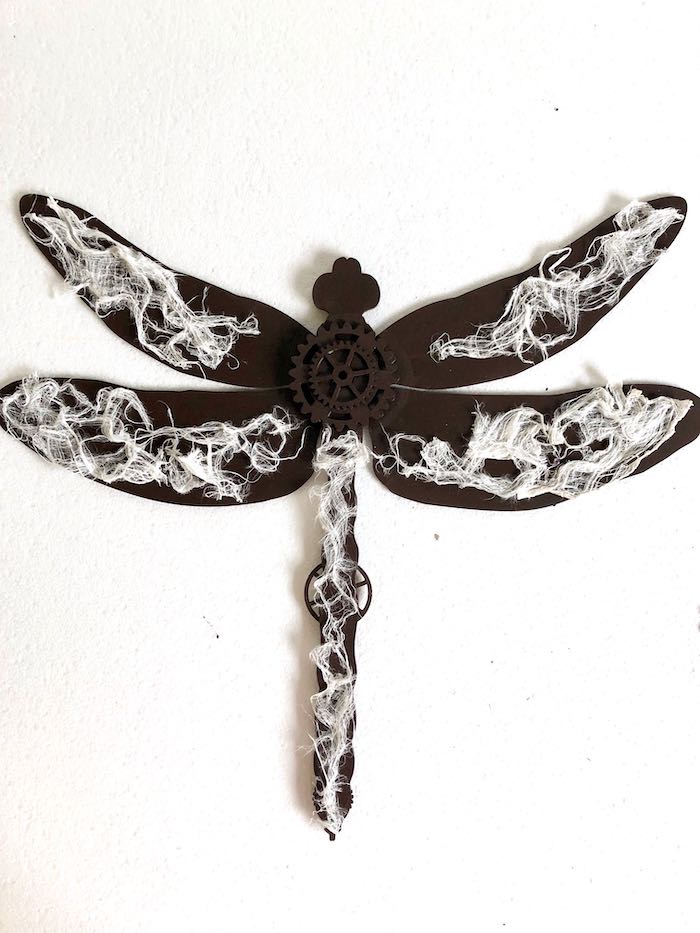
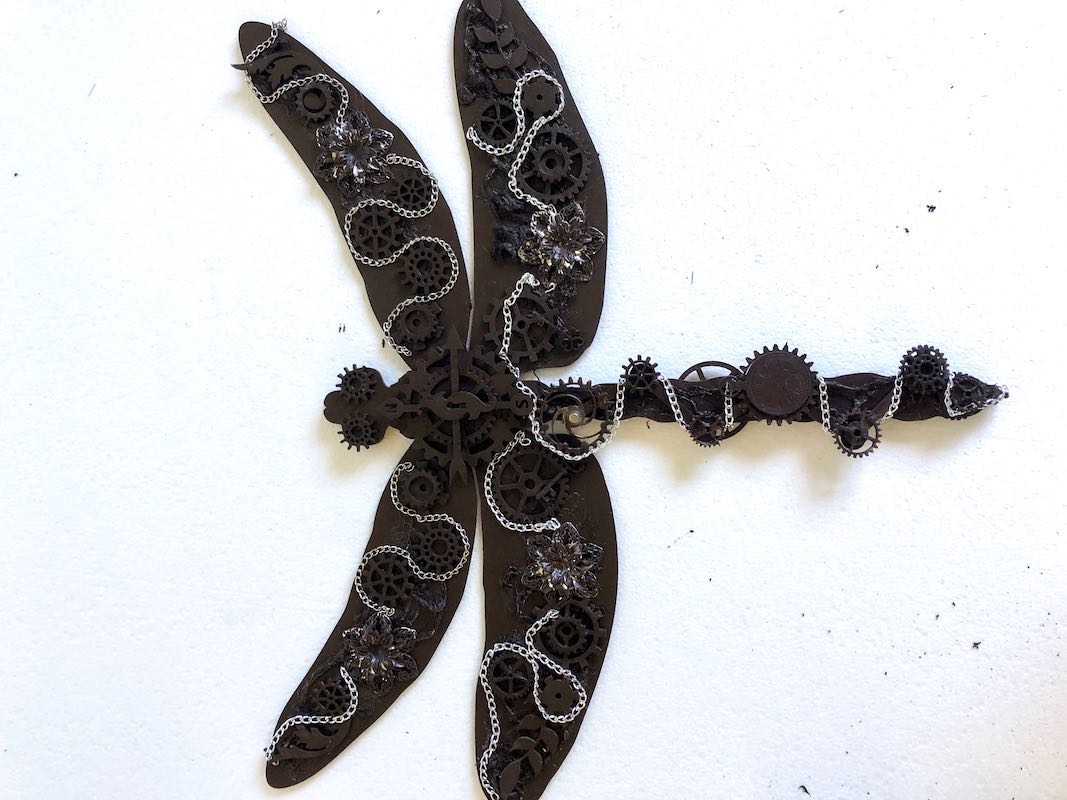
Stir & shake Powertex Bronze well before use, assemble and paint the MDF Dragonfly. Use bigger gears and stick them with Powertex onto the middle of the body to hold everyting together. To create some texture measure and fit Paper deco onto the wings and tail. Spray mist the Paper Deco with water and tease it apart – don’t make it too wet.
Stir & shake Powertex Bronze well before use, assemble and paint the MDF Dragonfly. Use bigger gears and stick them with Powertex onto the middle of the body to hold everyting together. To create some texture measure and fit Paper deco onto the wings and tail. Spray mist the Paper Deco with water and tease it apart – don’t make it too wet.
Step 2:
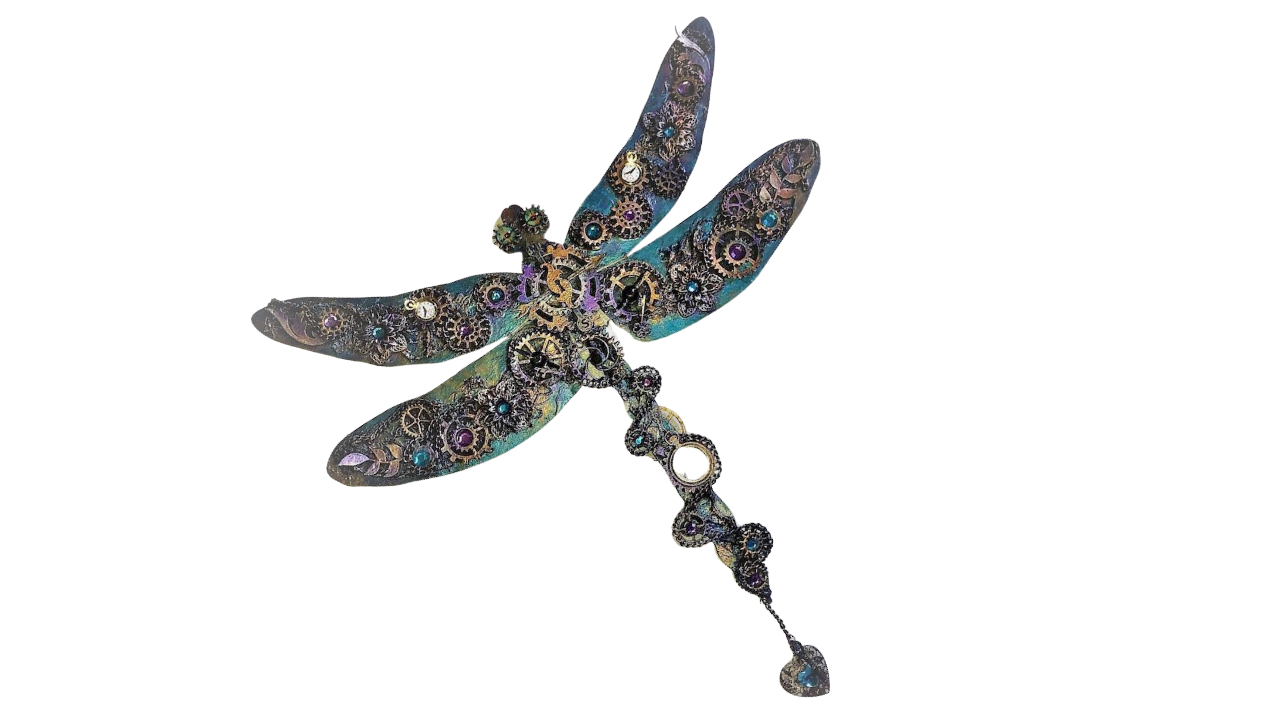
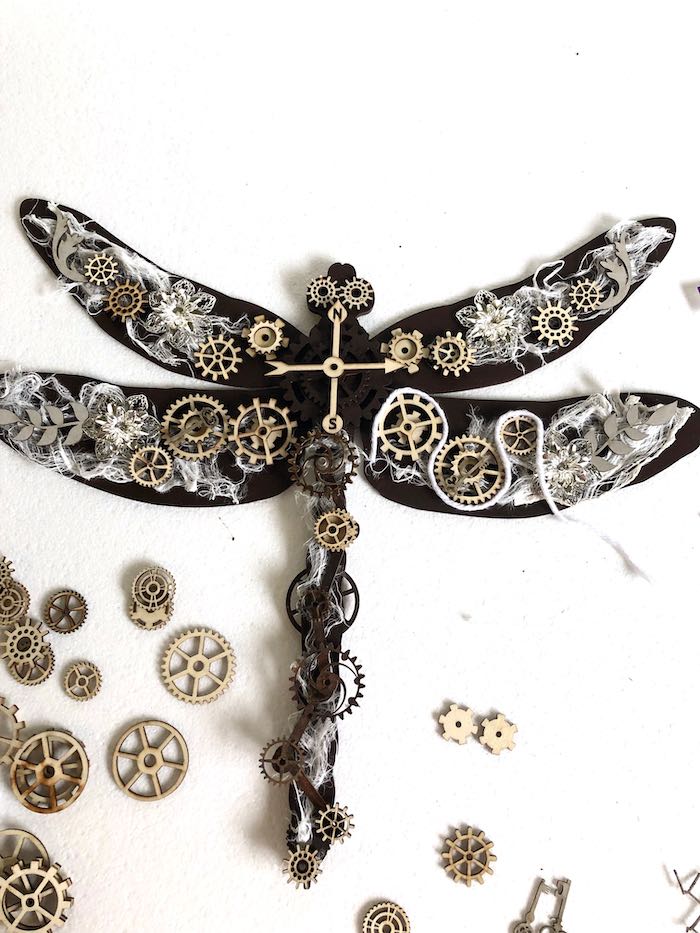
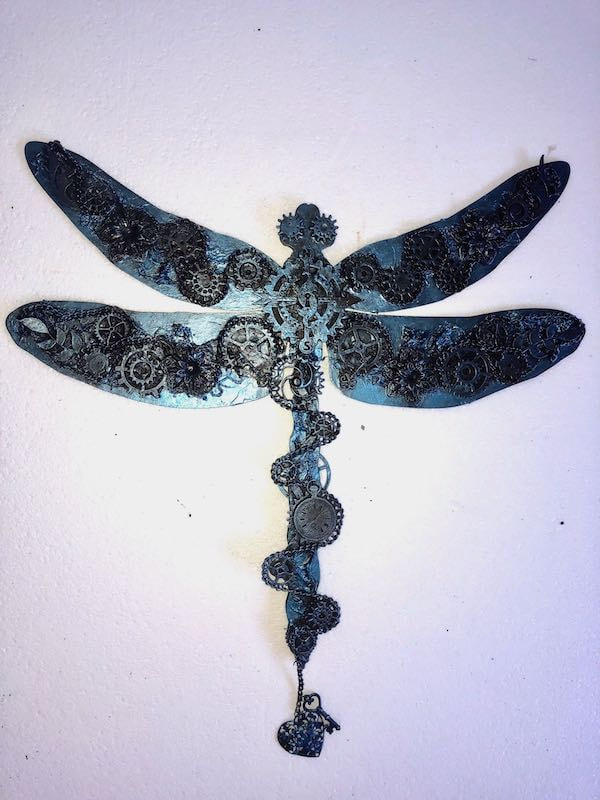
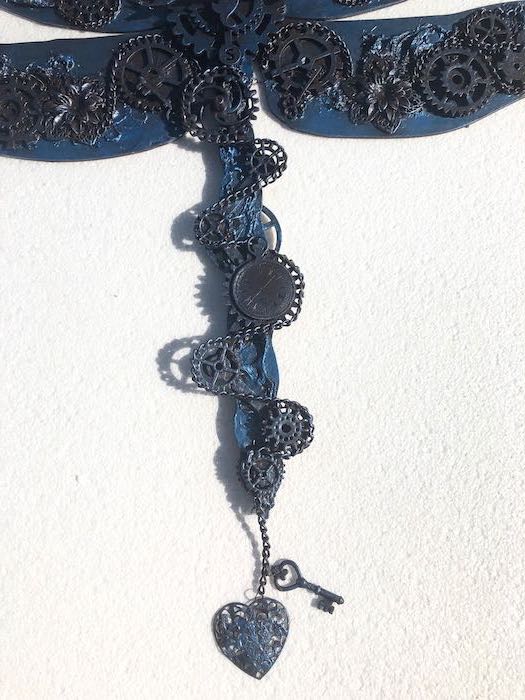
It’s now time to use your imagination and play around with all the bits and pieces. My idea for the Dragonfly was to make it look like the whole body is driven by gears, chains, a compass for direction and the clock faces represent it flying in time. I imagined how the whole component would work – lighting up with gemstones and sparkly eyes.
It’s now time to use your imagination and play around with all the bits and pieces. My idea for the Dragonfly was to make it look like the whole body is driven by gears, chains, a compass for direction and the clock faces represent it flying in time. I imagined how the whole component would work – lighting up with gemstones and sparkly eyes.
Step 3:
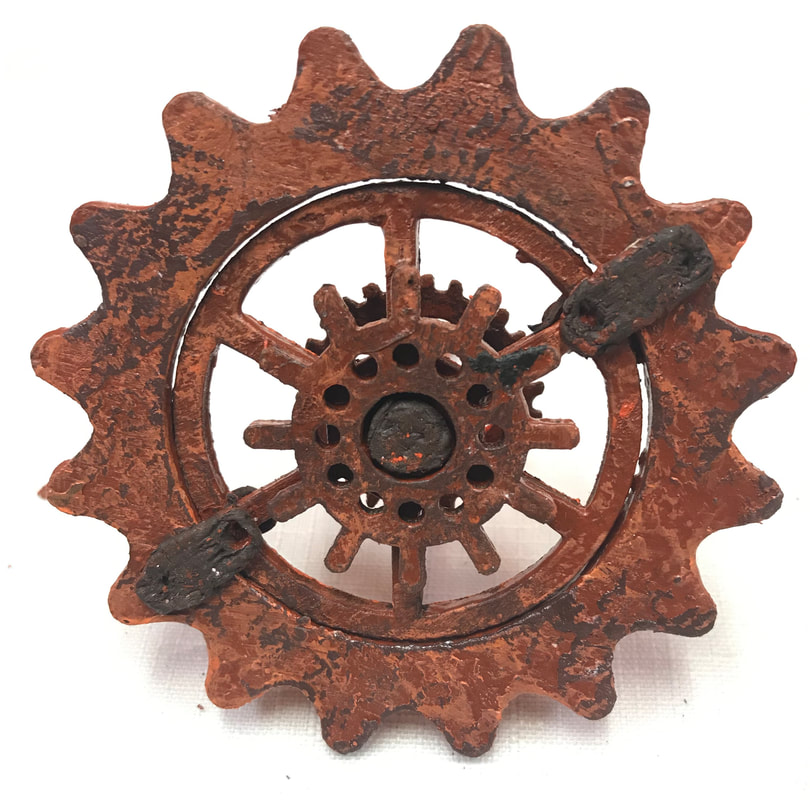
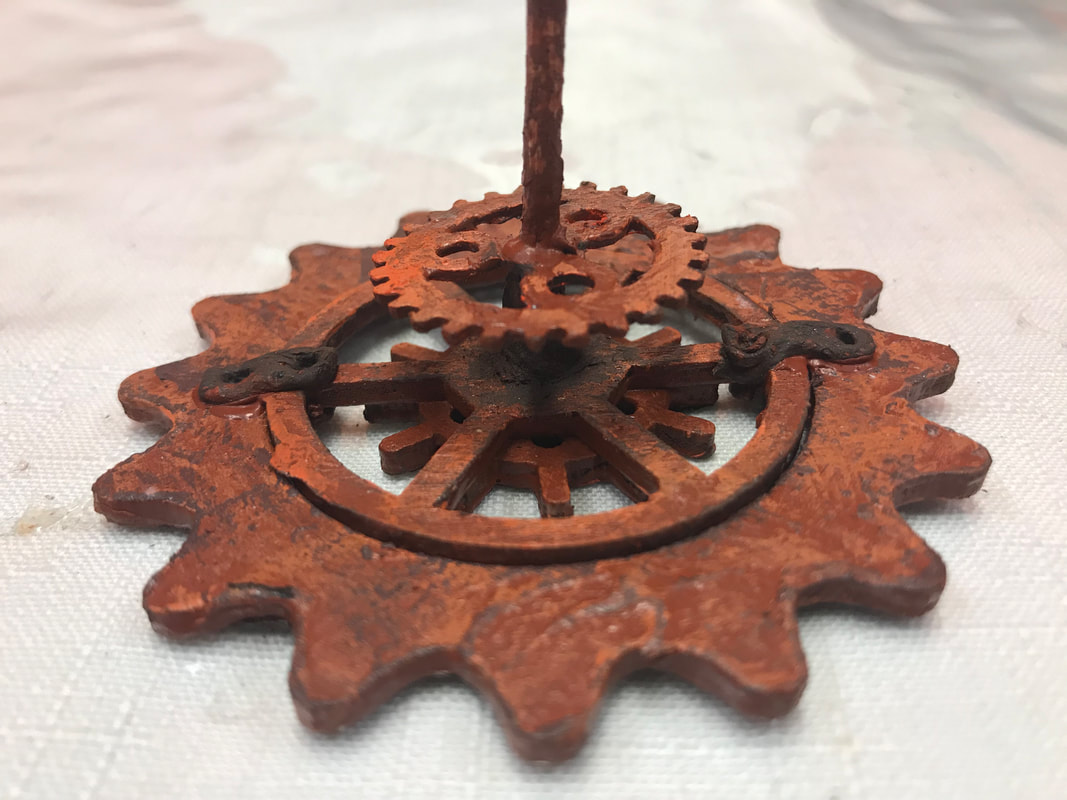
I draped the chain in between and around the gears on the wings and also on the tail. Using Powertex Bronze to secure every piece on the wings and the tail. Then left it to dry completley.
I draped the chain in between and around the gears on the wings and also on the tail. Using Powertex Bronze to secure every piece on the wings and the tail. Then left it to dry completley.
Step 4:
I enjoy the Colourtrix metallic pigments so much and it’s always really hard to decide what colour scheme to use… I love the Colourtrix Magic Blue and used that as my base colour mixed with Easycoat mat and covered the whole Dragonfly with it. I then used Colourtrix Magic Purple to highligt some areas on the wings and tail. Colourtrix Bronze Gold and Clear Gold were used for the final touches.
I enjoy the Colourtrix metallic pigments so much and it’s always really hard to decide what colour scheme to use… I love the Colourtrix Magic Blue and used that as my base colour mixed with Easycoat mat and covered the whole Dragonfly with it. I then used Colourtrix Magic Purple to highligt some areas on the wings and tail. Colourtrix Bronze Gold and Clear Gold were used for the final touches.
Step 5:
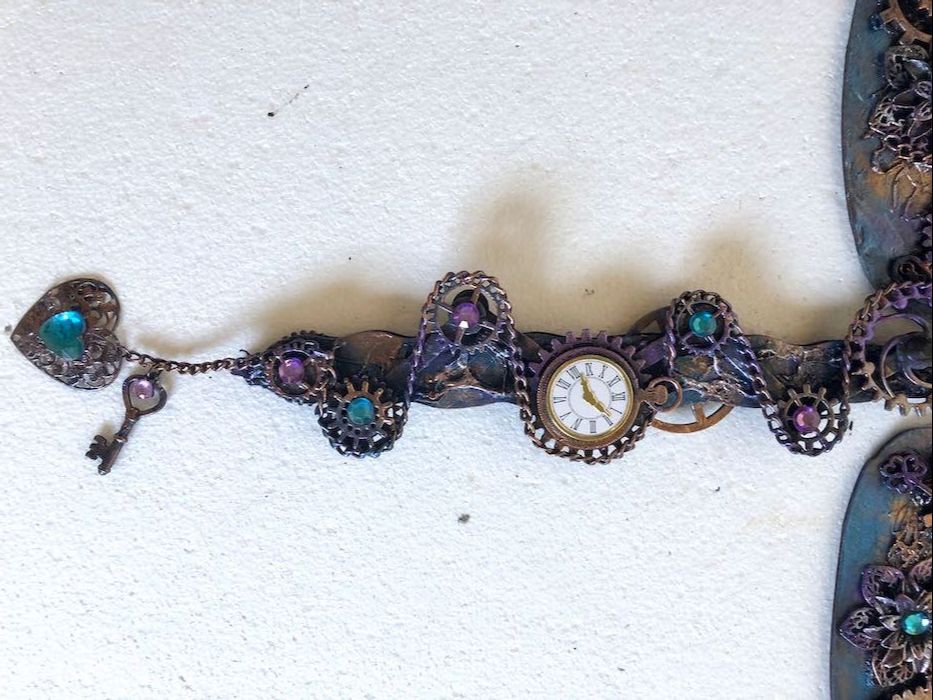
Use Easycoat mat to glue the gemstones, eyes and clocks onto the wings and tail. Your Steampunk Dragonfly is now ready to hang it up where everybody will admire it.
Use Easycoat mat to glue the gemstones, eyes and clocks onto the wings and tail. Your Steampunk Dragonfly is now ready to hang it up where everybody will admire it.
This was so much fun and I love my end result!
This Steampunk Dragonfly project will allow you to make use of a variety of techniques using Powertex, Paper deco, Colourtrix and Easycoat Mat.
Join me on my creative journey with Powertex
Enjoy the ride
Erika
This Steampunk Dragonfly project will allow you to make use of a variety of techniques using Powertex, Paper deco, Colourtrix and Easycoat Mat.
Join me on my creative journey with Powertex
Enjoy the ride
Erika
Author
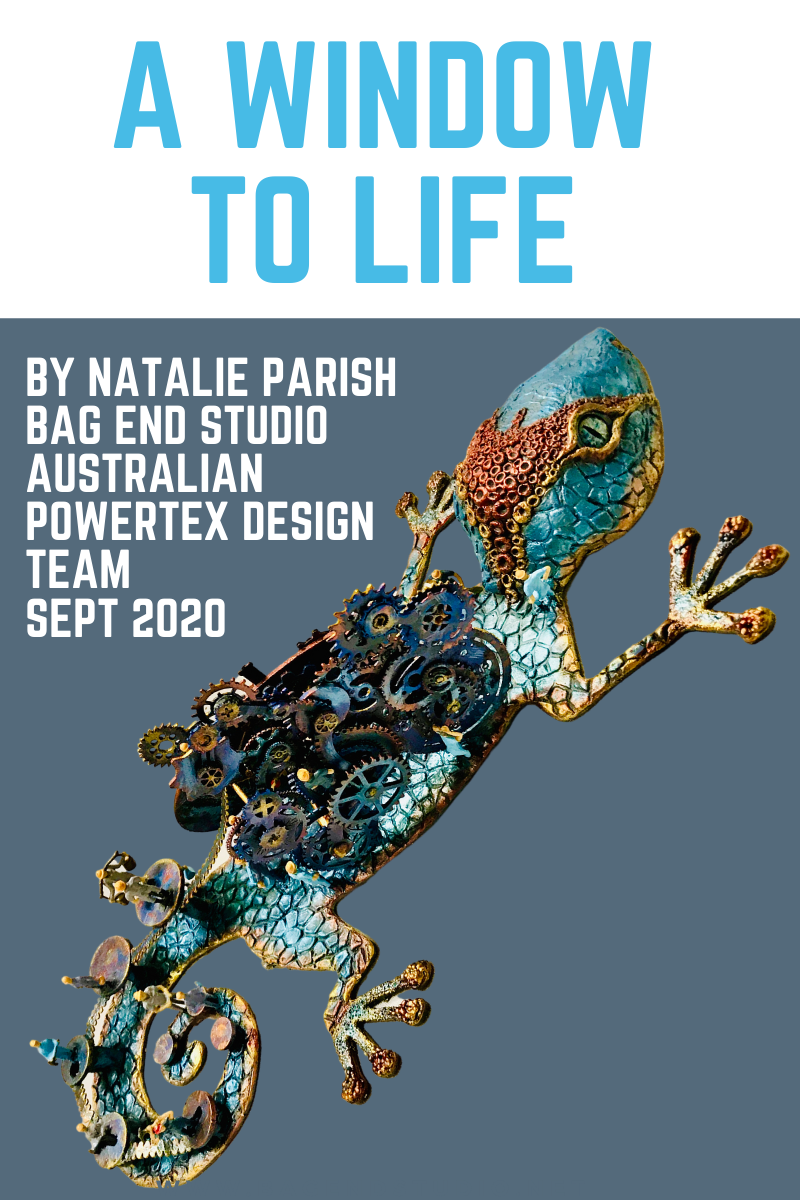
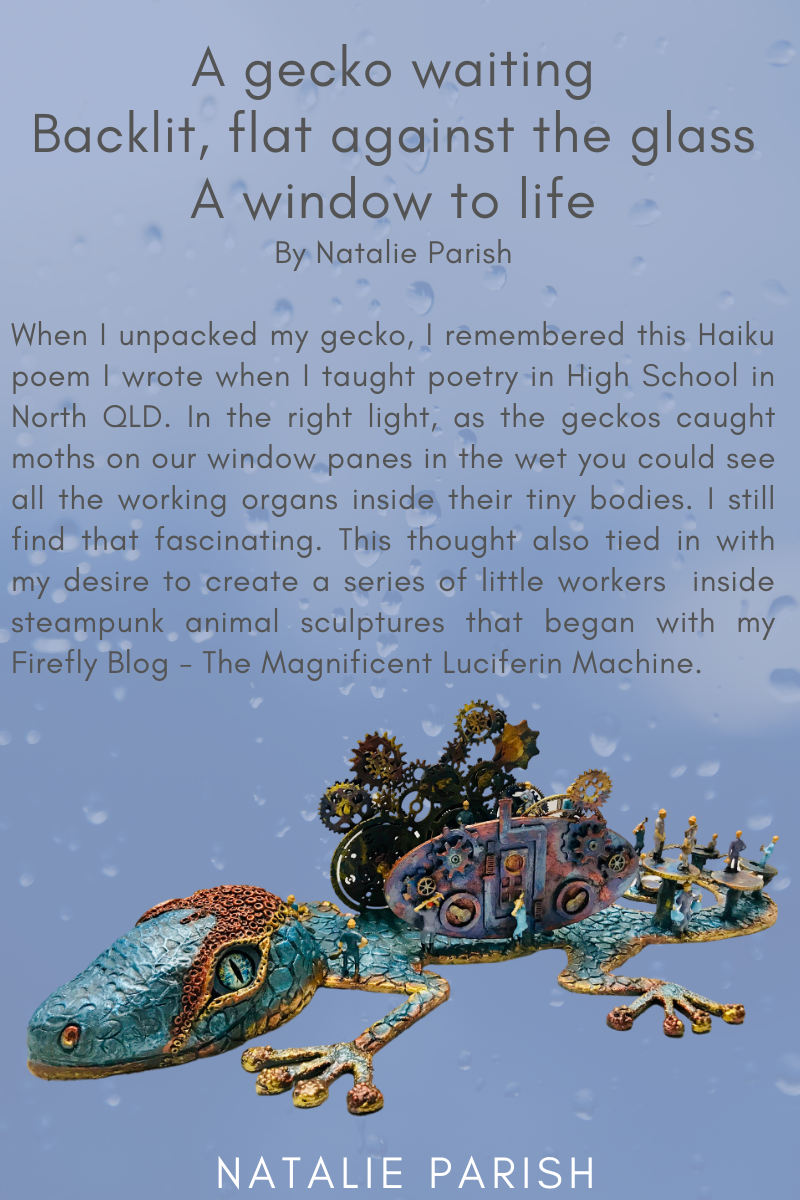
Natalie Parish creates eclectic pieces of art. She is the Distributor and Design Team Trainer for Powertex in QLD Australia and enjoys sharing her passion for the product
Archives
September 2021
June 2021
December 2020
October 2020
September 2020
June 2020
May 2020
April 2020
March 2020
February 2020
December 2019
November 2019
July 2019
May 2019
April 2019
March 2019









 RSS Feed