|
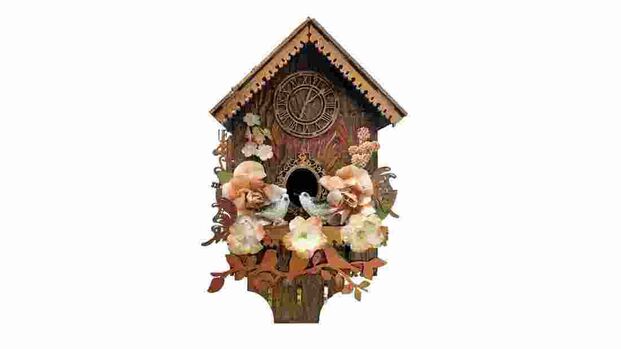
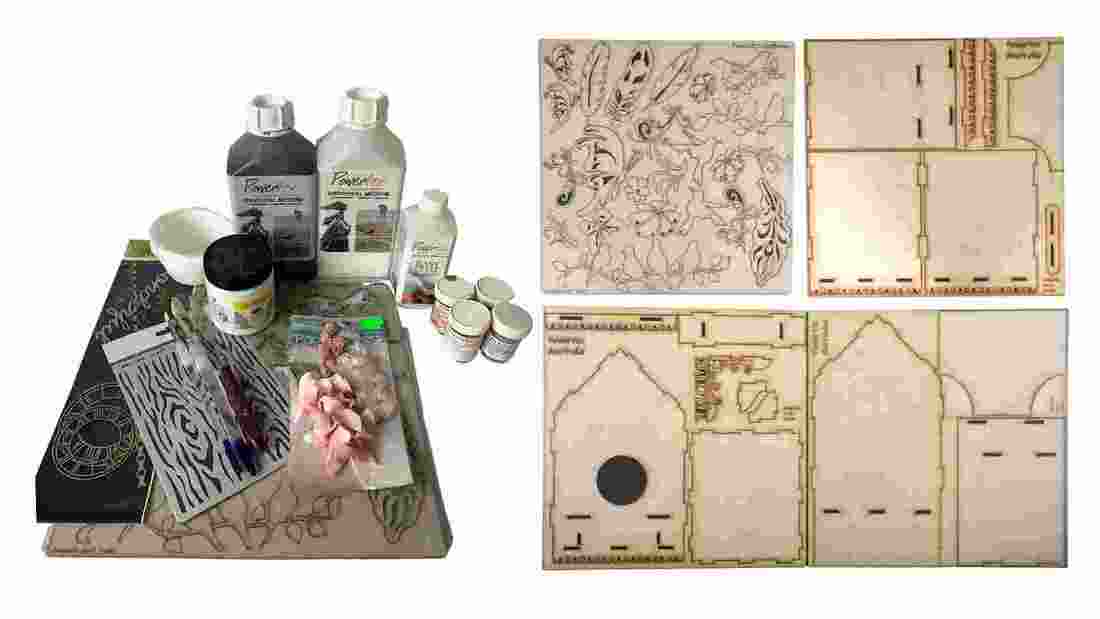
The theme for September is Spring Birdhouse and this amazing kit is now available from Powertex Australia. I was very excited to start this project. I knew exactly what I had in mind for this little birdhouse long before I started with it. There are all sorts of interesting chippie shapes that you can use in this kit. But before I get too carried away let me tell you how I created this Spring Birdhouse. Materials:
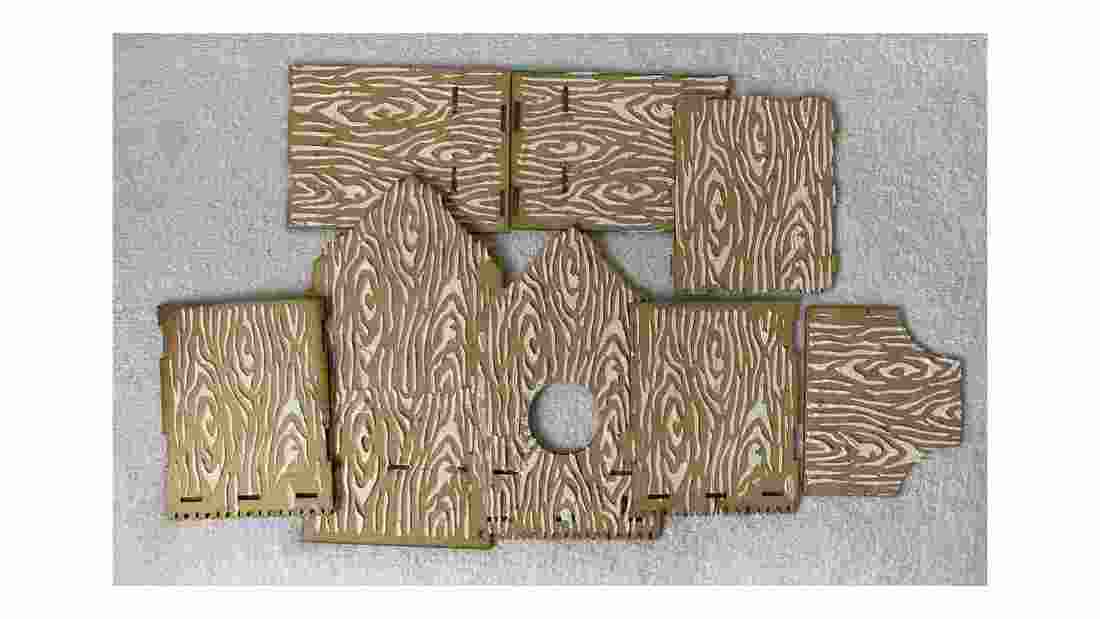
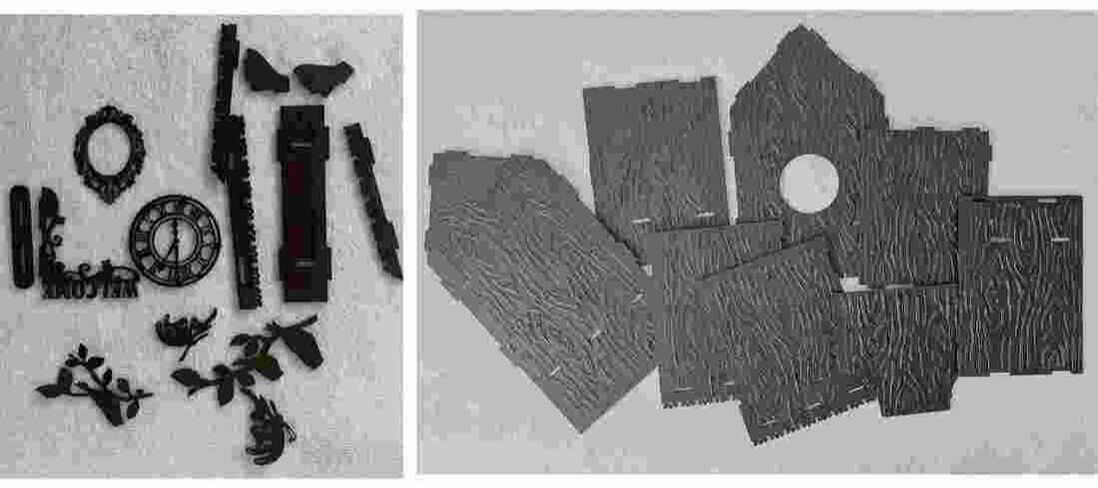
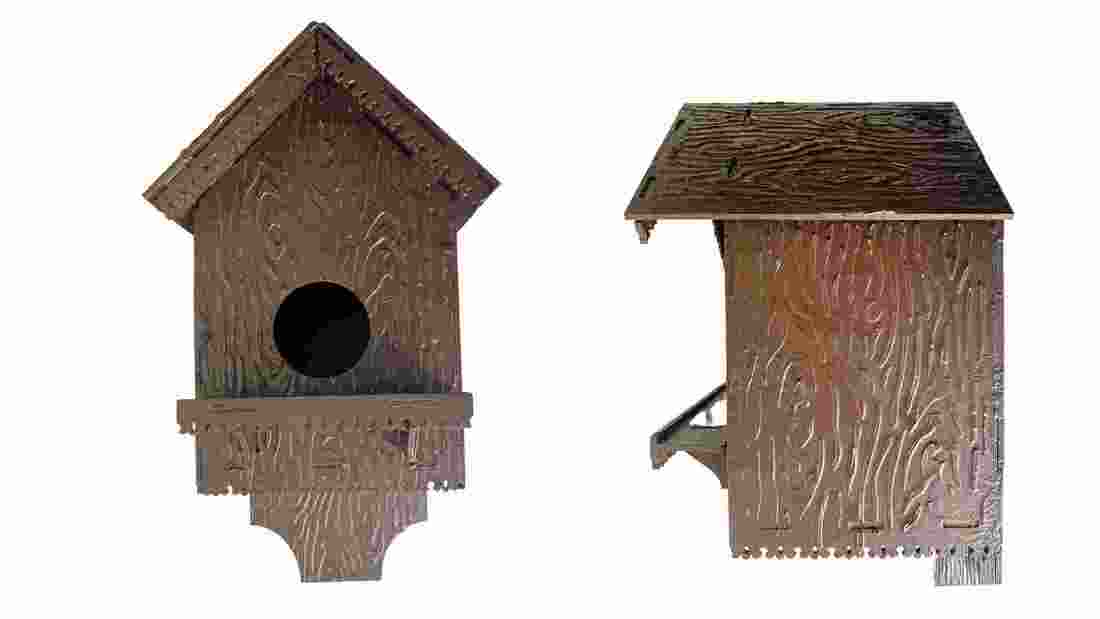
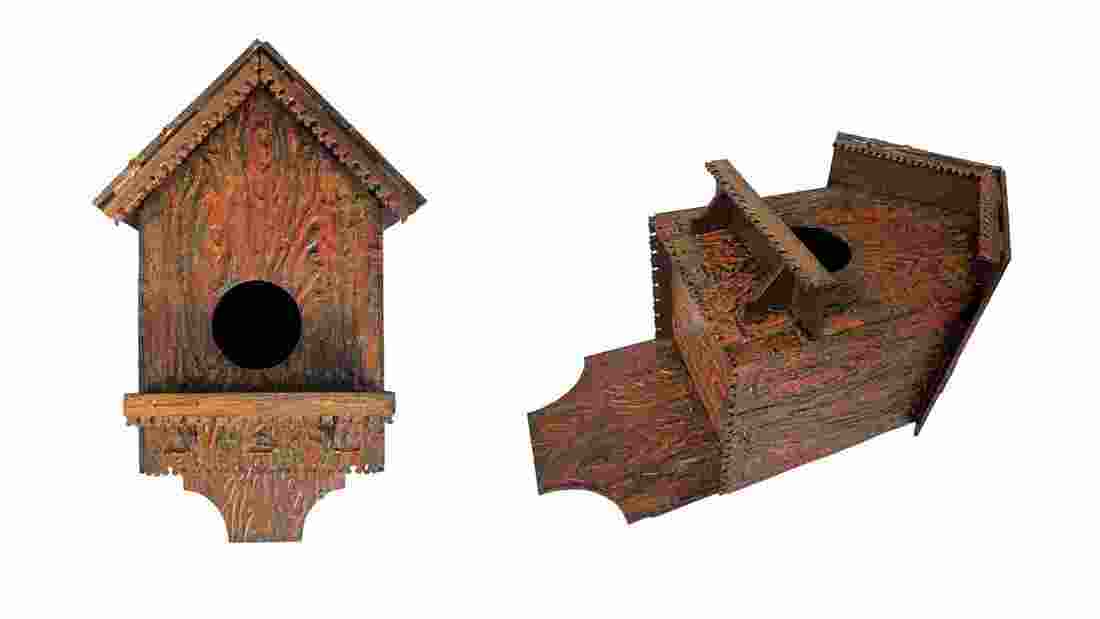
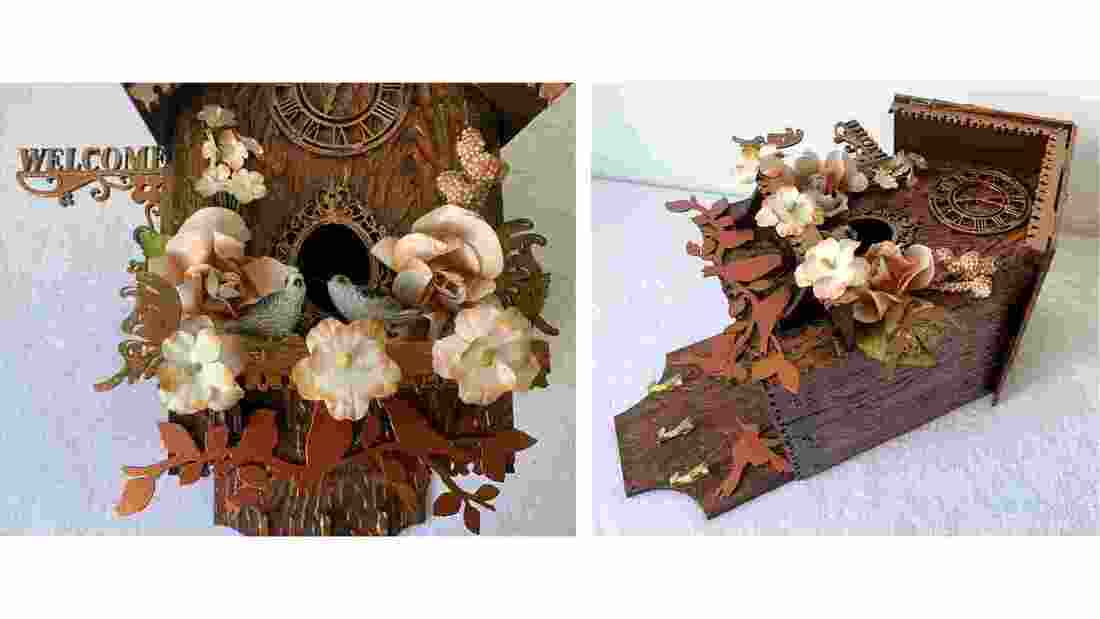
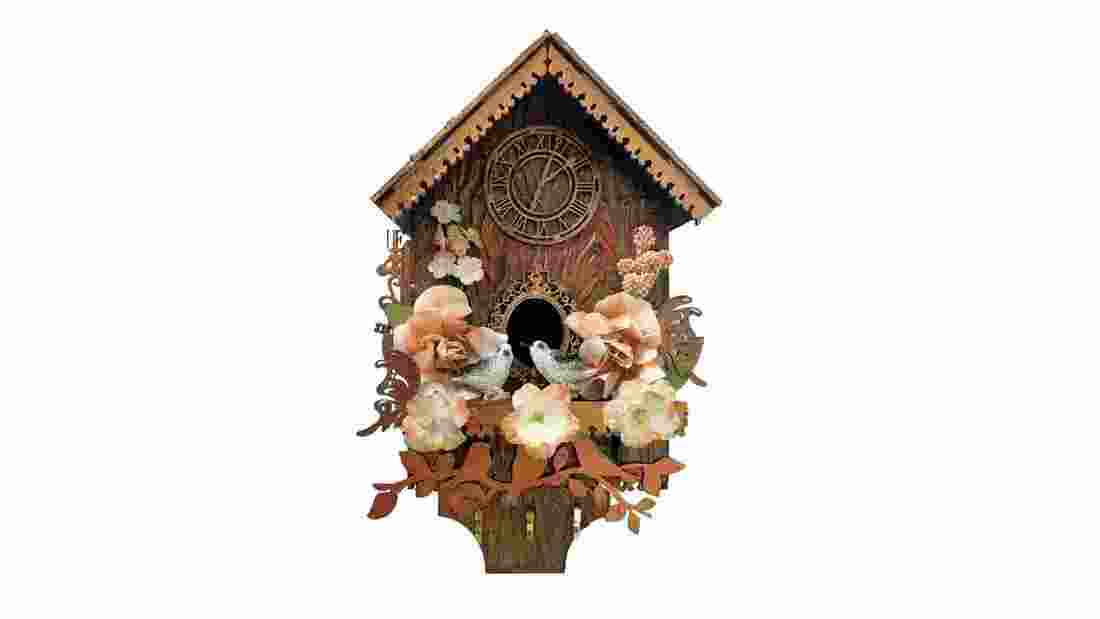
Step 1. Take the MDF Birdhouse & chippie pieces out of the packaging. Use masking tape and stick all panels of the house together to get an idea of your end result. If you are happy with your design take all pieces and put them aside until you want to use them. Place your stencil over the panels and create some texture. I used this beautiful tree bark stencil available from Powertex Australia. When I received this stencil, I immediately knew that I was going to use it for my Spring Birdhouse project, and I must say it’s very effective! You can paint all the panels before you create the texture, but I tried something different this time. (I made a little mistake and went too close to the gaps and when I put the house together, I struggled to slot all the pieces in and had to cut it off to make it fit again!) Leave it to dry… if you are in a hurry use a hair dryer to speed up the process. Step 2. Use Bronze Powertex and paint the chippie shapes and all the pieces that you want to add onto the Birdhouse except the flowers. Paint the Birdhouse panels on both sides and leave to dry. I must say this stencil did came out very well!!! Step 3. Put the birdhouse together and use Powertex Bronze to make the panels stick. I had to give mine another coat of Powertex because of all the carving I had to do to make it fit into the slots! Leave to dry completely Step 4. Adding colour to my Birdhouse to give it an actual wood look was the most fun part of this project. I used Powercolour Yellow Ochre & Easycoat Glossy as my first colour. Using a dry-brush technique is very effective. I first applied the colour gently but then I went over it to get a much darker yellow. The second colour that I used was Powercolour Mocha also mixed with Easycoat Glossy. I used the same technique and first went over it lightly and then touched-up some places with a darker layer of Mocha. My third colour was Powercolour Red Ochre mixed with Easy oat glossy. With thicker brush stroke I created some definite highlights so that it stands out. I was happy with the end result. I also used Colortrix Bronze Gold mixed with Easycoat glossy to add some colour onto the eaves, balcony Chippie shape, birds & Butterflies, Welcome sign, metal frame over the house opening and the MDF clock. Step 5. Add all your embellishments as you designed in the beginning. I used Powertex transparent to stick everything on. I liked the colour of the flowers, so I decided to dip them in Powertex Transparent to keep the colour. I gently brushed the excess Powertex off the flowers and stuck them on as well. If you struggle to get them to stick use a skewer to hold them down and let it dry before you pick the birdhouse up. I thought I would like to make my birdhouse functional by adding some hooks on so it can be used as a key holder at my front door. I added the hooks on with Powertex Transparent. This Spring Birdhouse project will enable you to make use of a variety of techniques using Powertex colours, Easy Structure, Stencilling, Easycoat Glossy and Colourtrix & Powercolour Pigments… enjoy!
Join me on my creative journey with Powertex Enjoy the ride…… Erika
0 Comments
Your comment will be posted after it is approved.
Leave a Reply. |
AuthorNatalie Parish creates eclectic pieces of art. She is the Distributor and Design Team Trainer for Powertex in QLD Australia and enjoys sharing her passion for the product Archives
September 2021
Categories
|
 RSS Feed