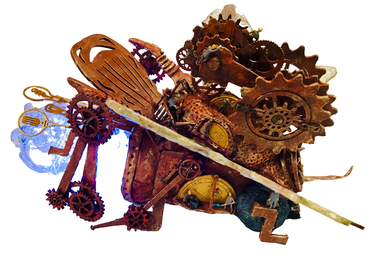
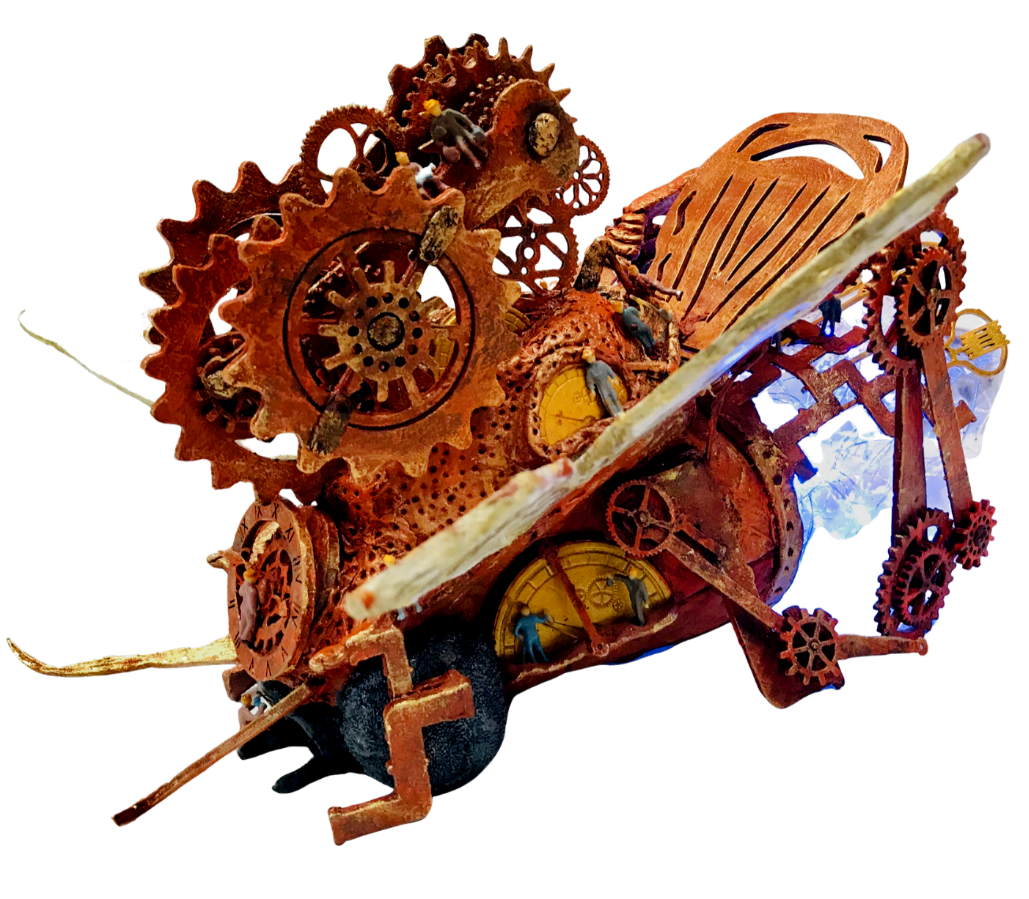
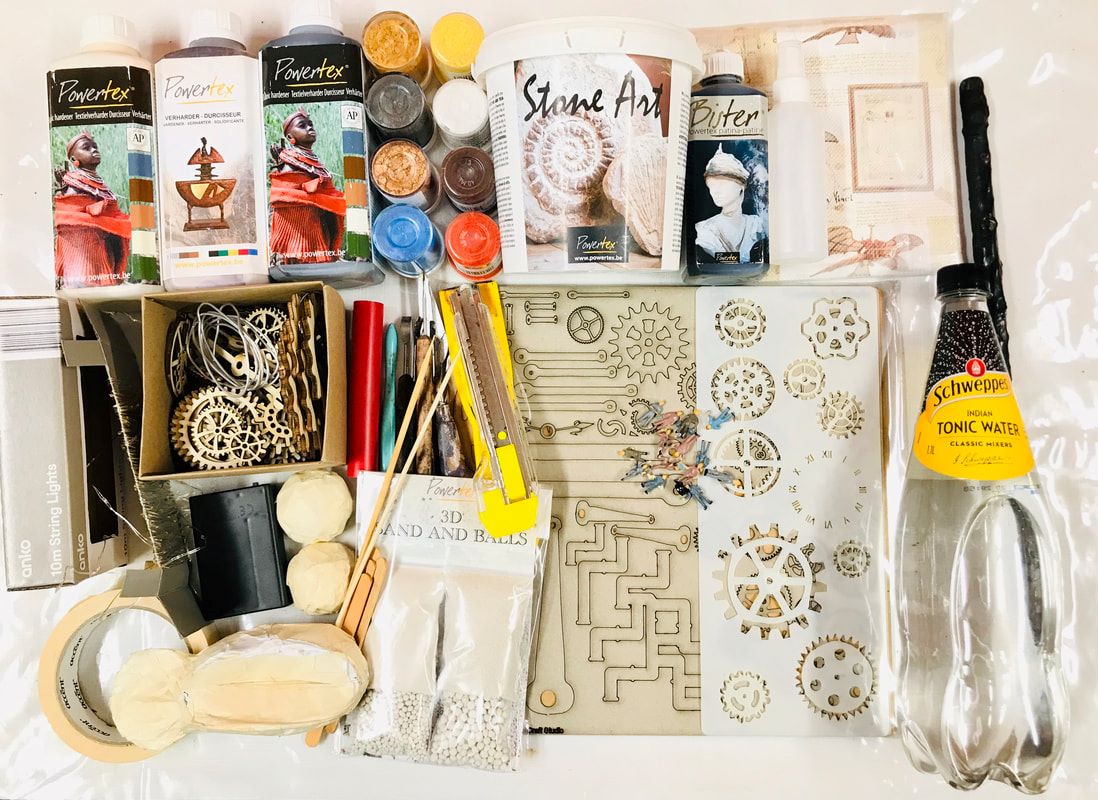
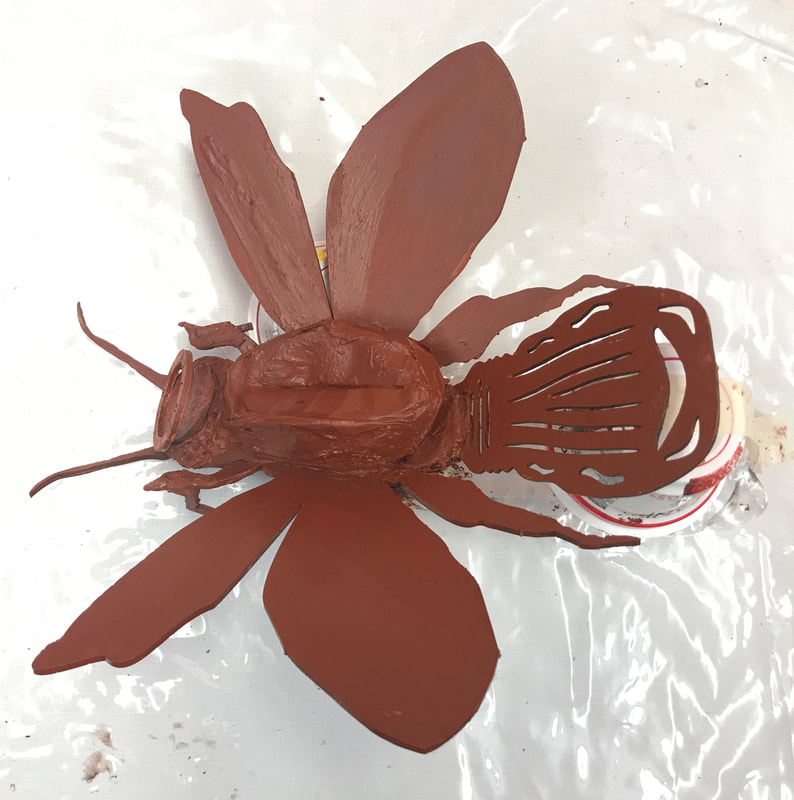
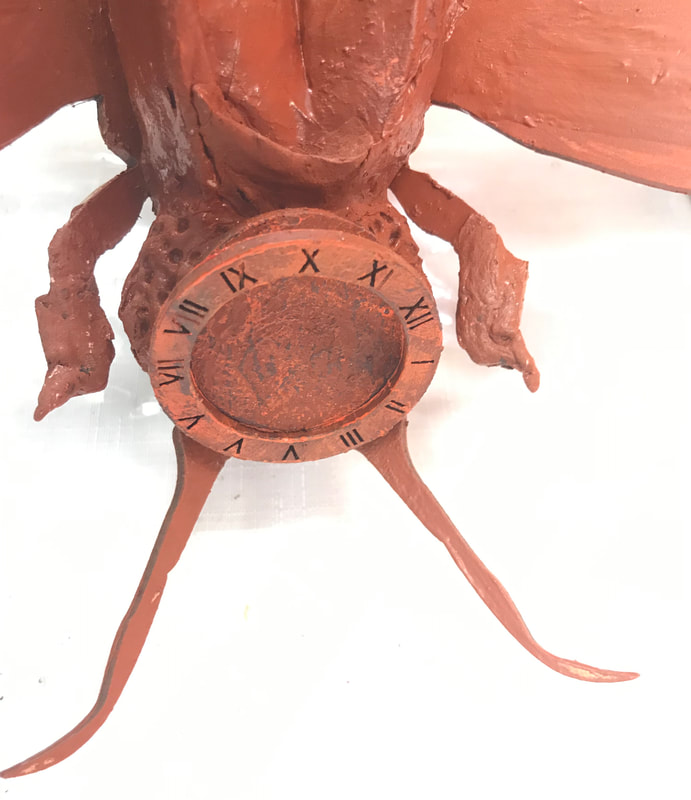
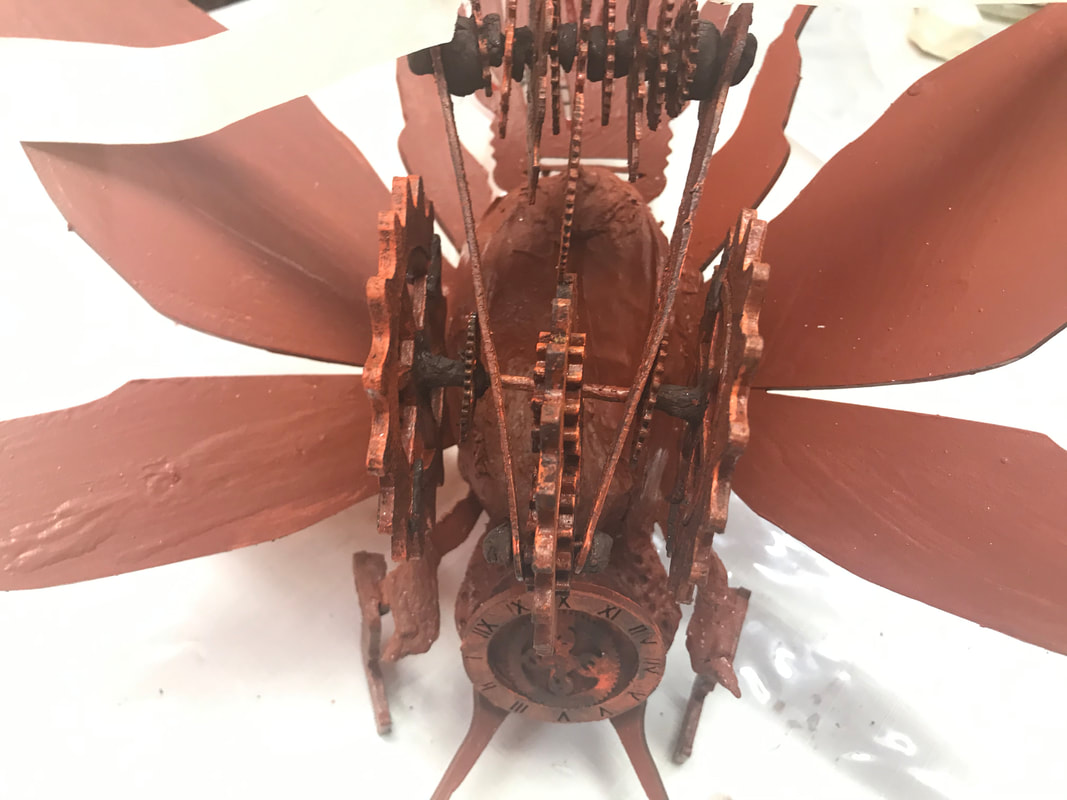
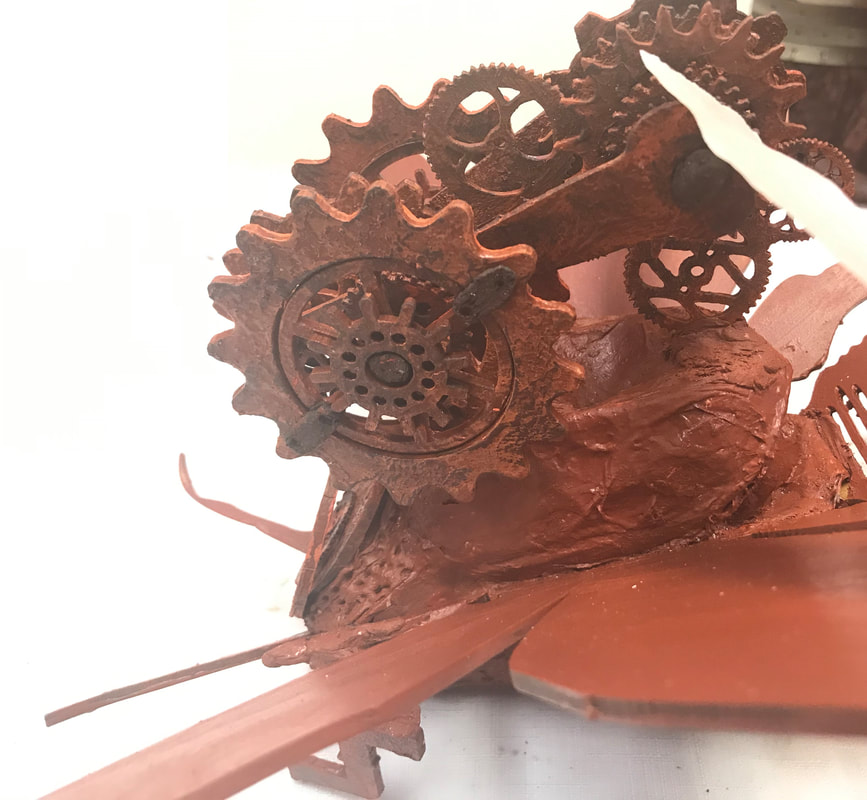
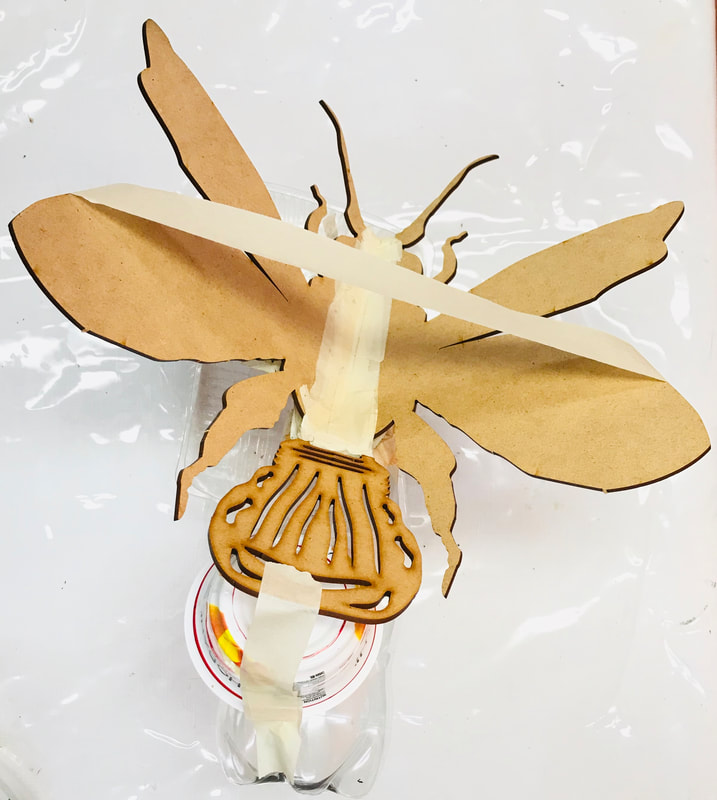
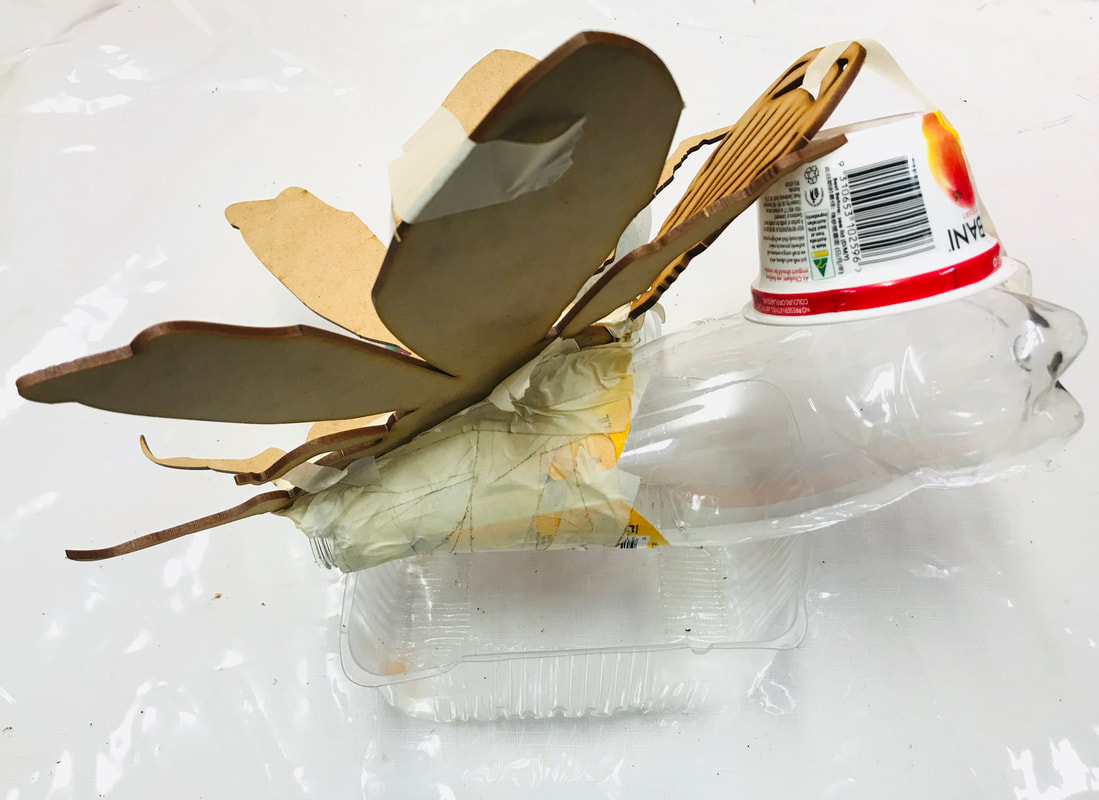
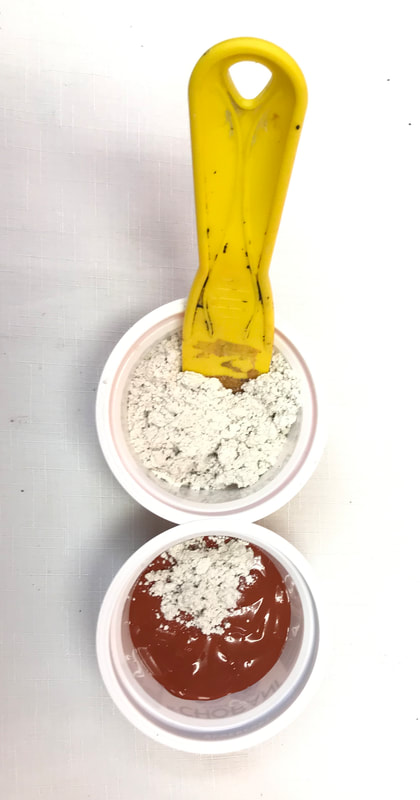
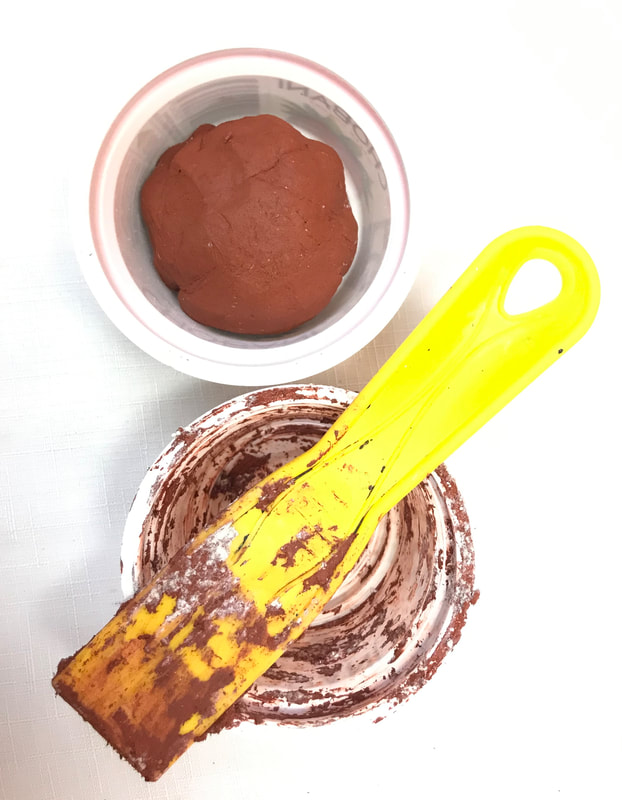
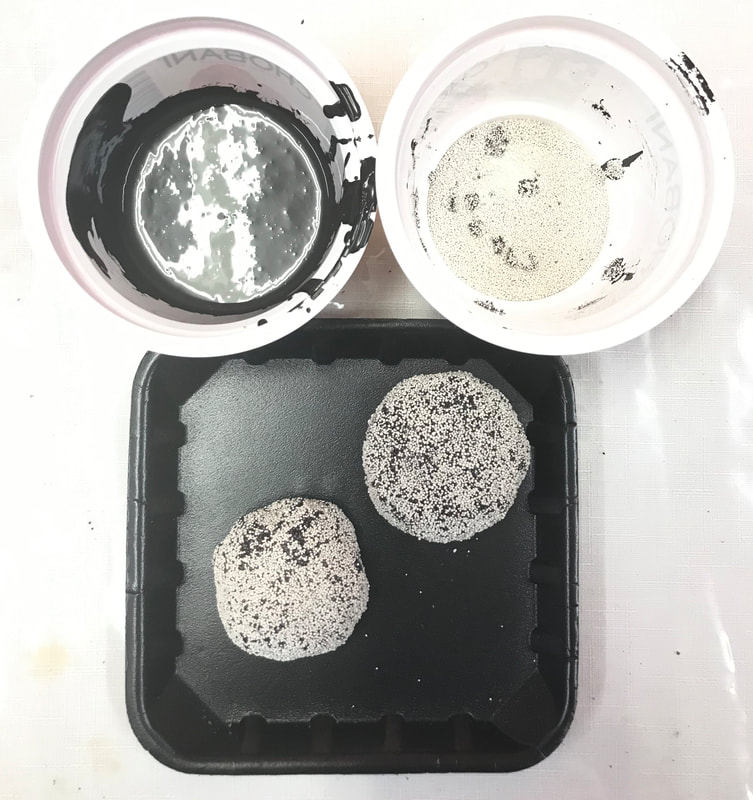
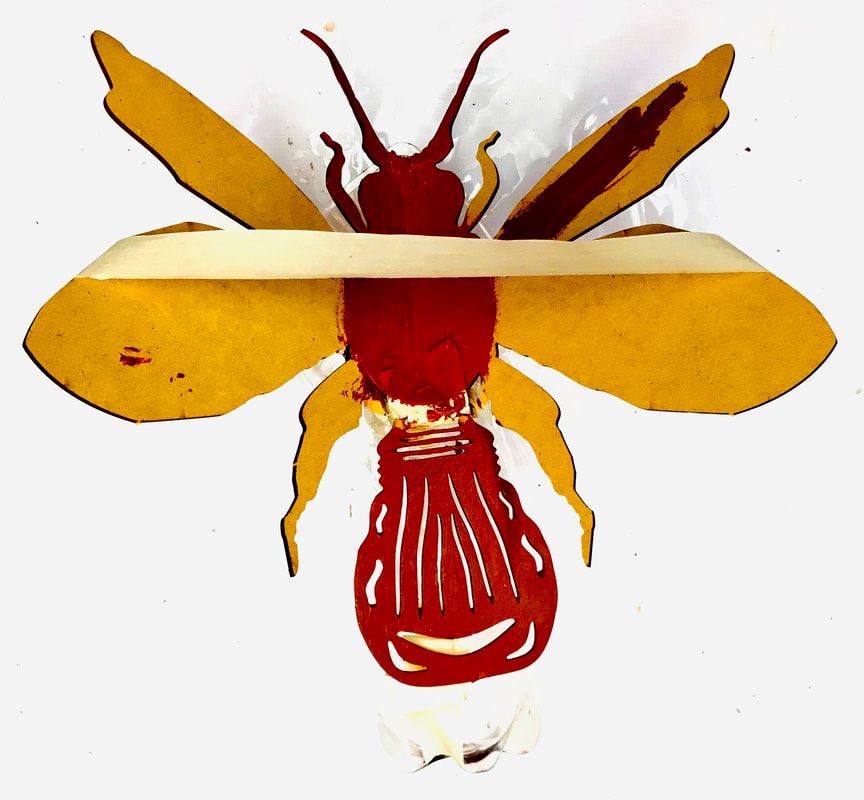
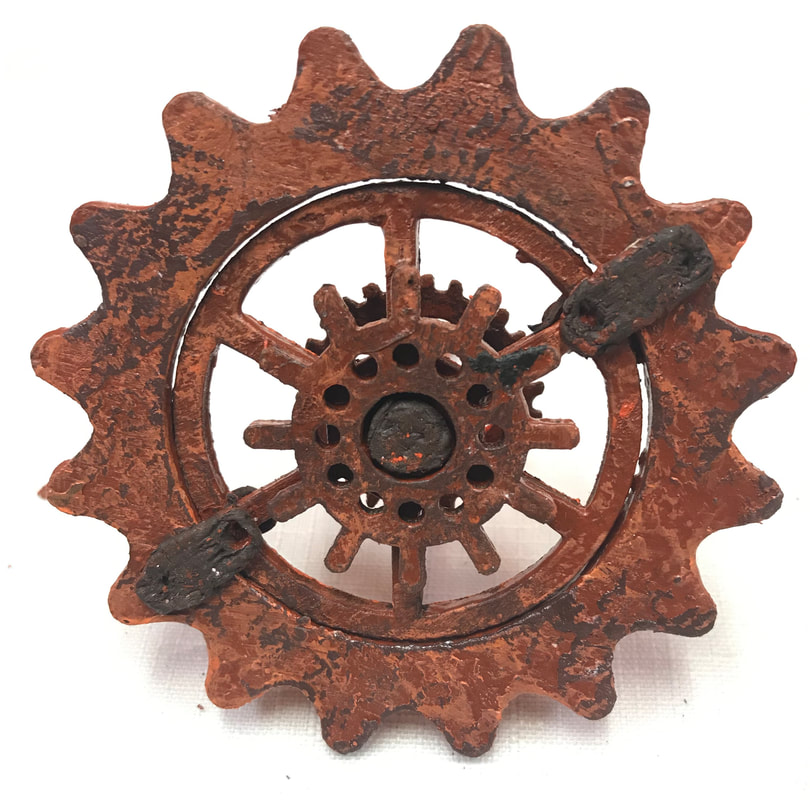
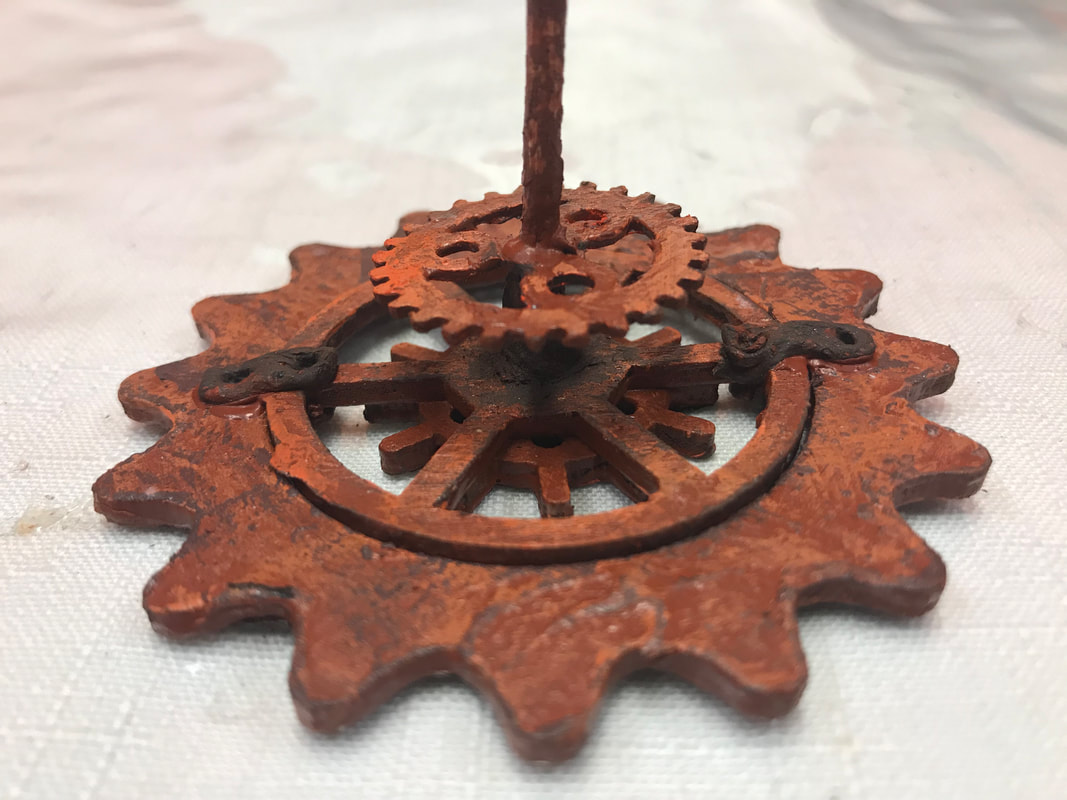
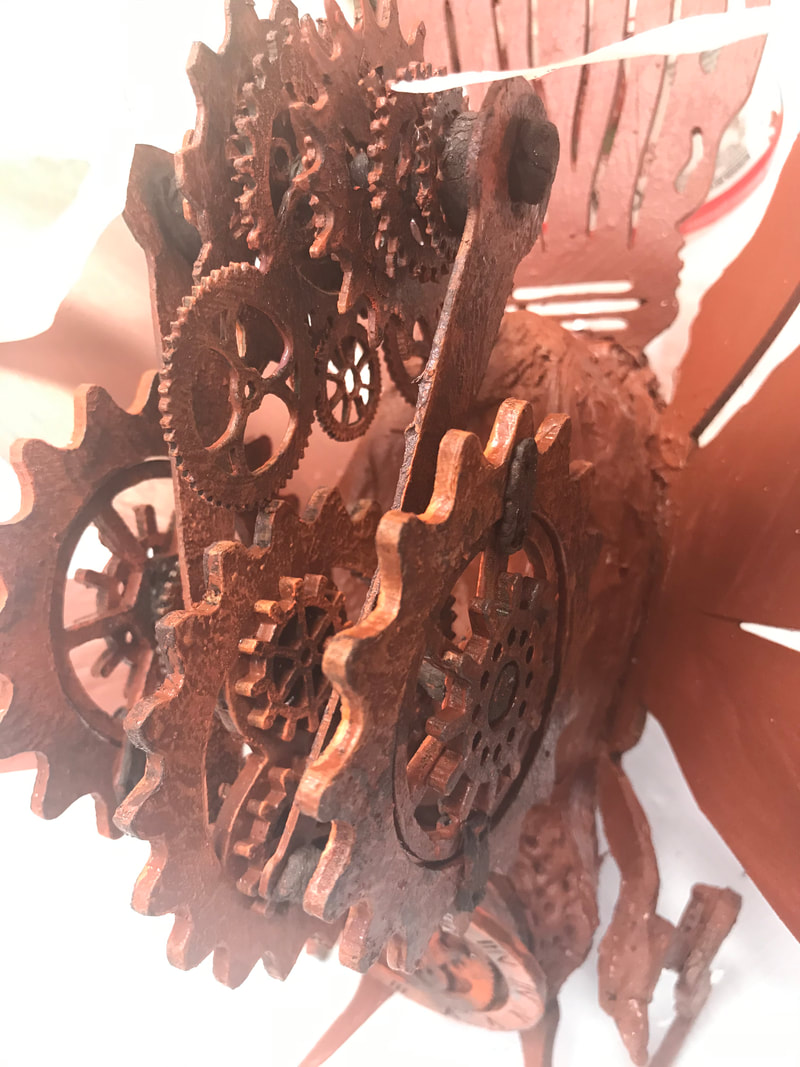
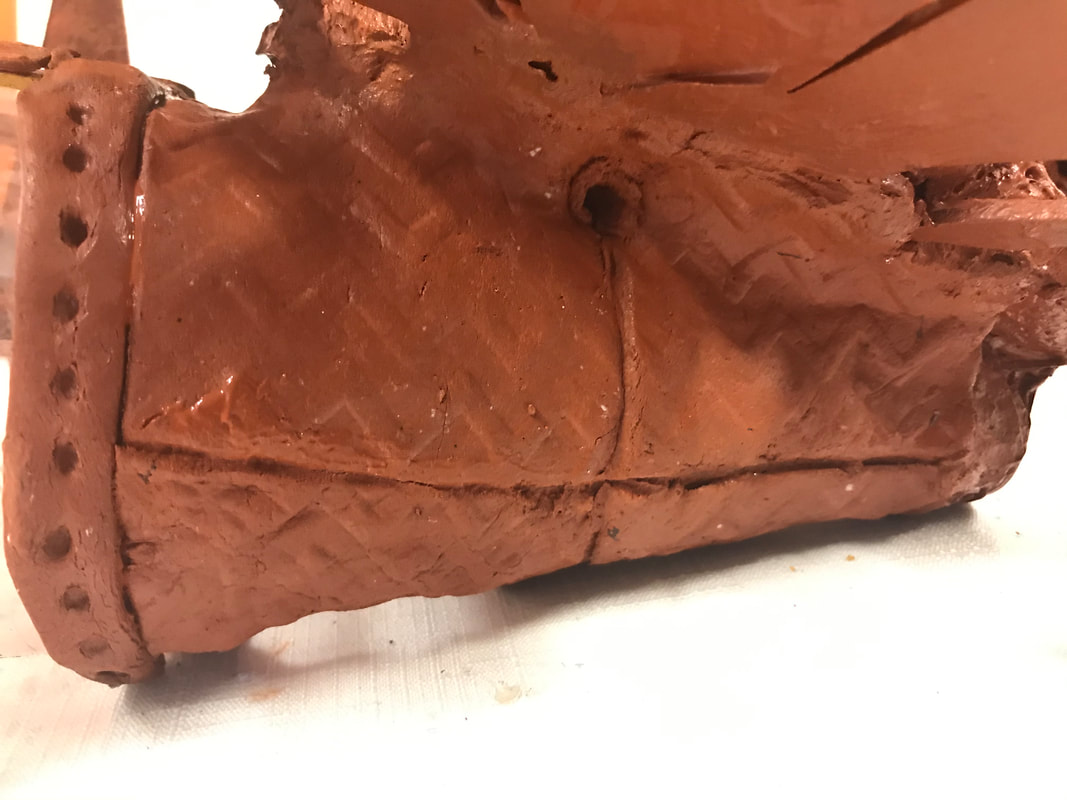
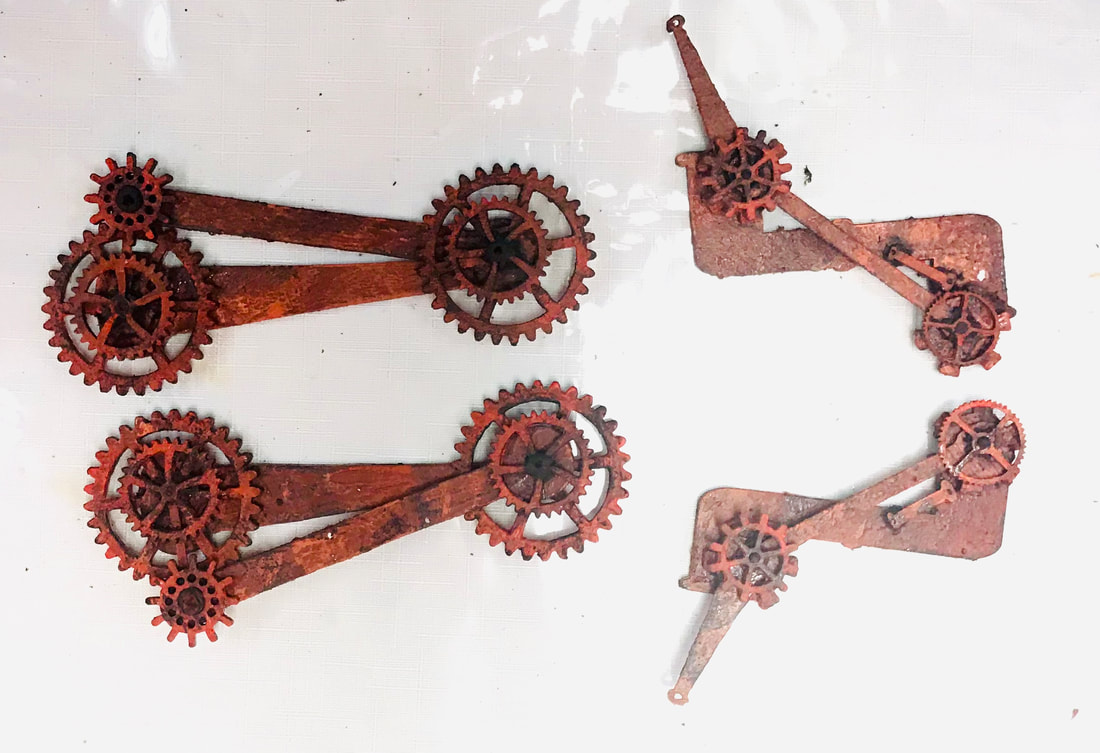
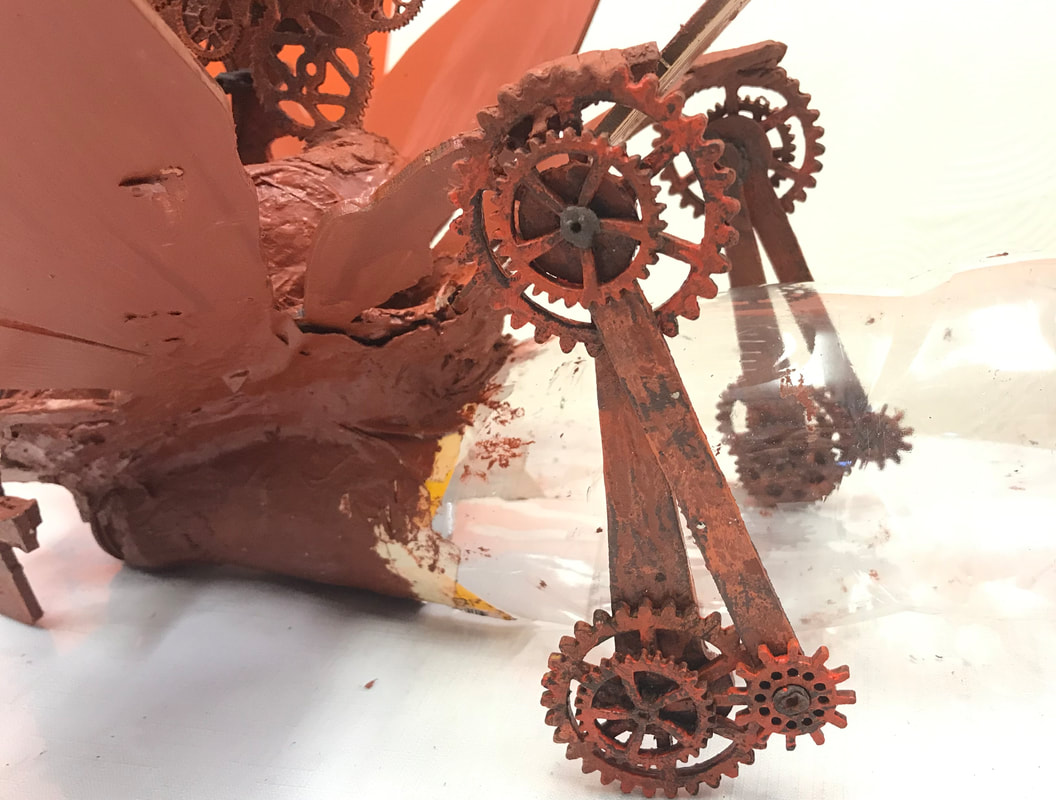
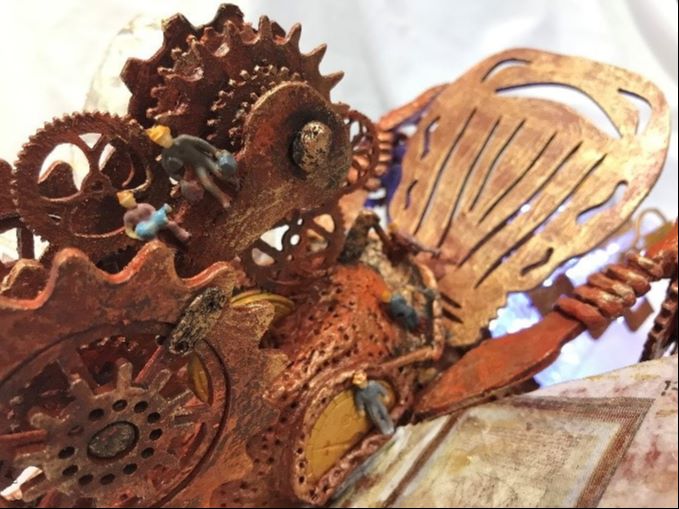
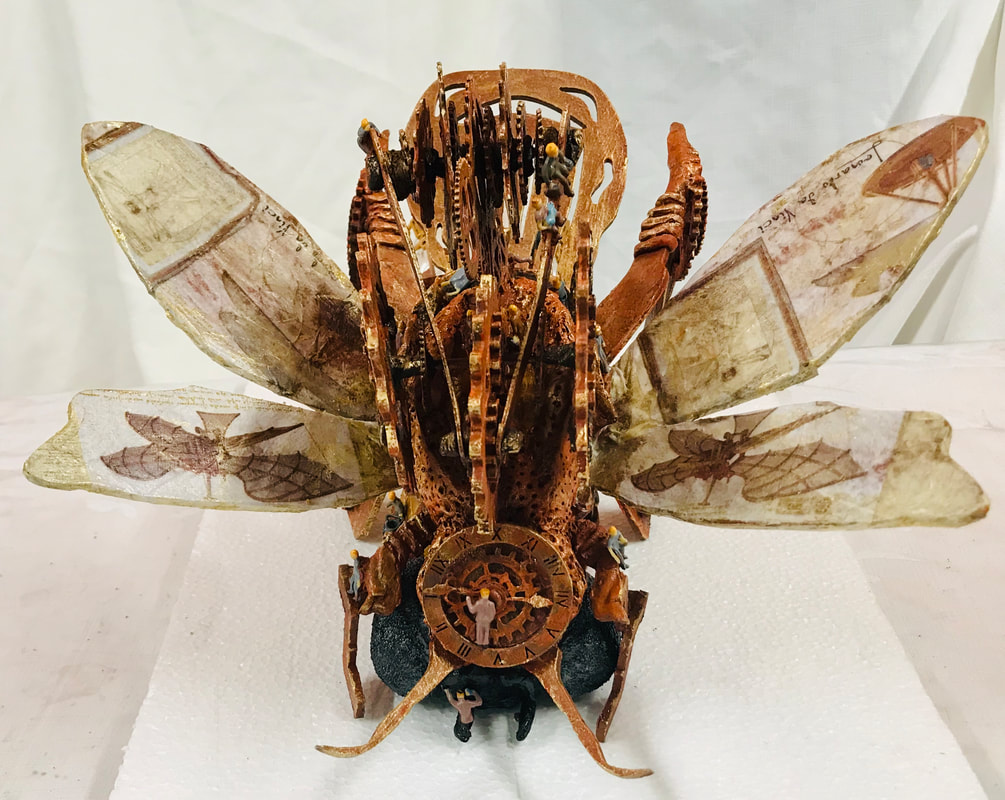
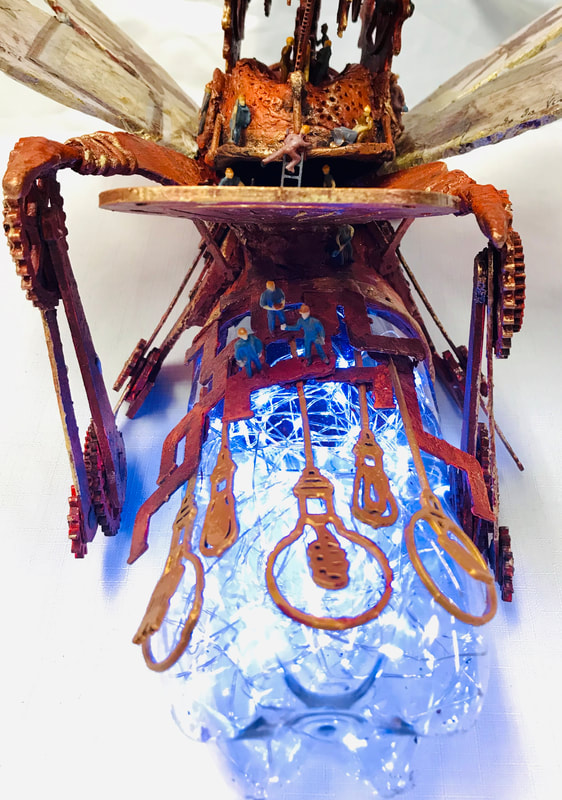
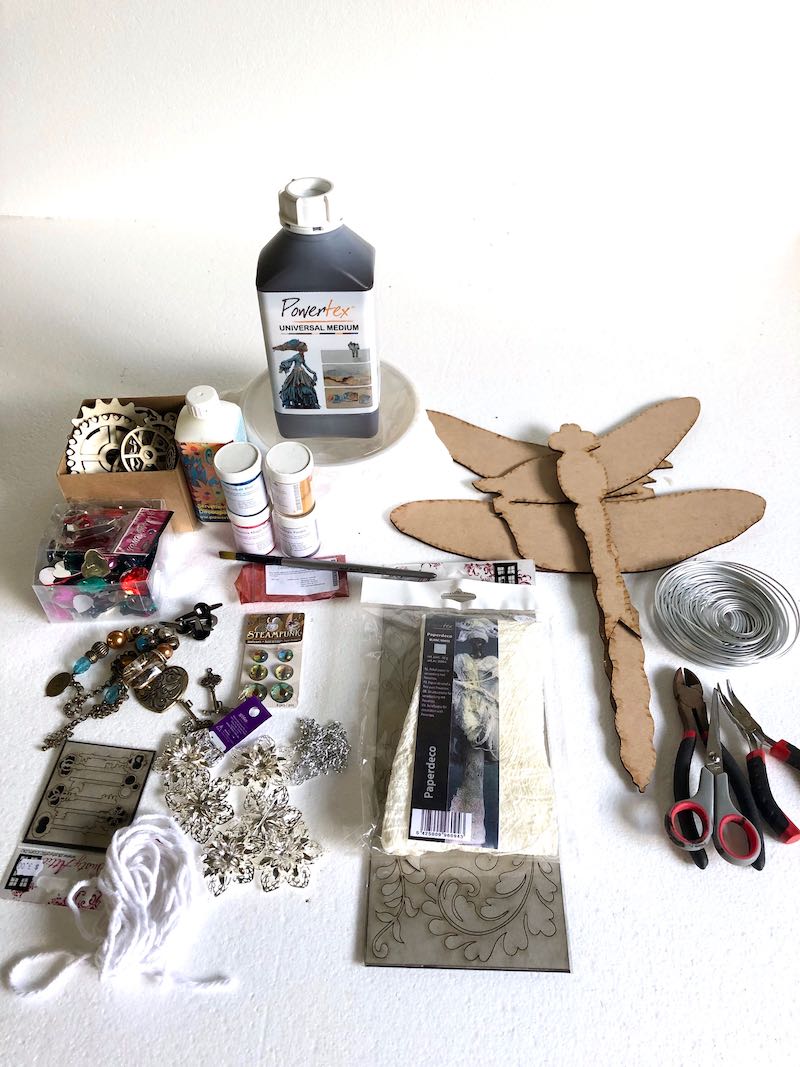
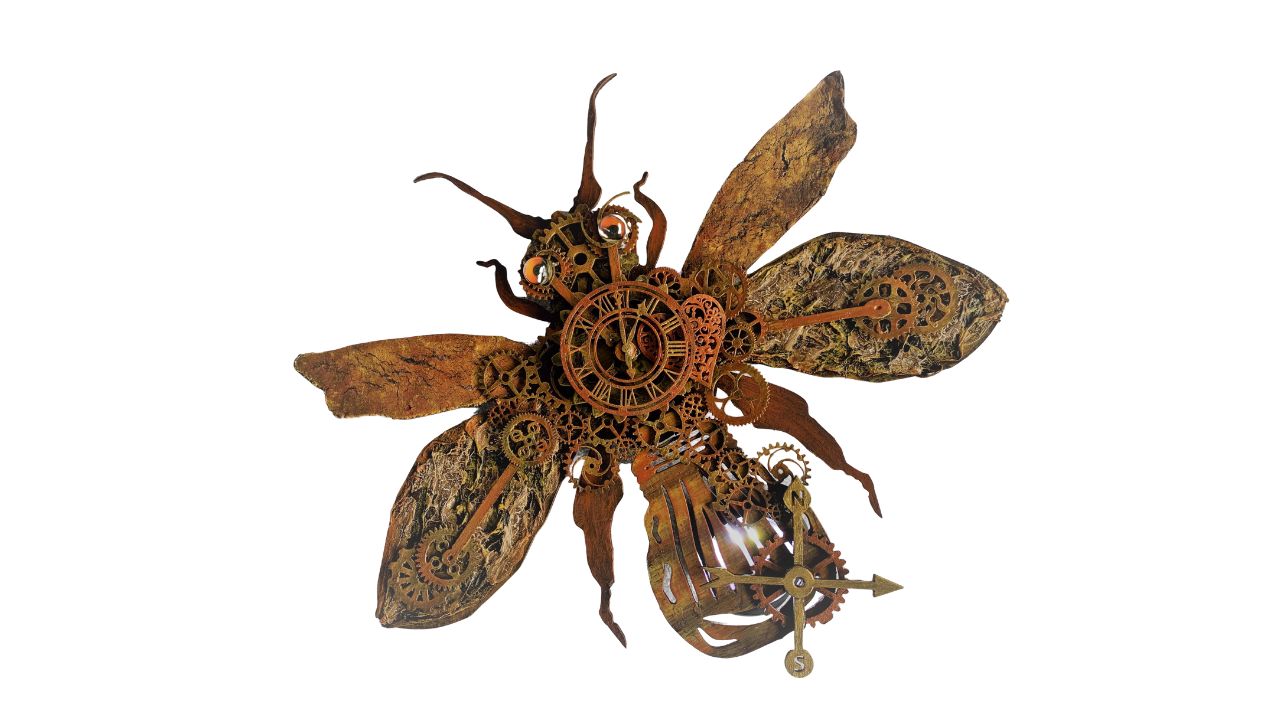
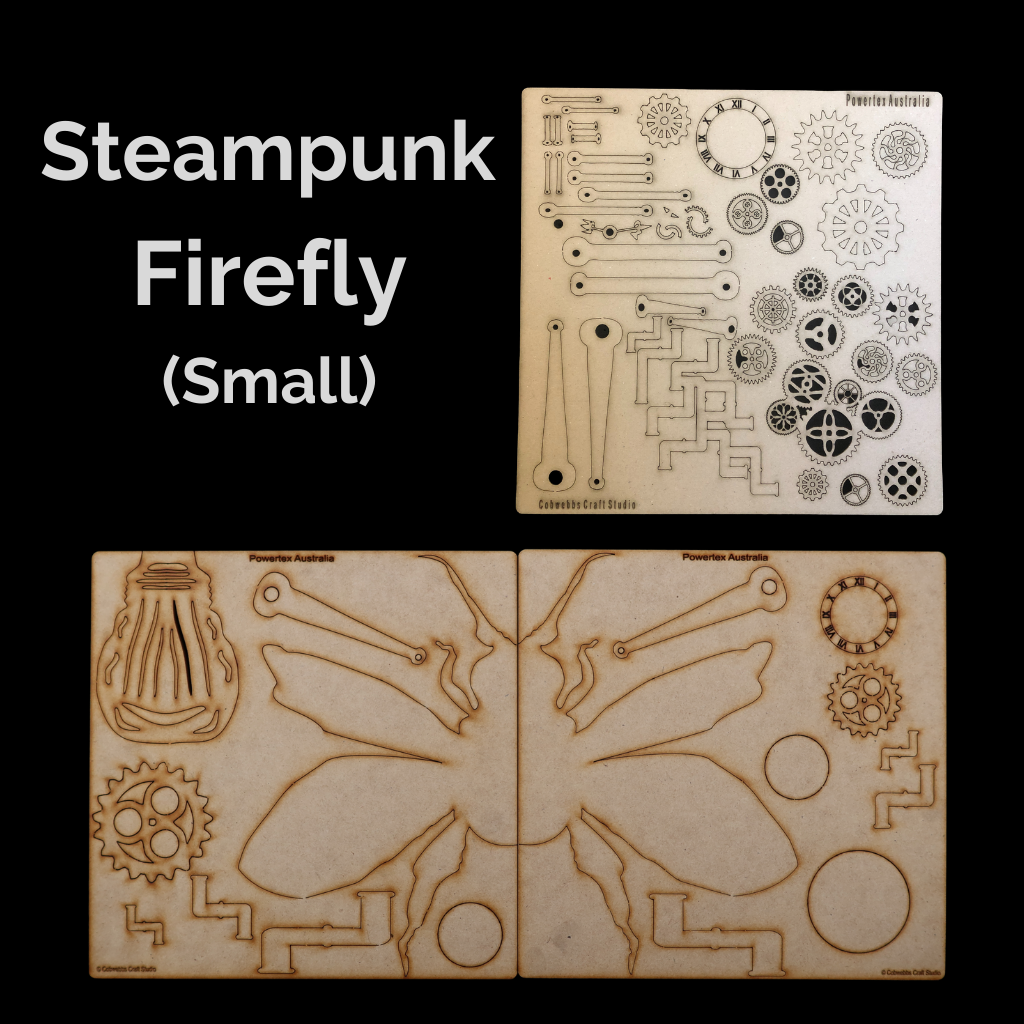
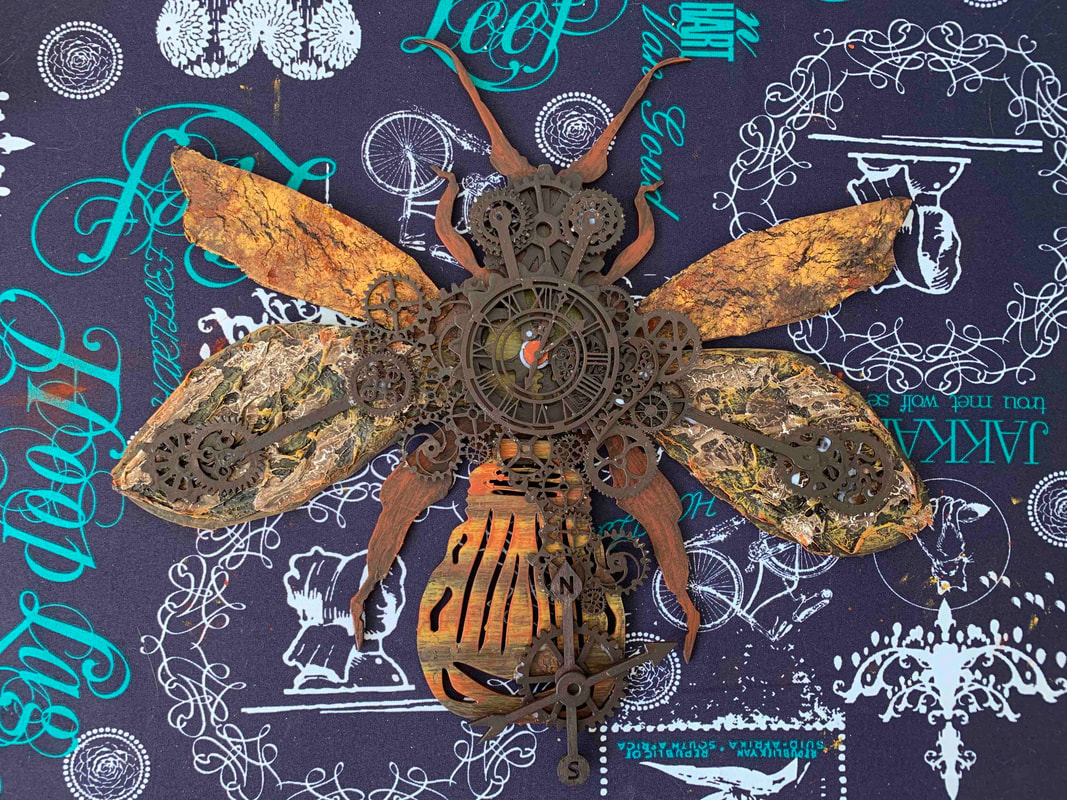
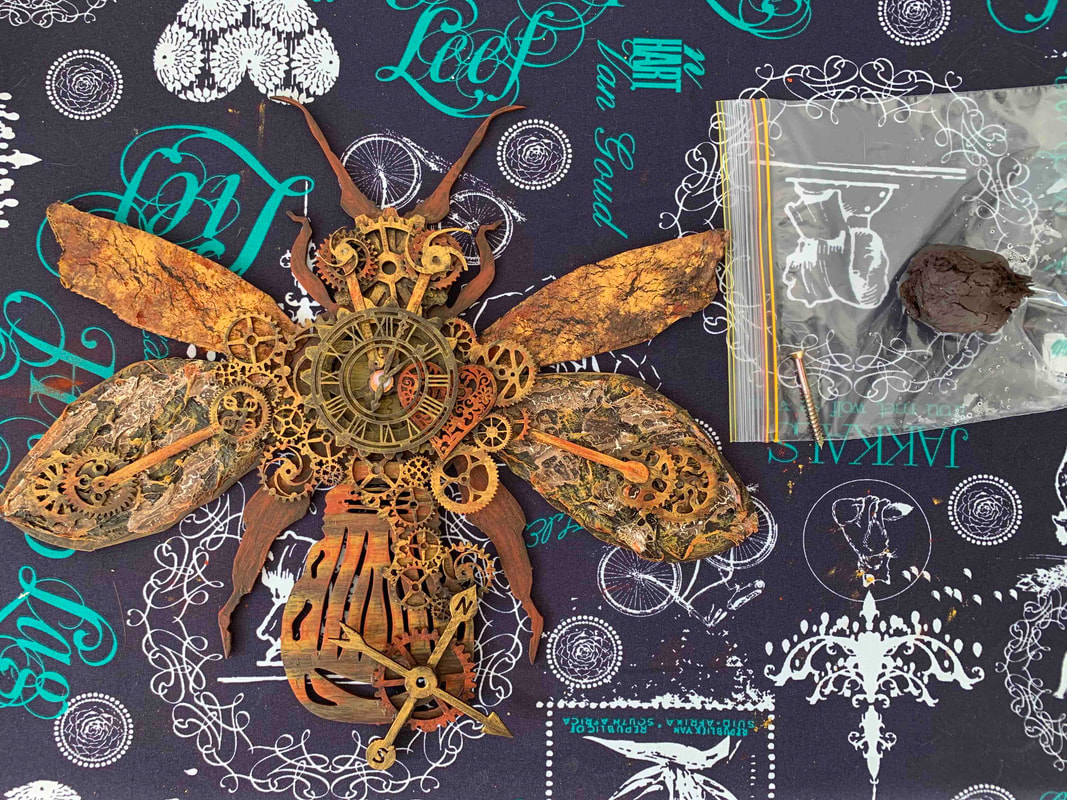
 Inspired by an Italian trip to a Leonardo Da Vinci Invention Museum I wanted to create a Mythical Steampunk Machine. Imagine my delight when I found Leonardo Napkins at Tamara’s Paper Napkins on Etsy! I also wanted to create a Sci-Fi vibe, so I did a bit research on fireflies. Firstly, I discovered Fireflies are not really flies but beetles from the Order Coleoptera. The light is from the compound Luciferin which is the most efficient light in the world and used in a growing field of medical research as well as gene manipulation in plants so they light up in our homes potentially reducing the consumption of fossil fuel based lighting. Now my imagination was set alight and a whole story lit up in my head of world where humans could harness that light and energy. Would it be fabulous world – maybe not? Human Impact Report Lampyridae - (lightning-beetles). Giant light emitting beetles from the Lampyridae family produce the most efficient form of light. Since mechanization and the ability to intensify oxygen concentrations, we harness beetles as a renewable source of light and energy including luciferase plant gene manipulation for creating indoor plants that service our internal décor needs. Additionally, luciferin extraction is now essential for gene technology, medical research, food safety, and forensic testing. As such the living Magnificent Luciferin Machines are now an important source of employment accounting for 80% of work in Machine Pasture Counties. The expansion of human territories has caused habitat destruction for these necessary creatures and as we are still unable to force reproduction we rely on a natural source for capture and herding. Environmental Protection Zones have become a necessary norm. Visitors will be allowed to use the zones for recreational purposes within guided areas as the carnivorous larvae of these beetles are dangerous to humans. Therefore, the Luciferin machine industry by its very use of these creatures is protecting this species and large tracts of environmental parks for future generations to come. Materials:
Step 11: Optional Decoupage Wings
Step 12: Light Her Up Baby
Congratulations you have finished
See you in June with some Anthropomorphic Nonsense. Natalie Parish from Bag End Studio
0 Comments
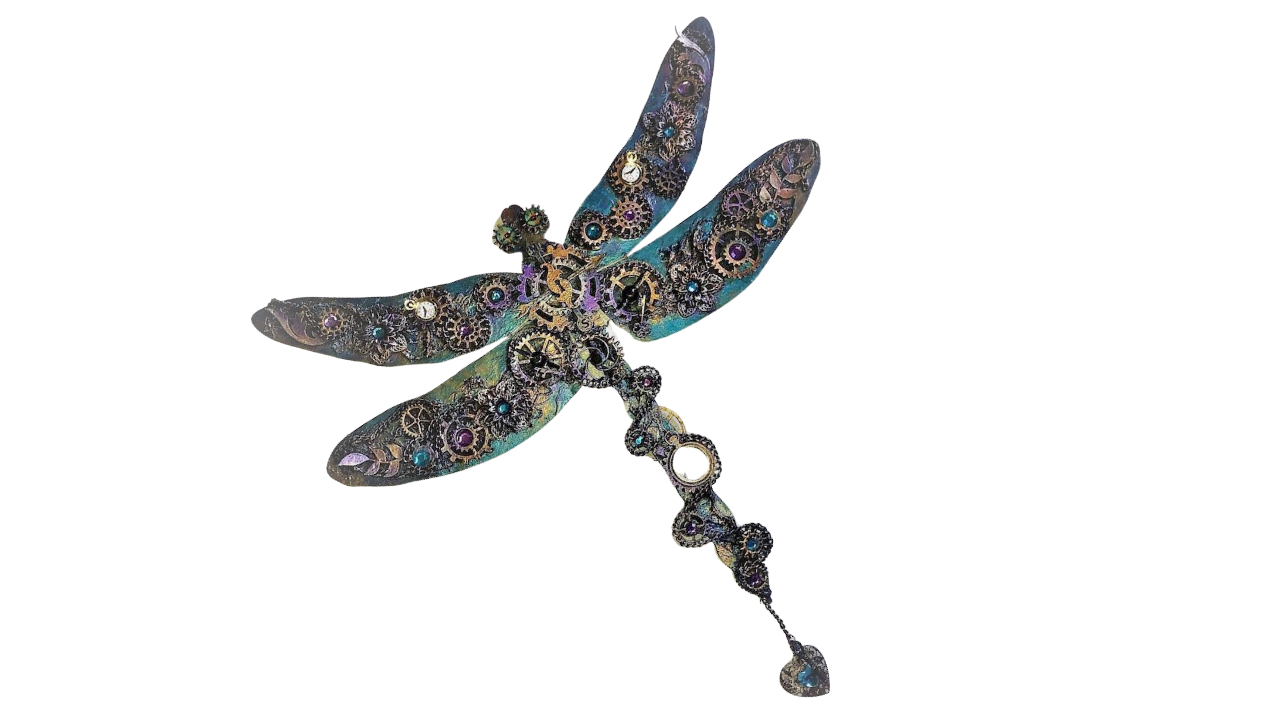
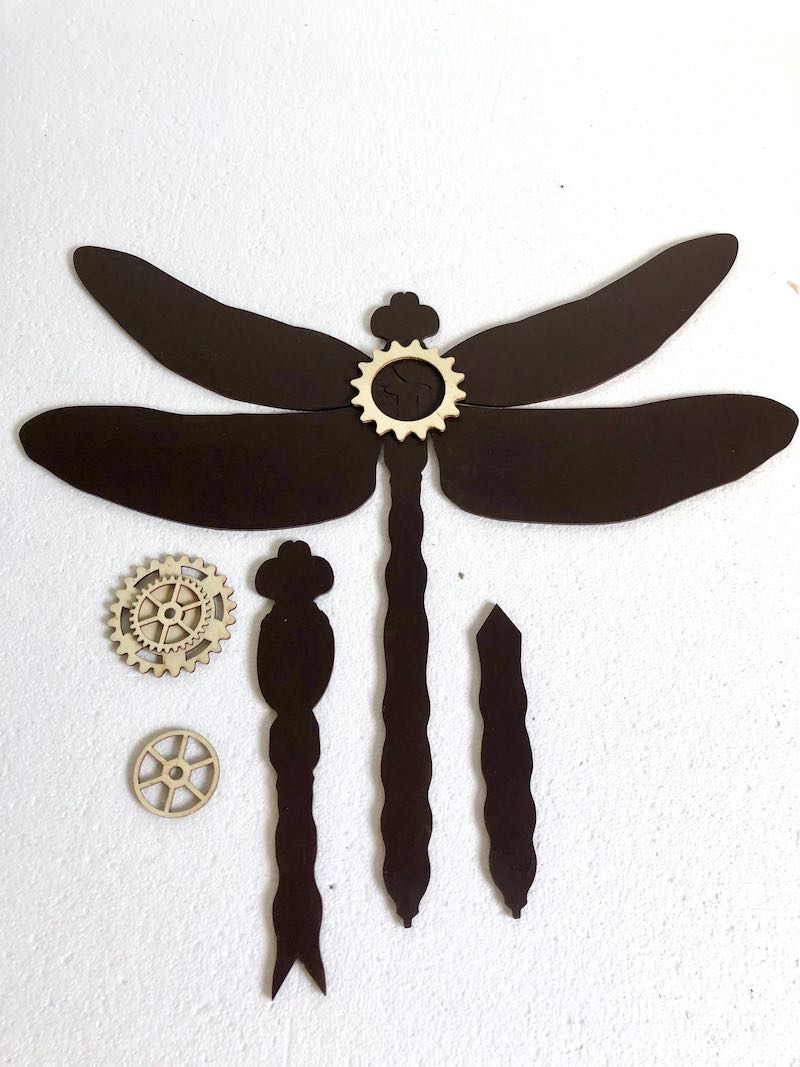
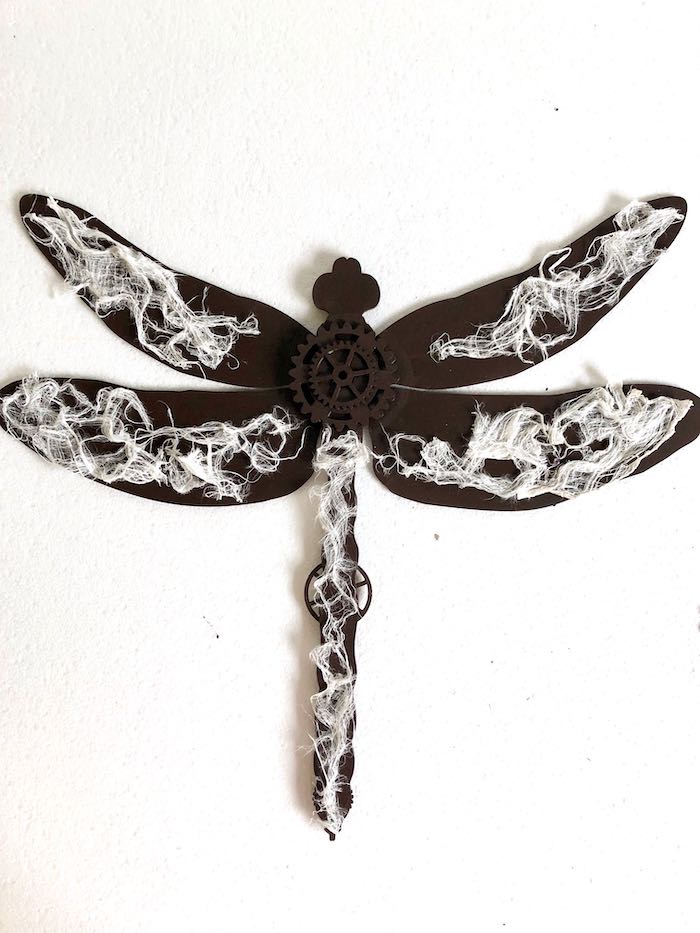
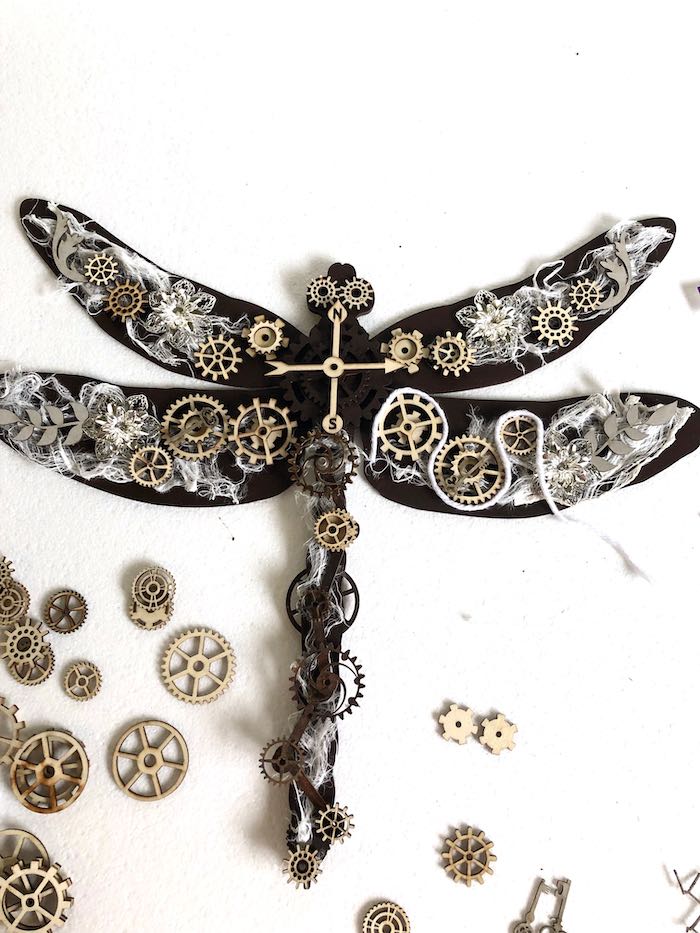
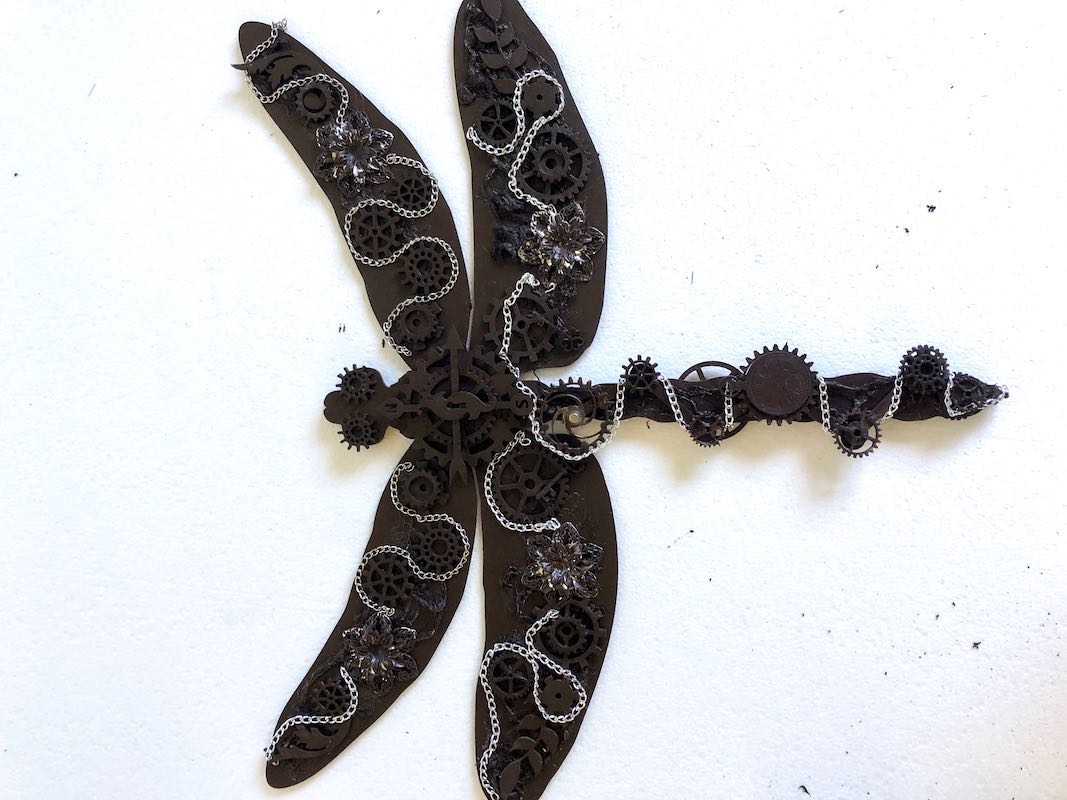
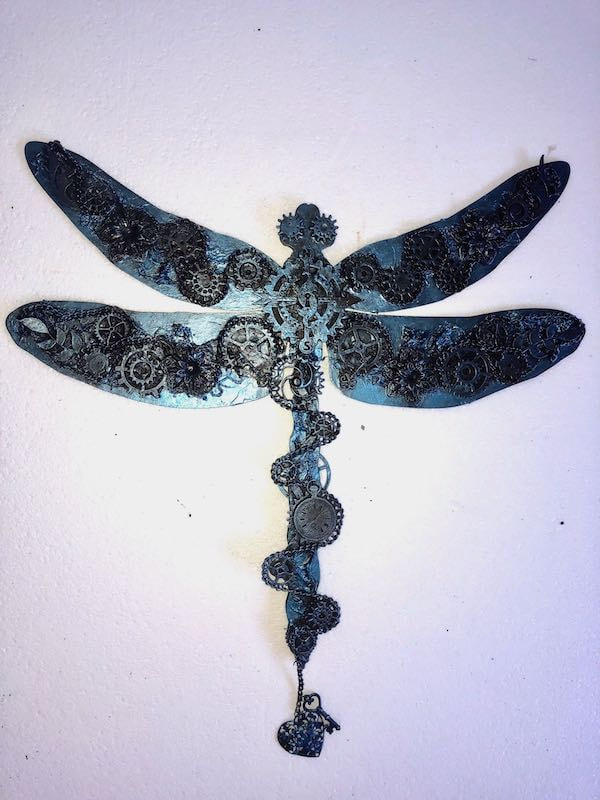
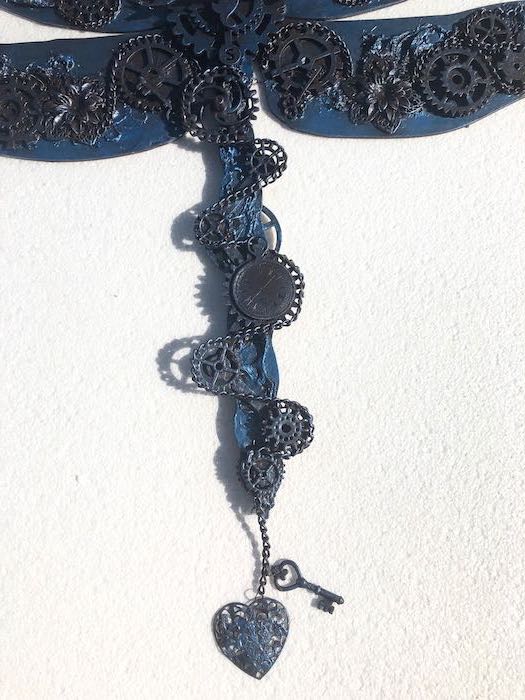
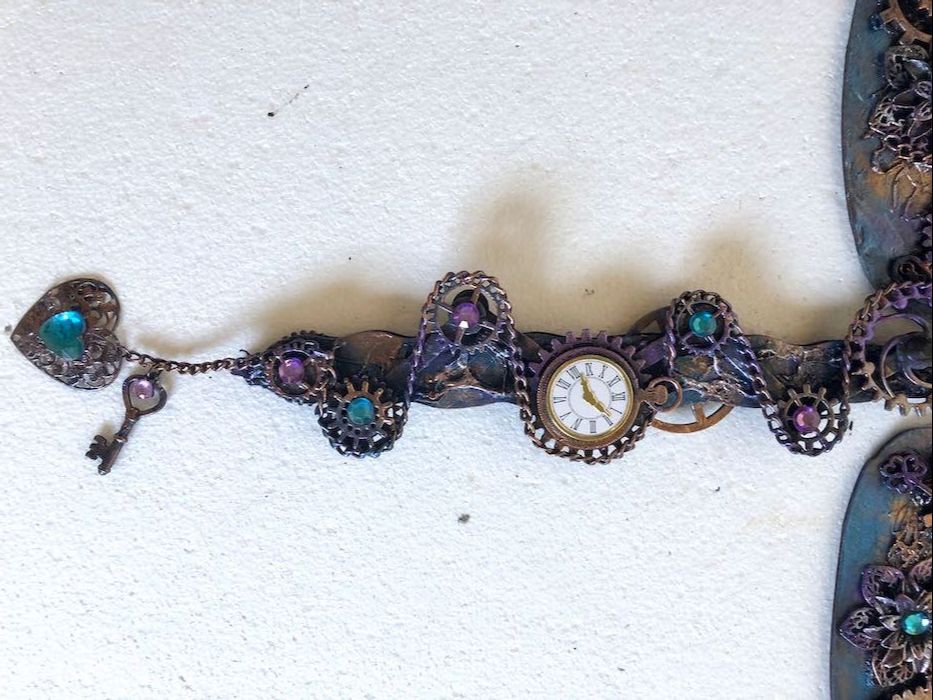
Artwork & Blogpost by Erika Venter, Mareeba, QLDThe inspiration theme for this month is Steampunk and the kit is a Dragonfly which is now available from powertex… I was super excited to get started! Step 1: Stir & shake Powertex Bronze well before use, assemble and paint the MDF Dragonfly. Use bigger gears and stick them with Powertex onto the middle of the body to hold everyting together. To create some texture measure and fit Paper deco onto the wings and tail. Spray mist the Paper Deco with water and tease it apart – don’t make it too wet. Step 2: It’s now time to use your imagination and play around with all the bits and pieces. My idea for the Dragonfly was to make it look like the whole body is driven by gears, chains, a compass for direction and the clock faces represent it flying in time. I imagined how the whole component would work – lighting up with gemstones and sparkly eyes. Step 3: I draped the chain in between and around the gears on the wings and also on the tail. Using Powertex Bronze to secure every piece on the wings and the tail. Then left it to dry completley. Step 4: I enjoy the Colourtrix metallic pigments so much and it’s always really hard to decide what colour scheme to use… I love the Colourtrix Magic Blue and used that as my base colour mixed with Easycoat mat and covered the whole Dragonfly with it. I then used Colourtrix Magic Purple to highligt some areas on the wings and tail. Colourtrix Bronze Gold and Clear Gold were used for the final touches. Step 5: Use Easycoat mat to glue the gemstones, eyes and clocks onto the wings and tail. Your Steampunk Dragonfly is now ready to hang it up where everybody will admire it. This was so much fun and I love my end result!
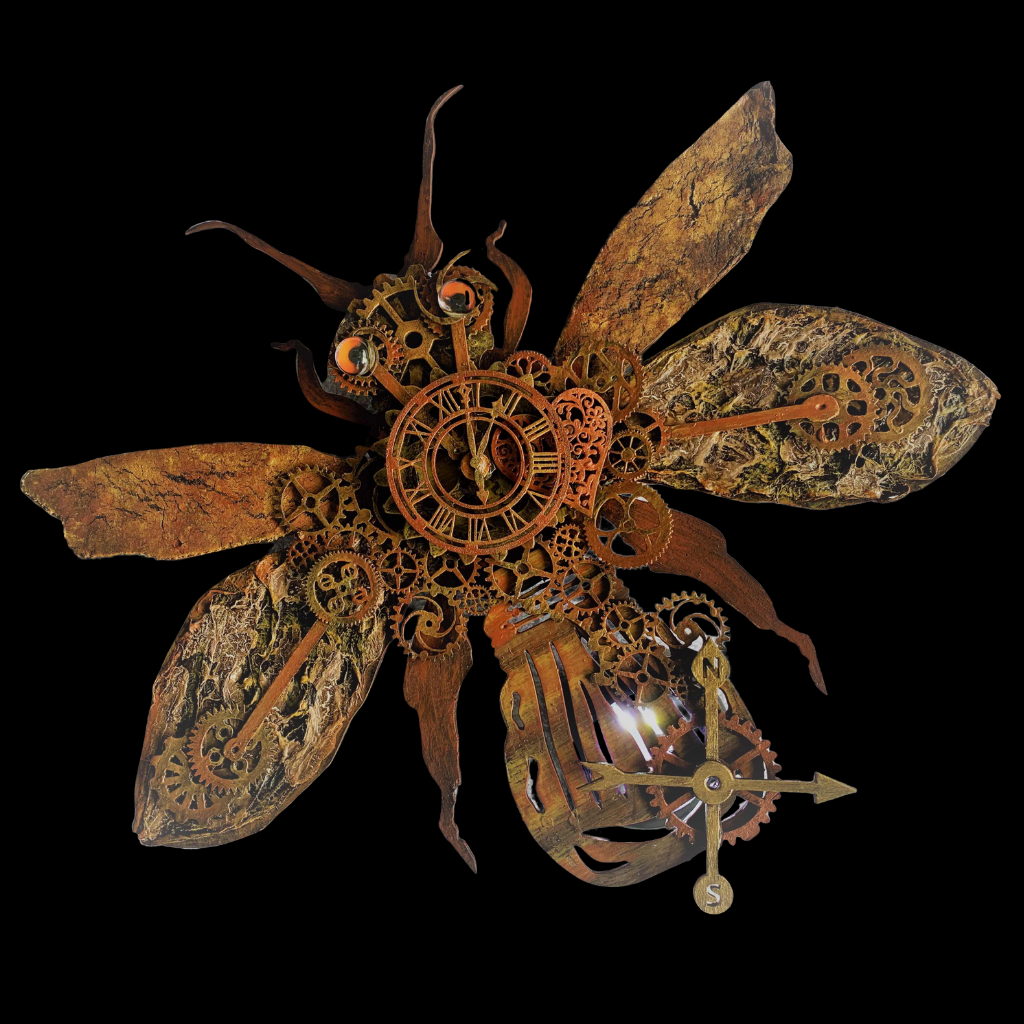
This Steampunk Dragonfly project will allow you to make use of a variety of techniques using Powertex, Paper deco, Colourtrix and Easycoat Mat. Join me on my creative journey with Powertex Enjoy the ride Erika AuthorErika Venter Designs. - erikaventer.weebly.com/ The inspirational theme this month is ‘Living Light’ in celebration of the International Day of Light… and Erika Venter along with Powertex Australia and Cobwebbs Craft Studio has brought out a fantastic new kit for you to create at home – a Steampunk Firefly… it’s awesome! There are so many ideas on the internet to get you started… but the best is when you use all bits of info and actually create your own idea. This is how I created my beautiful Steampunk Firefly. You can make one too…
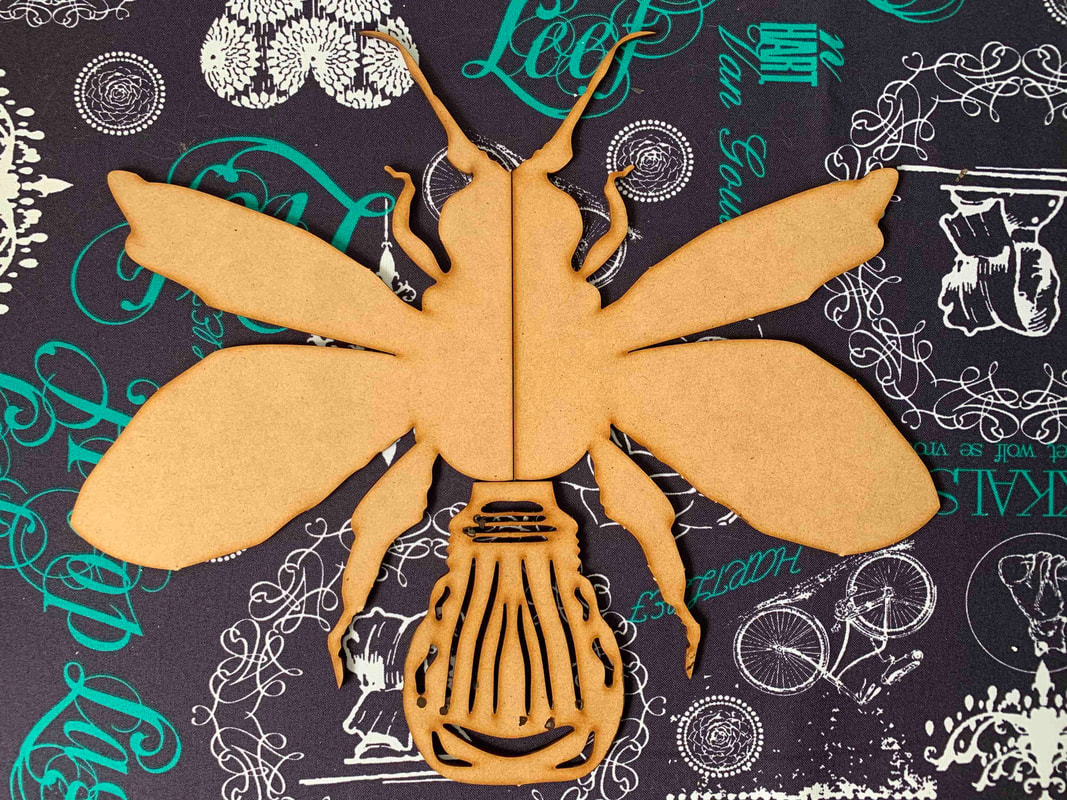
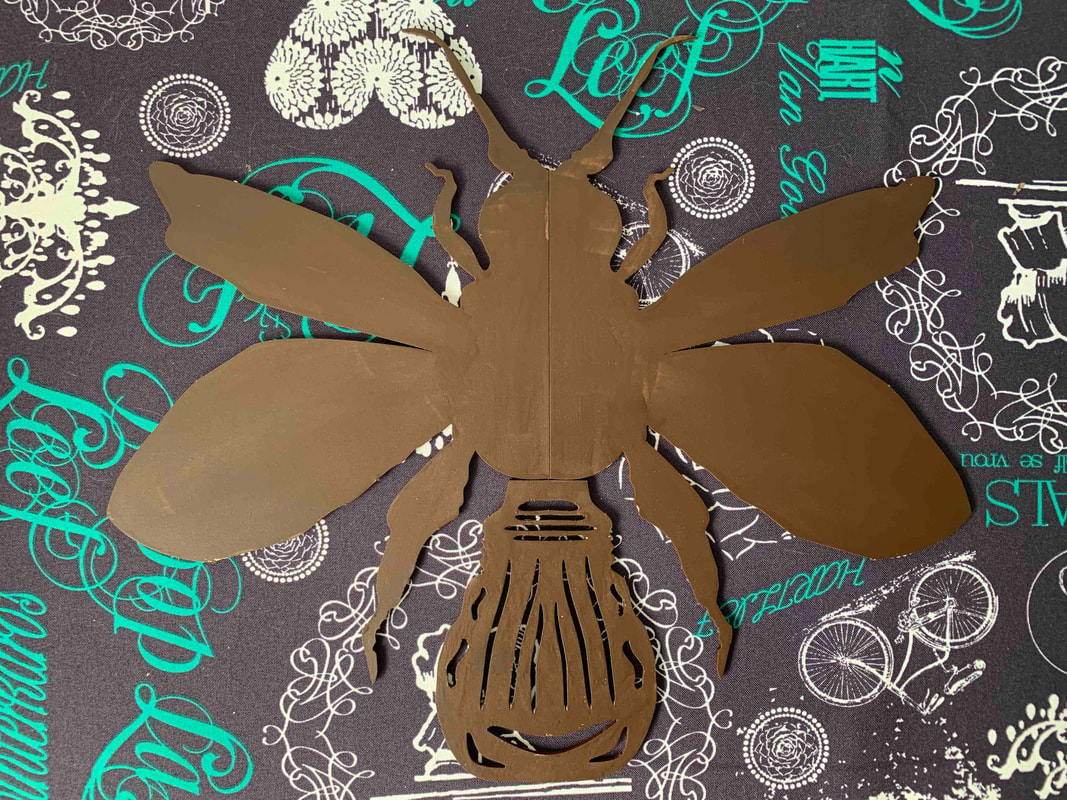
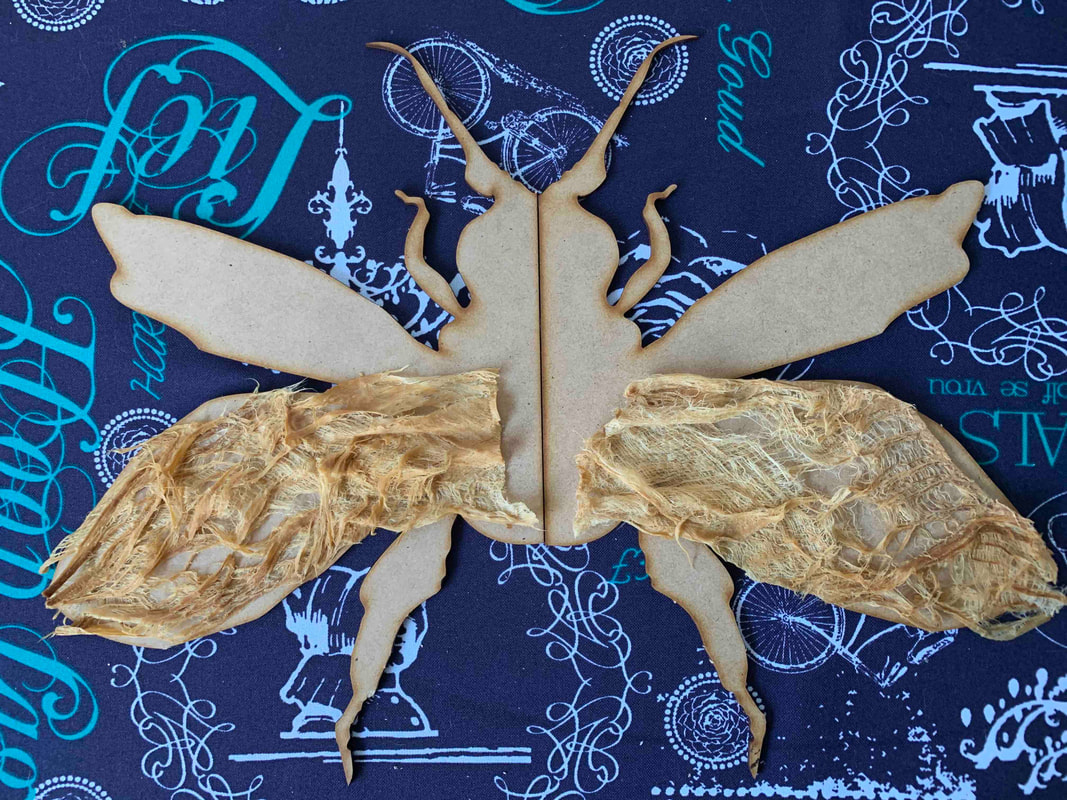
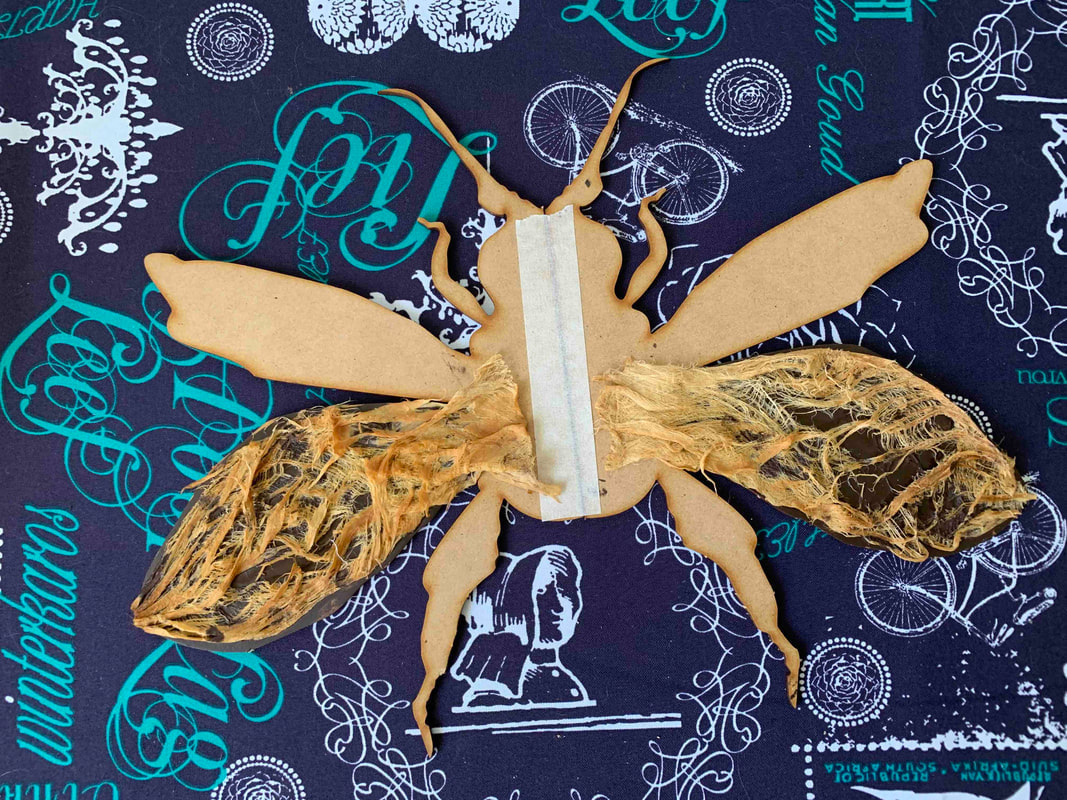
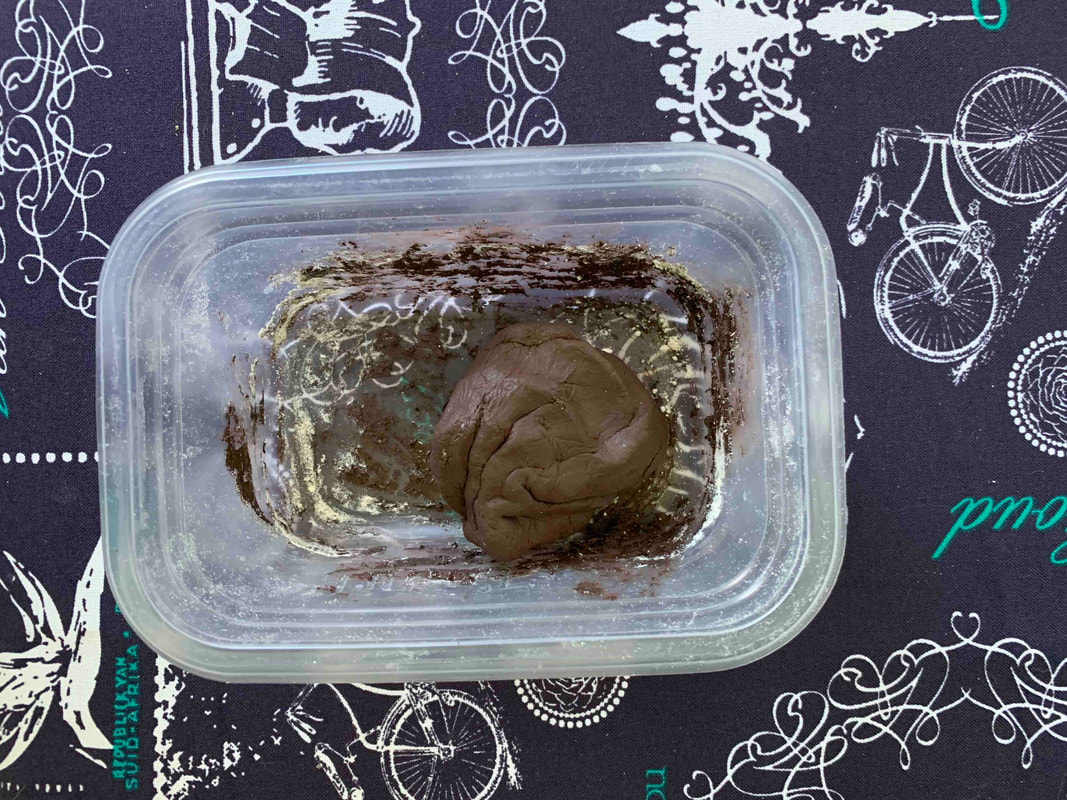
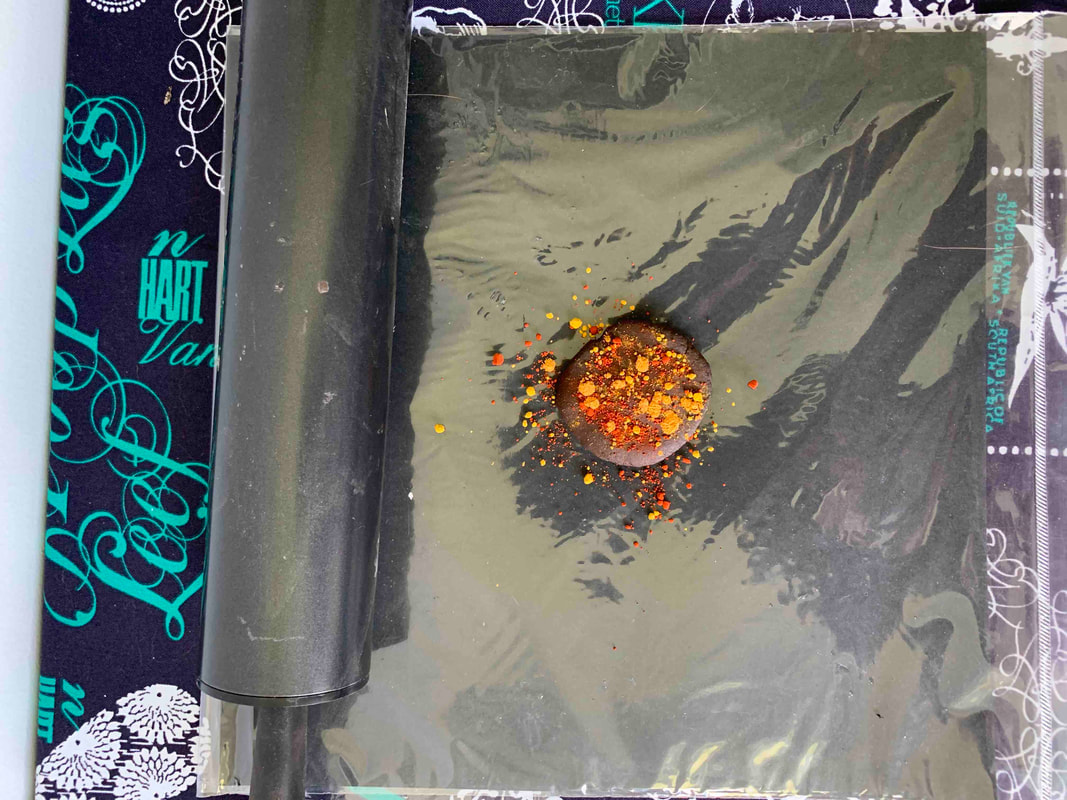
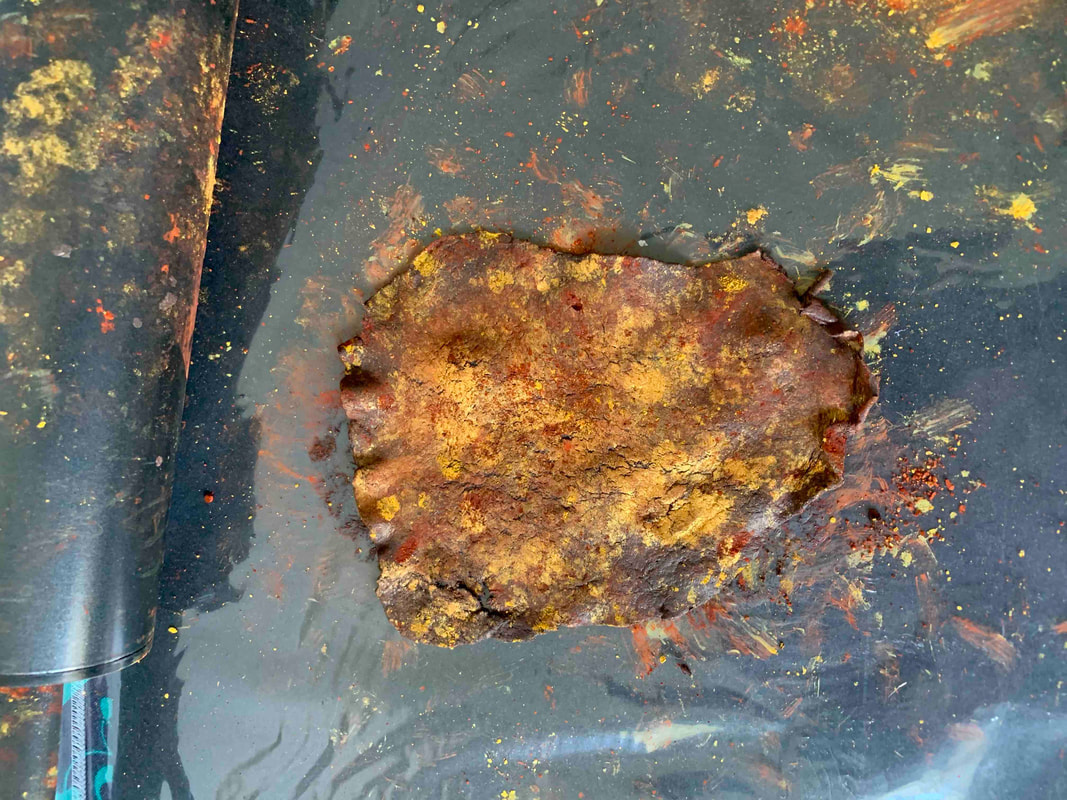
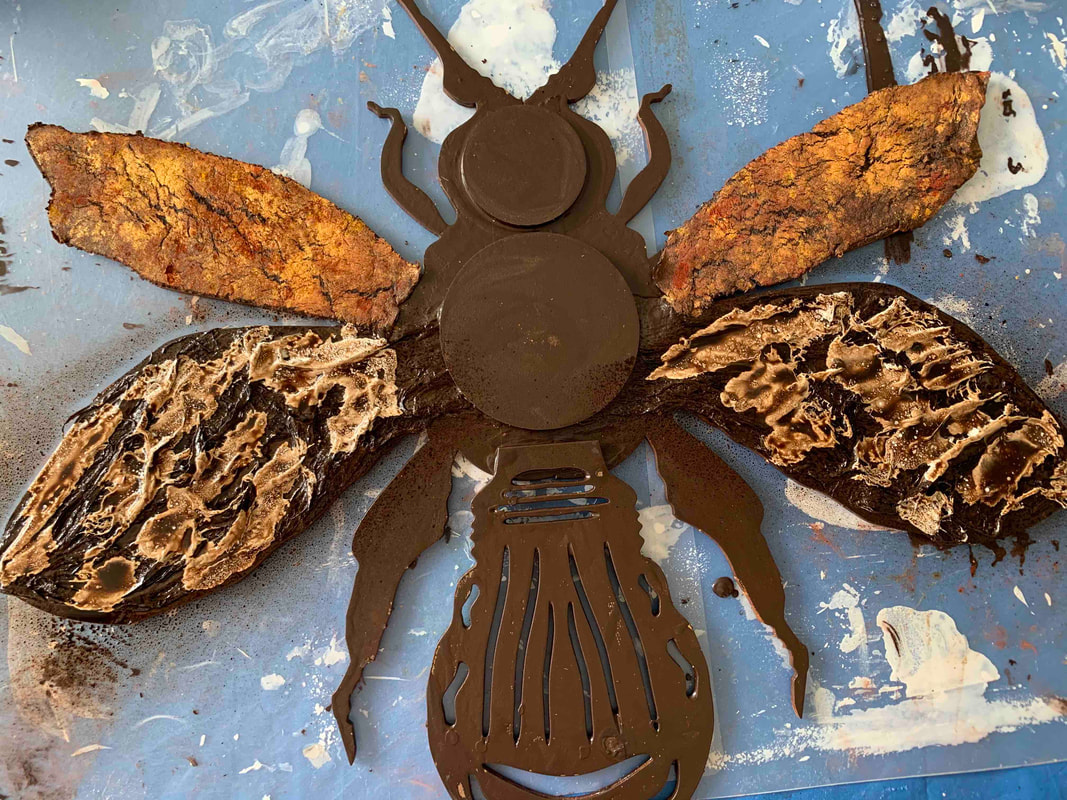
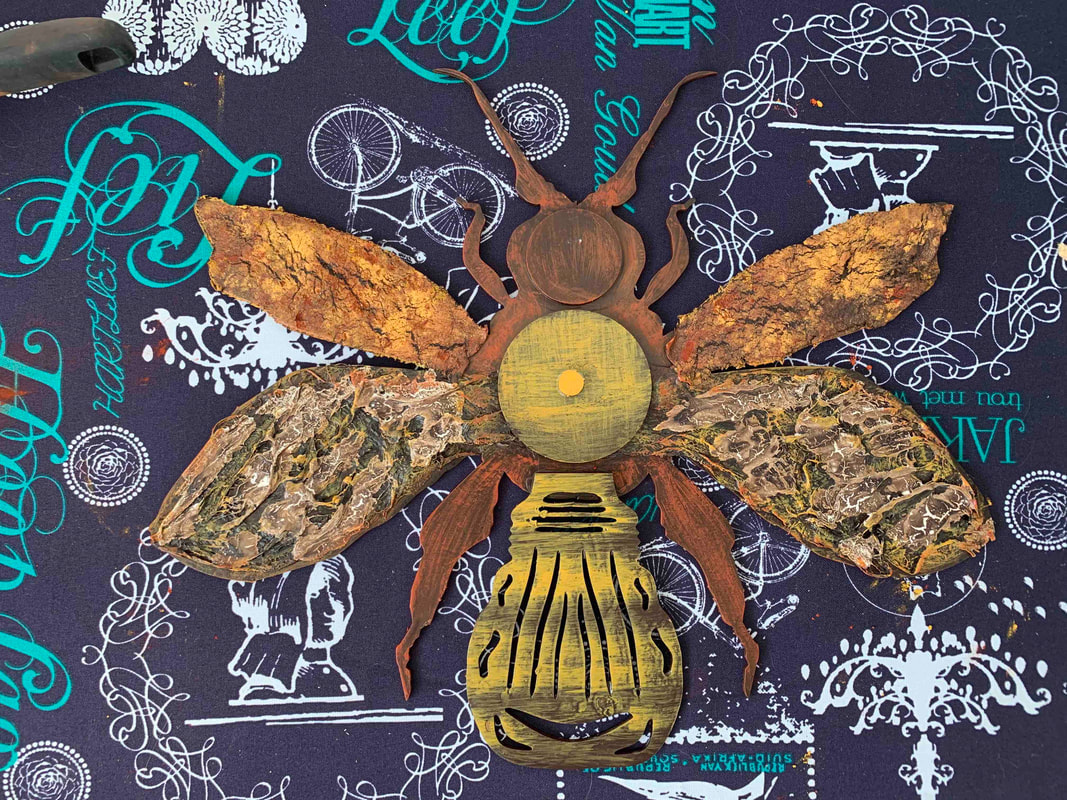
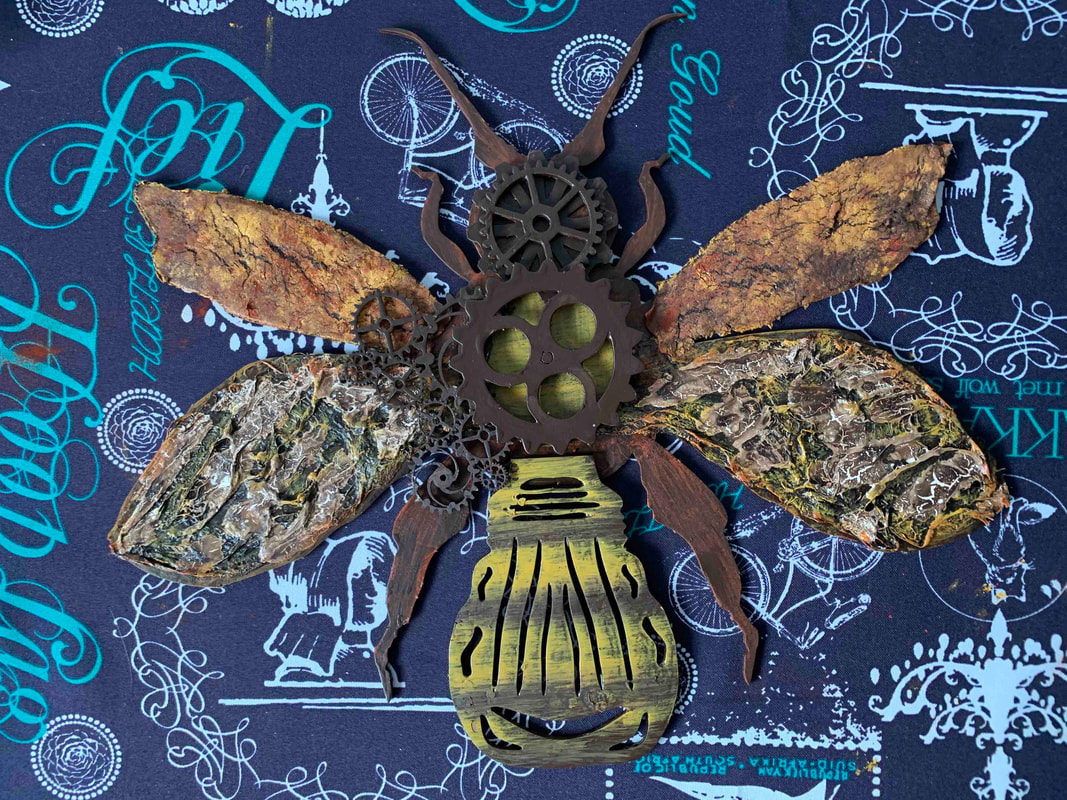
Take all the bits out from the kit. Use Powertex Bronze and paint the back sides of the MDF Firefly and leave to dry. Step 2. Use the natural paperdeco and cut 2 pieces in the shape of the back wing. Paint the back wing with Powertex Bronze. Dip the paperdeco in water (not to wet) pull it apart to create texture and lay it onto the wings. Use masking tape to hold the body parts together. Step 3. Use Powertex Bronze and Stone art and make a soft clay. Roll it into a ball and press it flat on a plastic cutting mat. Sprinkle pigment colours of your choice onto the Stone Art clay. I used Powercolour Red Ochre, Yellow Ochre and Rich Gold. Use the rolling pin and roll the clay out so that the colours press into the clay. It should be very thin. Step 4 Gently pick up the clay and tear it into the shape of the top wings. Paint the wings with Powertex and lay the clay onto the wings. Paint the rest of the Firefly with Powertex Bronze including the back wings over the paperdeco. I also used two of the round circles in the MDF kit to create a base for the head and the body. While waiting for this to dry off start painting the rest of the bits in the MDF kit that you would like to use. Use a little bit of Powertex White and spread it over the back wings into the groves of the paper deco and spray some Bister over it. Create a crackle effect by drying it off with a hairdryer on hot. Step 5. Mix Powercolour Yellow Ochre with Easycoat glossy and paint the tail and the centre piece of the body with brush strokes. Mix Powercolour Red Ochre with Easycoat glossy and paint the legs and the rest of the body with brush strokes so that you still can see the Powertex Bronze colour shining through. Step 6. It’s now time to get into gear and gear up your Steampunk Firefly. Use Powertex Bronze and all the bits that you already painted and start layering it onto each other. You can use some of the left-over clay to stick all the bits on if you are to scare that you will drip on your Firefly with the Powertex Bronze.
Mix Powercolour Yellow Ochre and with Brush strokes go over some of the gears that you would like to high light and do the same with Powercolour Red Ochre. To give your MDF Steampunk Firefly a bit of a shine use our beautiful Rich Gold pigment and go over some areas that you would like to stand out. I really love this colour so I always go overboard with it! I also used 2 glass eyes to perfect my Firefly but there was still something missing in my project. Yes, it needs a light on the tail to make it a real Firefly. So, I used one off my hand torches and put it behind the tail and it just lit up the whole room. This was so much fun and I love my end result! This MDF Firefly project will allow you to make use of a variety of techniques using Powertex, Stone Art, Paperdeco, Bister, Easycoat Glossy, Metallic and Matt Pigments. Join me on my creative journey with Powertex Enjoy the ride Erika |
AuthorNatalie Parish creates eclectic pieces of art. She is the Distributor and Design Team Trainer for Powertex in QLD Australia and enjoys sharing her passion for the product Archives
September 2021
Categories
|


 RSS Feed