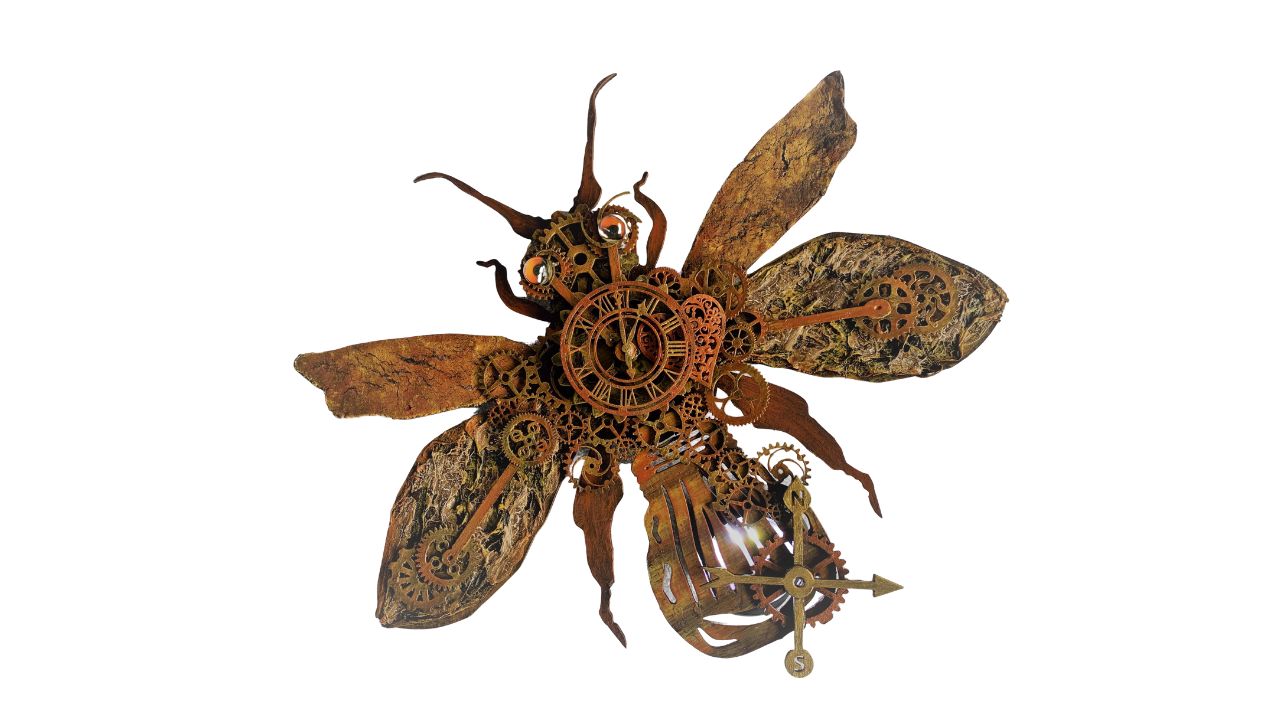
AuthorErika Venter Designs. - erikaventer.weebly.com/ The inspirational theme this month is ‘Living Light’ in celebration of the International Day of Light… and Erika Venter along with Powertex Australia and Cobwebbs Craft Studio has brought out a fantastic new kit for you to create at home – a Steampunk Firefly… it’s awesome! There are so many ideas on the internet to get you started… but the best is when you use all bits of info and actually create your own idea. This is how I created my beautiful Steampunk Firefly. You can make one too…
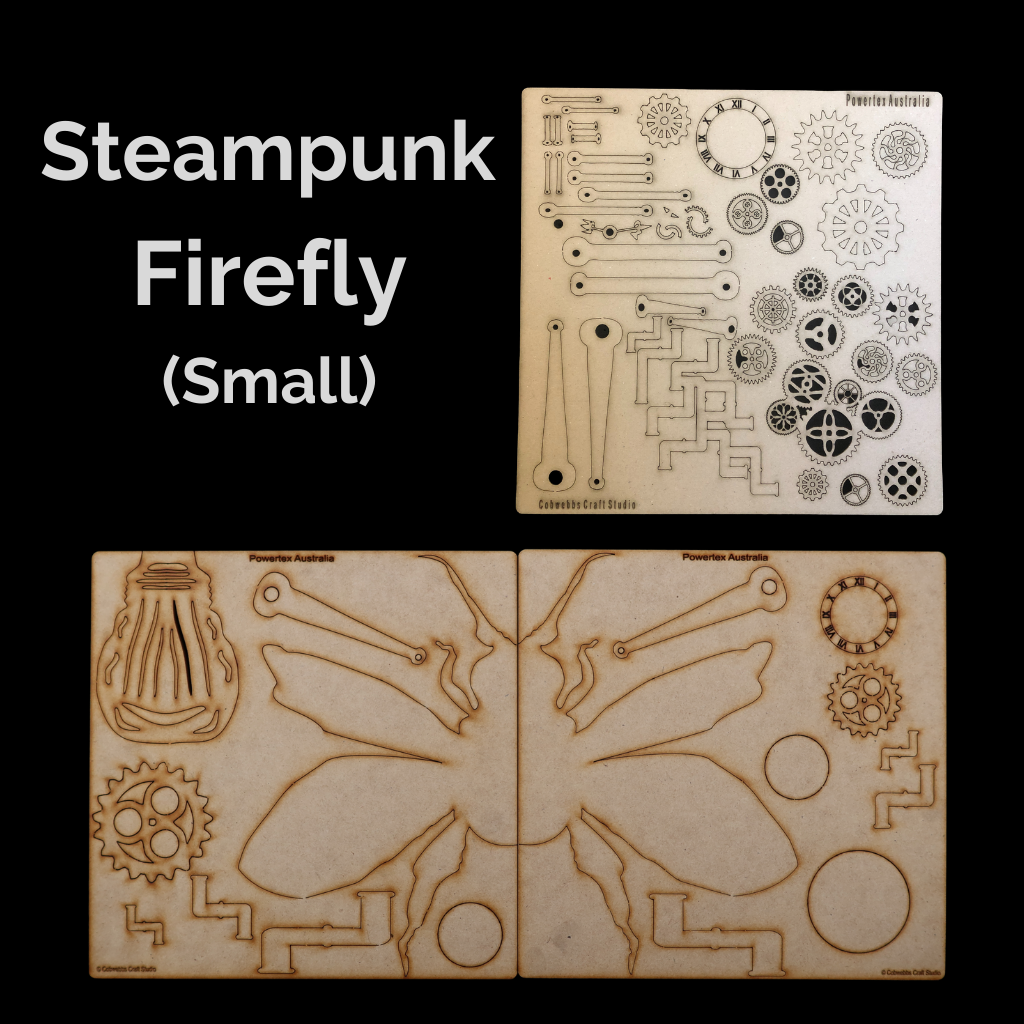
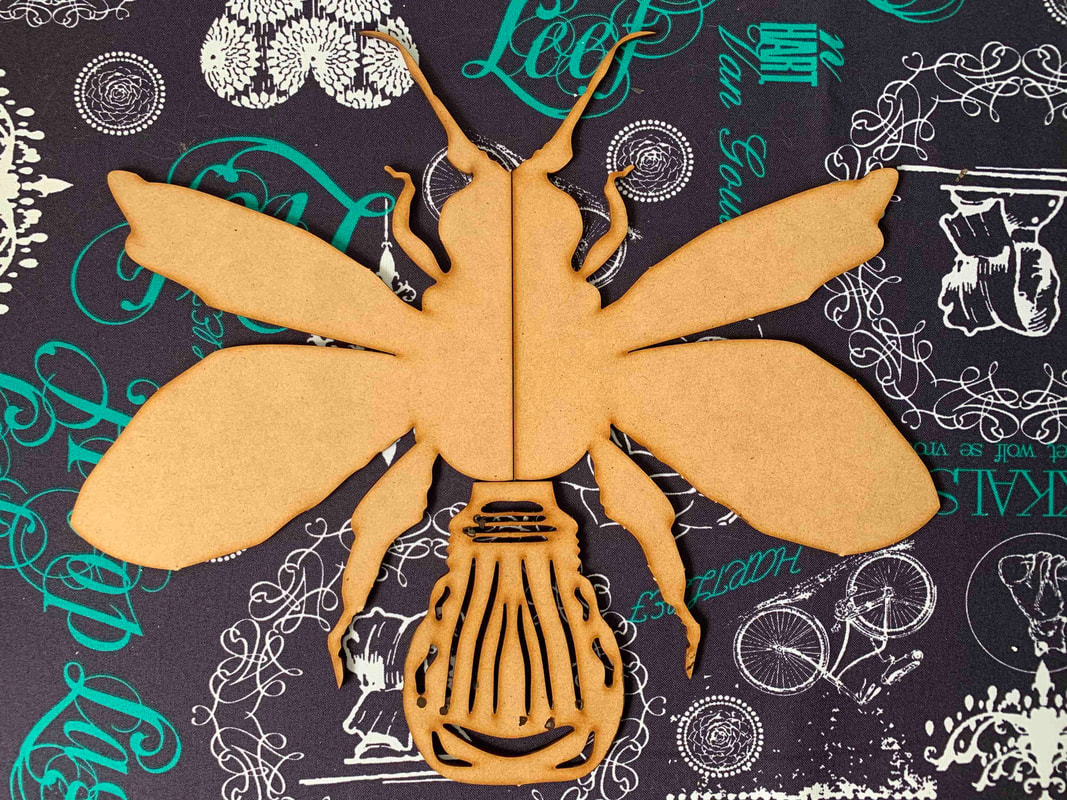
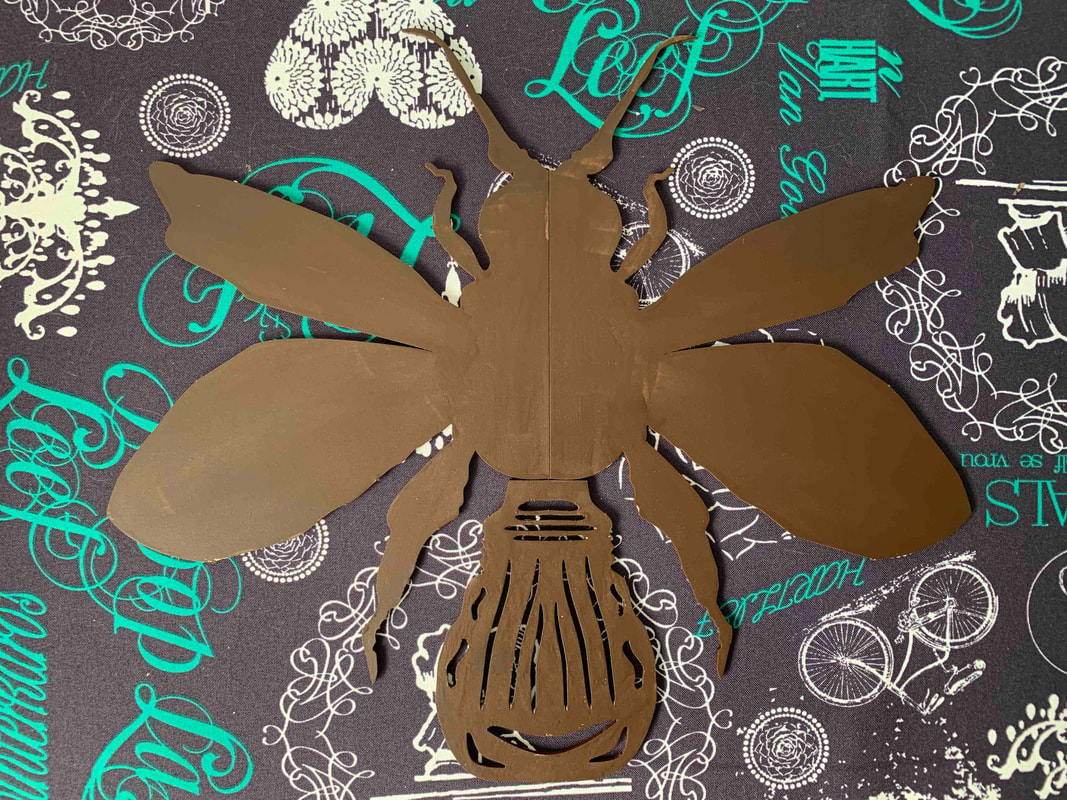
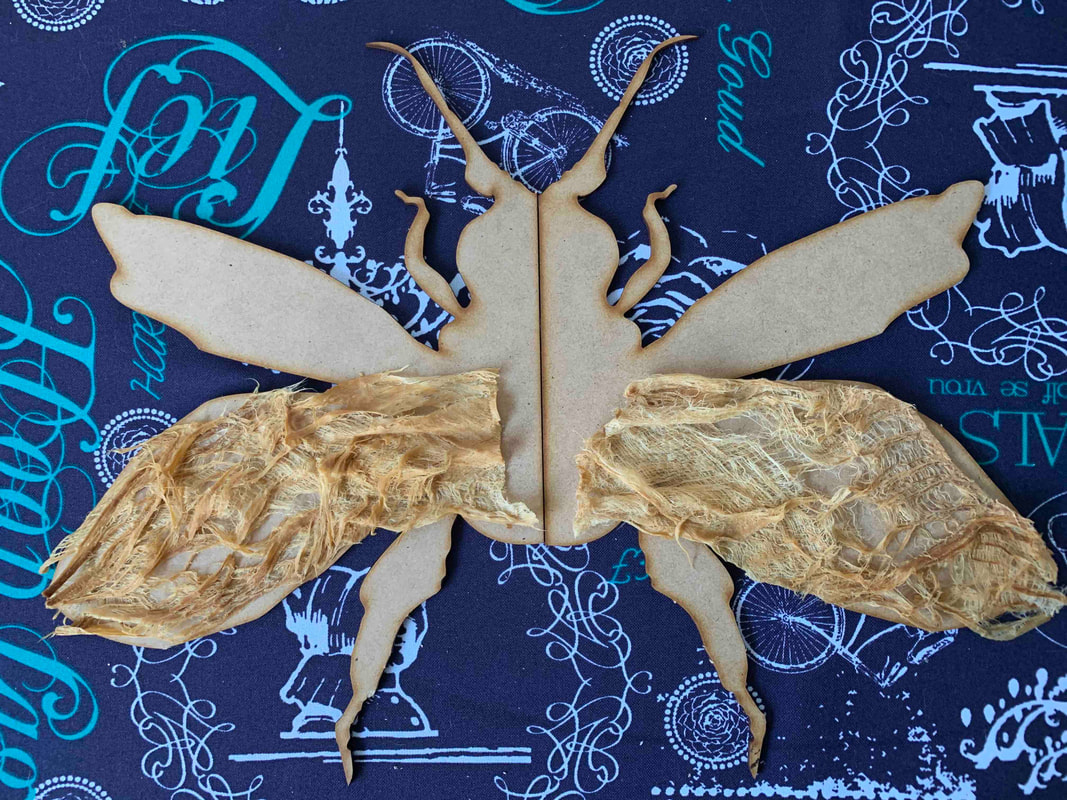
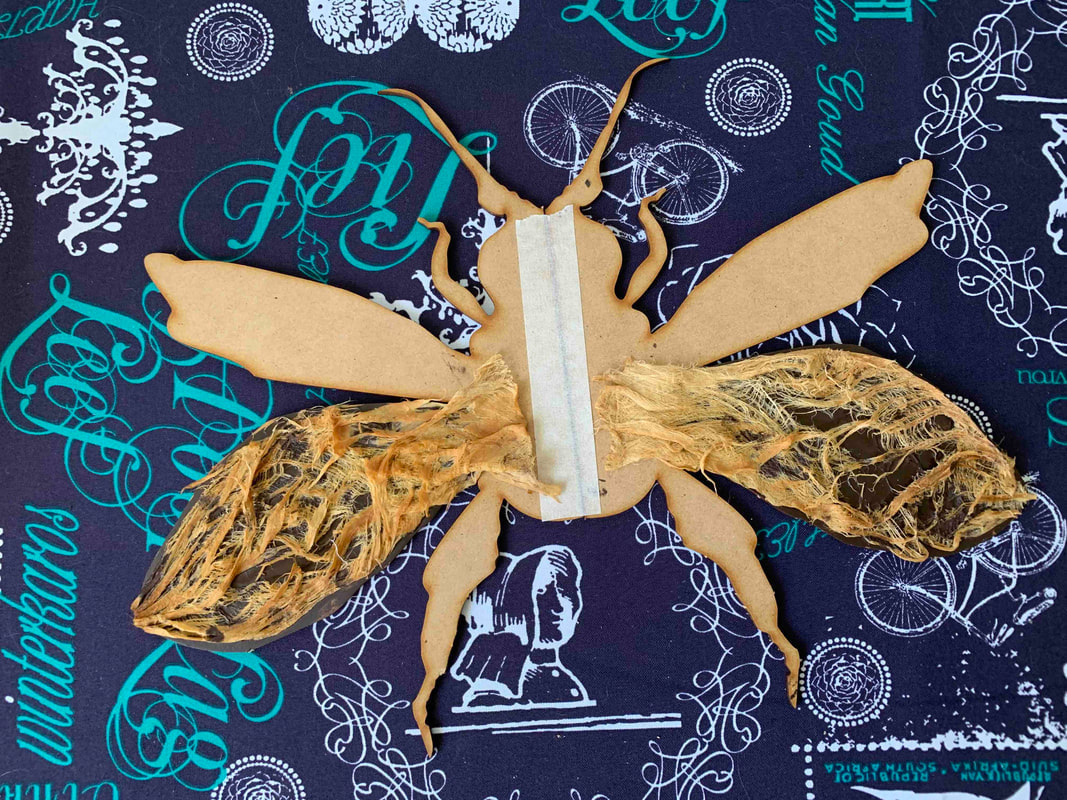
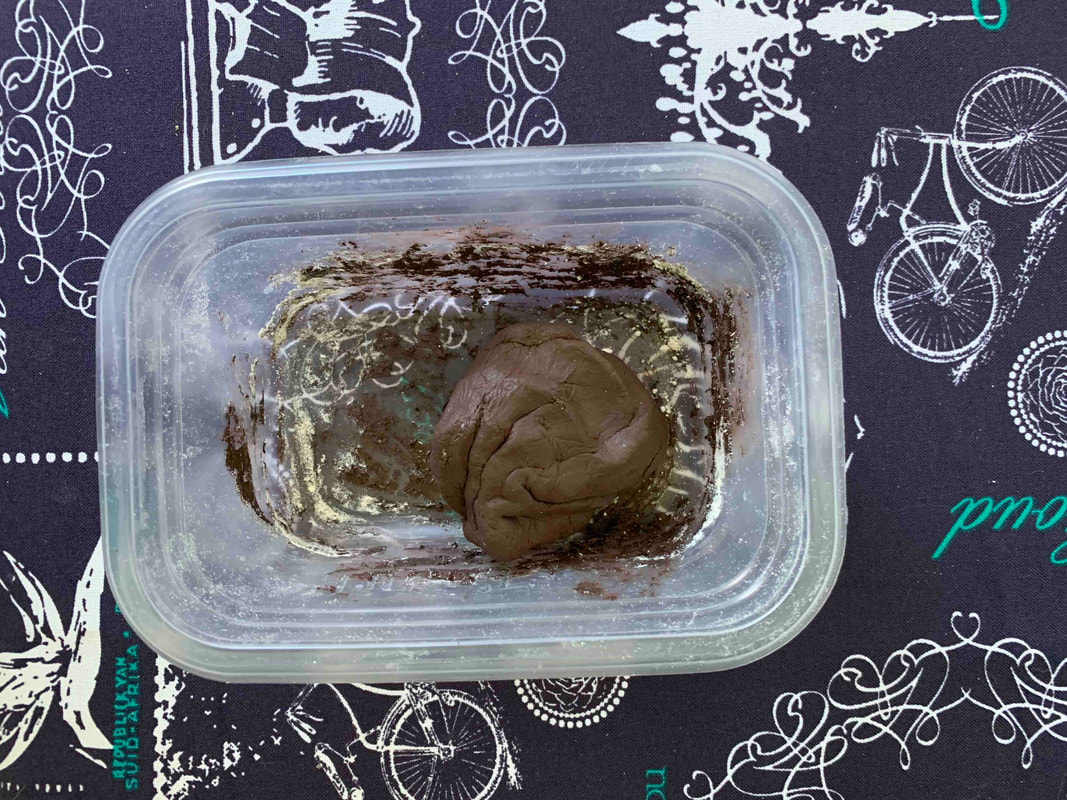
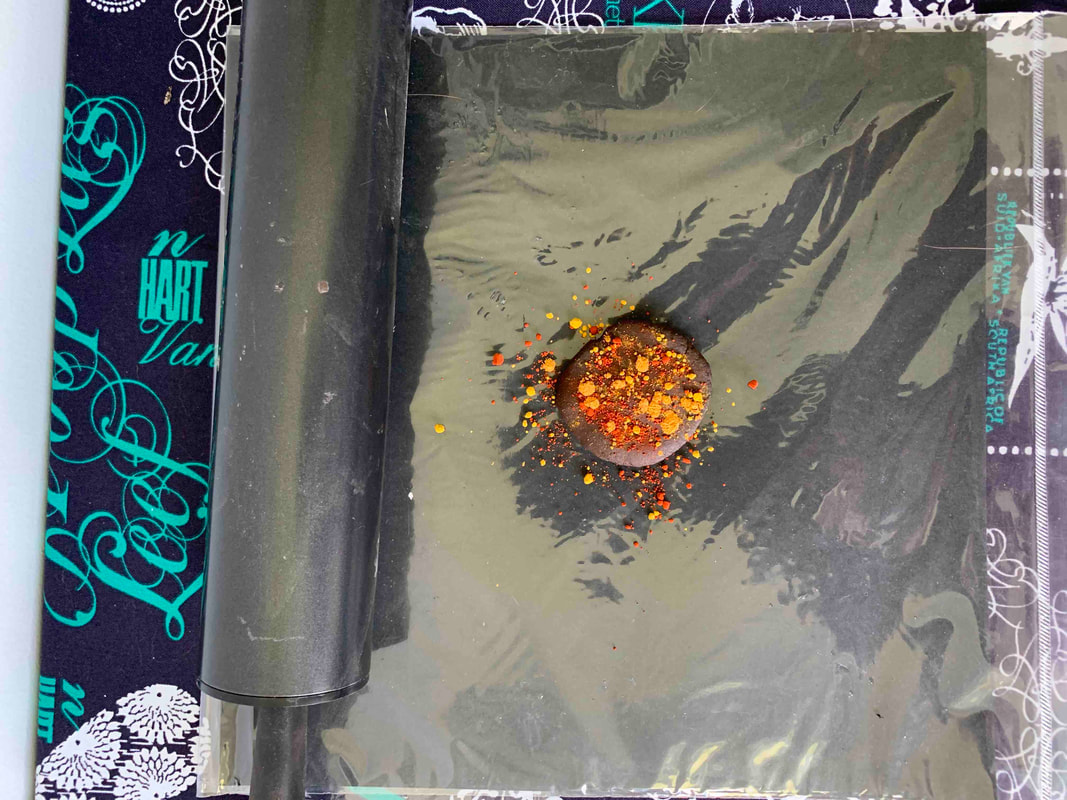
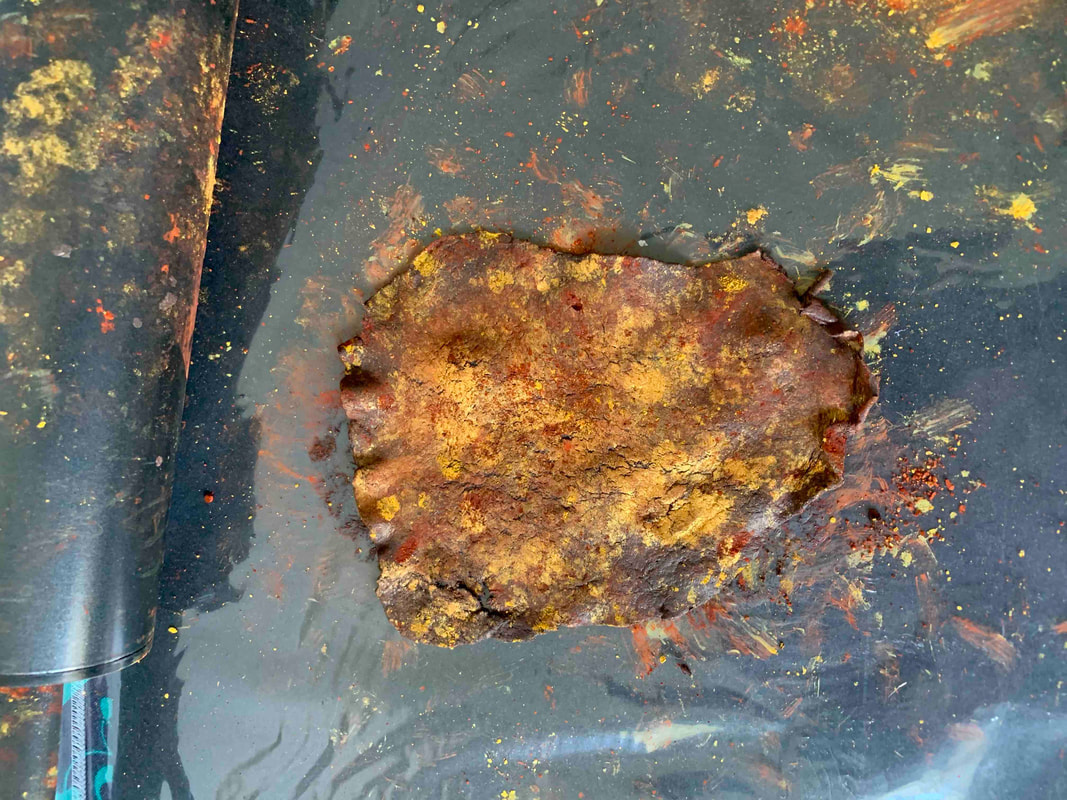
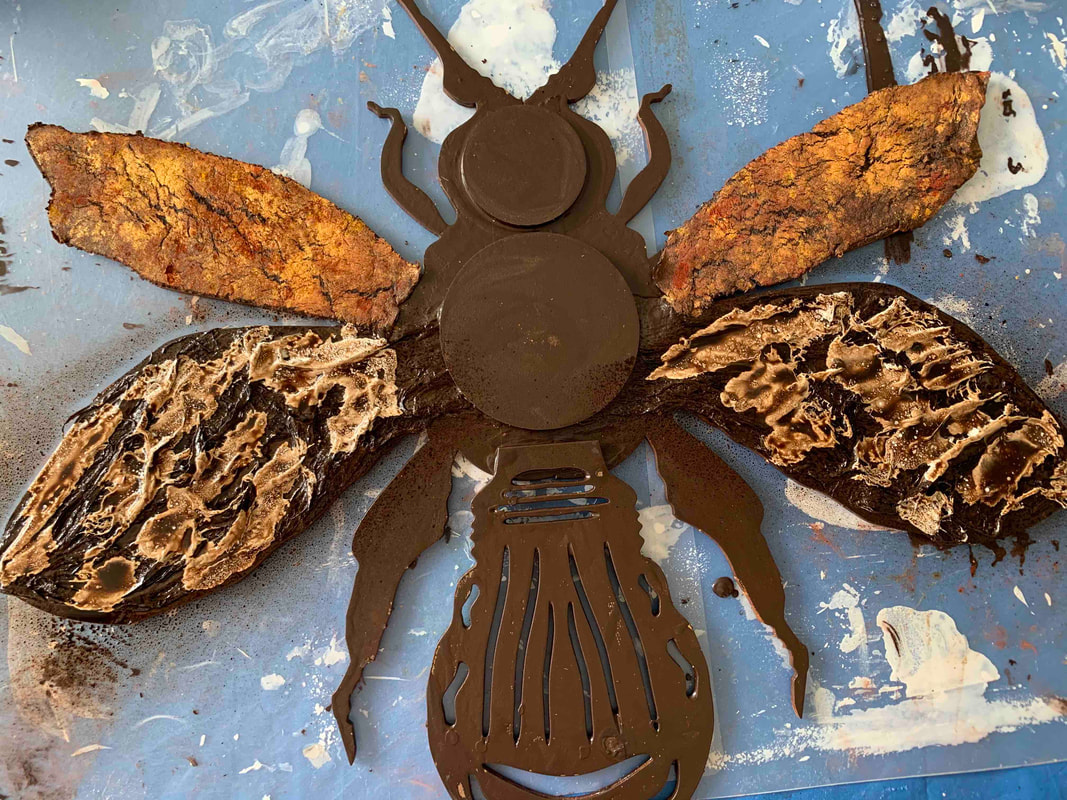
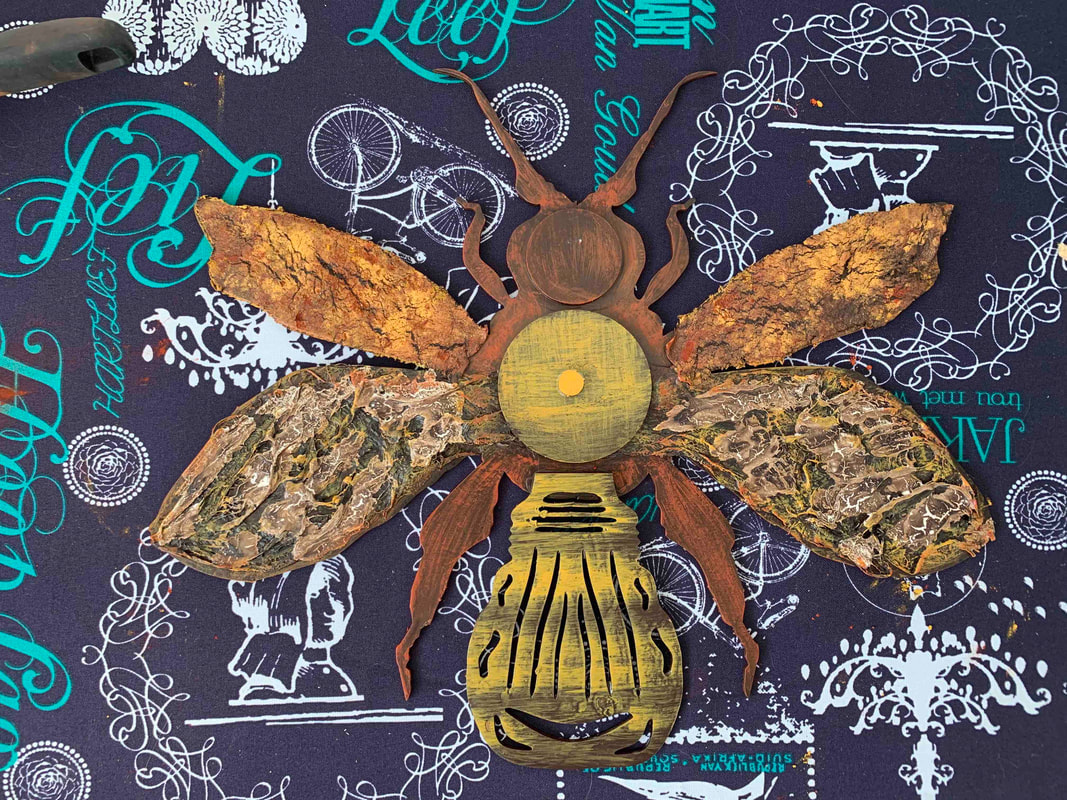
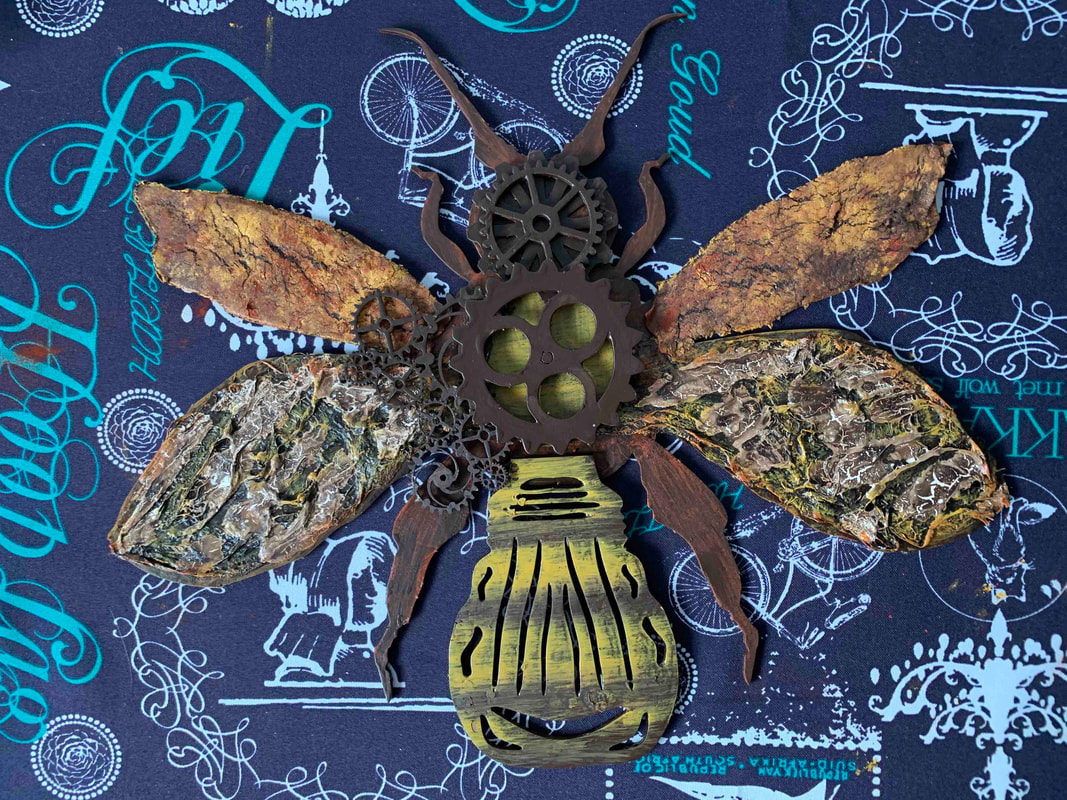
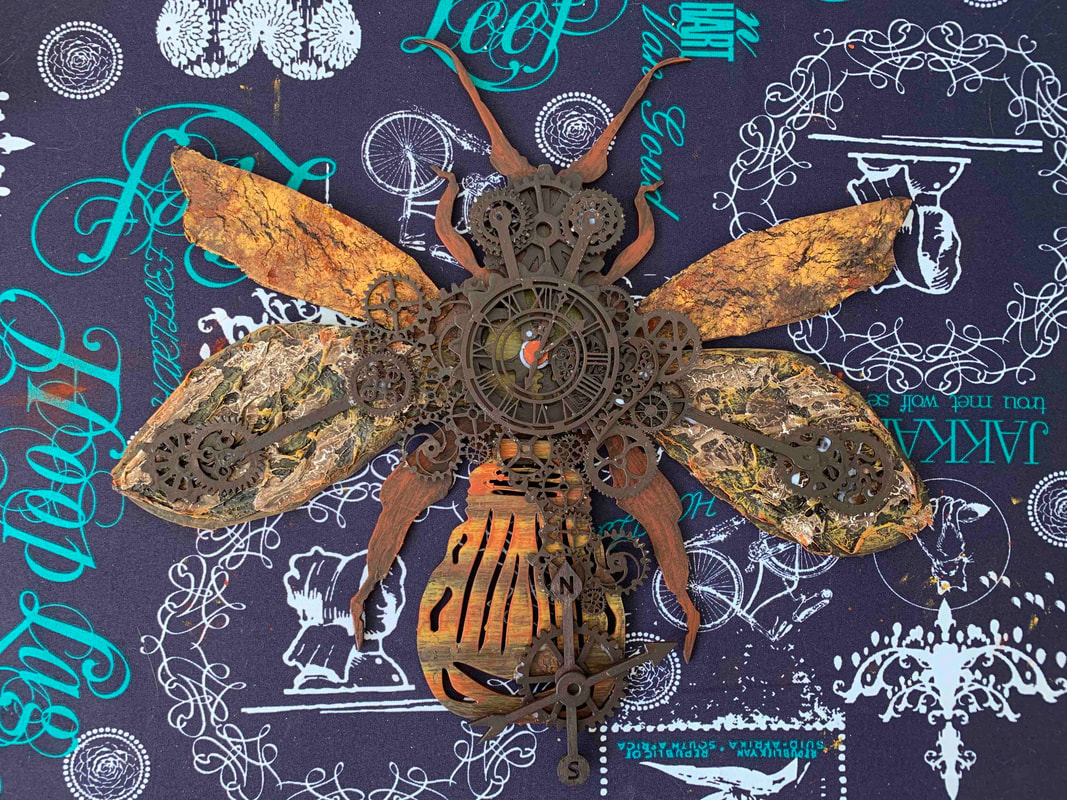
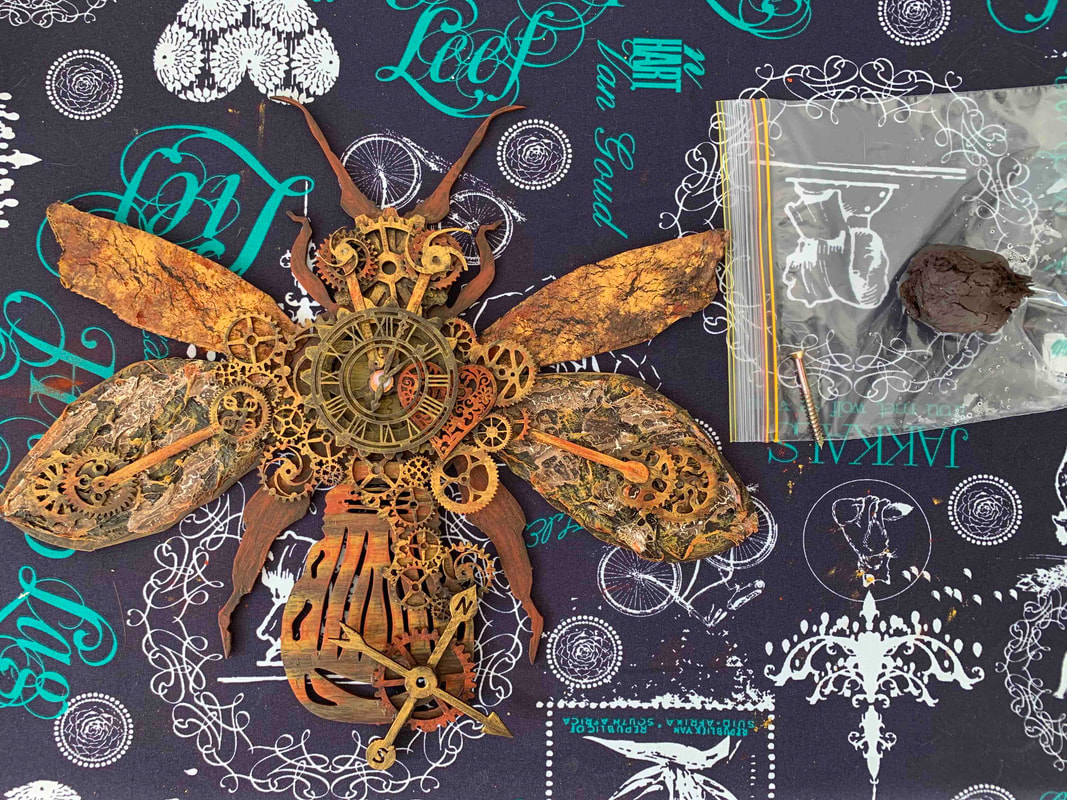
Take all the bits out from the kit. Use Powertex Bronze and paint the back sides of the MDF Firefly and leave to dry. Step 2. Use the natural paperdeco and cut 2 pieces in the shape of the back wing. Paint the back wing with Powertex Bronze. Dip the paperdeco in water (not to wet) pull it apart to create texture and lay it onto the wings. Use masking tape to hold the body parts together. Step 3. Use Powertex Bronze and Stone art and make a soft clay. Roll it into a ball and press it flat on a plastic cutting mat. Sprinkle pigment colours of your choice onto the Stone Art clay. I used Powercolour Red Ochre, Yellow Ochre and Rich Gold. Use the rolling pin and roll the clay out so that the colours press into the clay. It should be very thin. Step 4 Gently pick up the clay and tear it into the shape of the top wings. Paint the wings with Powertex and lay the clay onto the wings. Paint the rest of the Firefly with Powertex Bronze including the back wings over the paperdeco. I also used two of the round circles in the MDF kit to create a base for the head and the body. While waiting for this to dry off start painting the rest of the bits in the MDF kit that you would like to use. Use a little bit of Powertex White and spread it over the back wings into the groves of the paper deco and spray some Bister over it. Create a crackle effect by drying it off with a hairdryer on hot. Step 5. Mix Powercolour Yellow Ochre with Easycoat glossy and paint the tail and the centre piece of the body with brush strokes. Mix Powercolour Red Ochre with Easycoat glossy and paint the legs and the rest of the body with brush strokes so that you still can see the Powertex Bronze colour shining through. Step 6. It’s now time to get into gear and gear up your Steampunk Firefly. Use Powertex Bronze and all the bits that you already painted and start layering it onto each other. You can use some of the left-over clay to stick all the bits on if you are to scare that you will drip on your Firefly with the Powertex Bronze.
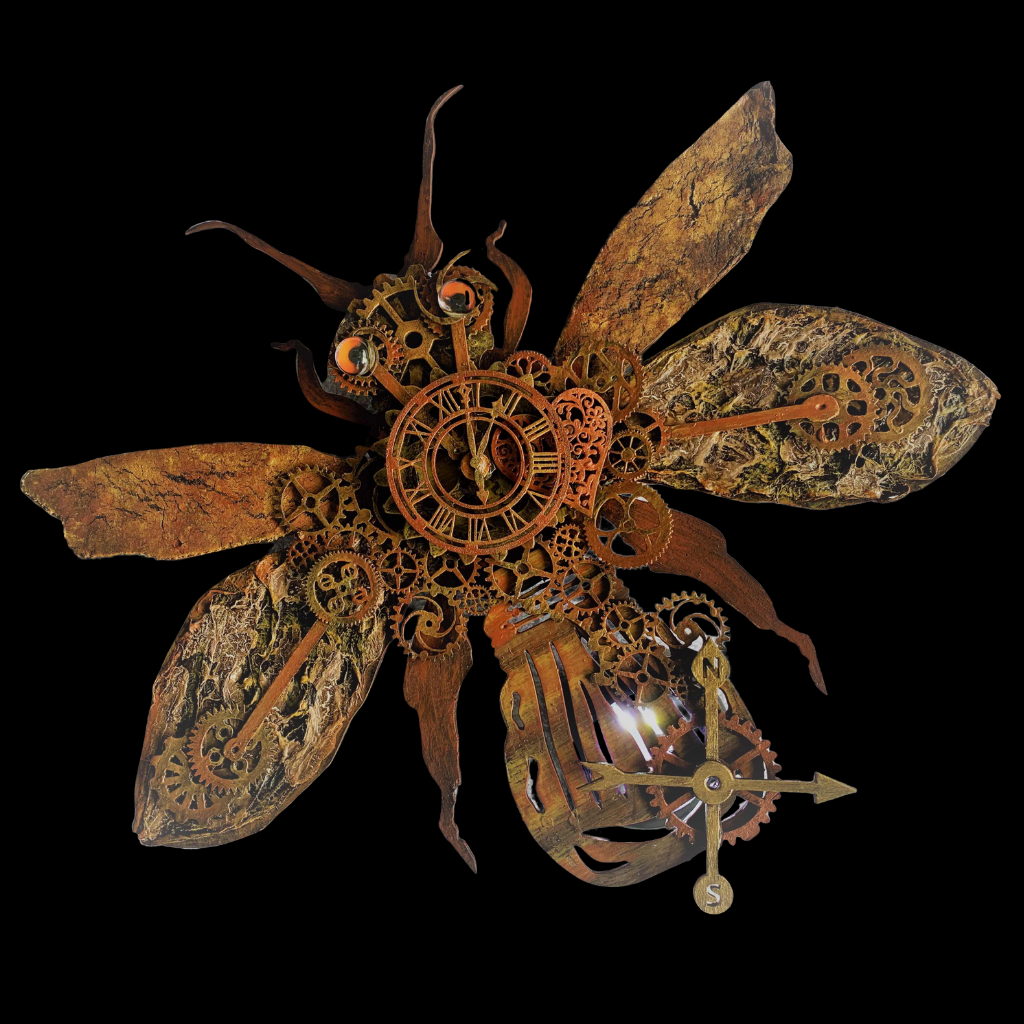
Mix Powercolour Yellow Ochre and with Brush strokes go over some of the gears that you would like to high light and do the same with Powercolour Red Ochre. To give your MDF Steampunk Firefly a bit of a shine use our beautiful Rich Gold pigment and go over some areas that you would like to stand out. I really love this colour so I always go overboard with it! I also used 2 glass eyes to perfect my Firefly but there was still something missing in my project. Yes, it needs a light on the tail to make it a real Firefly. So, I used one off my hand torches and put it behind the tail and it just lit up the whole room. This was so much fun and I love my end result! This MDF Firefly project will allow you to make use of a variety of techniques using Powertex, Stone Art, Paperdeco, Bister, Easycoat Glossy, Metallic and Matt Pigments. Join me on my creative journey with Powertex Enjoy the ride Erika
0 Comments
Your comment will be posted after it is approved.
Leave a Reply. |
AuthorNatalie Parish creates eclectic pieces of art. She is the Distributor and Design Team Trainer for Powertex in QLD Australia and enjoys sharing her passion for the product Archives
September 2021
Categories
|

 RSS Feed