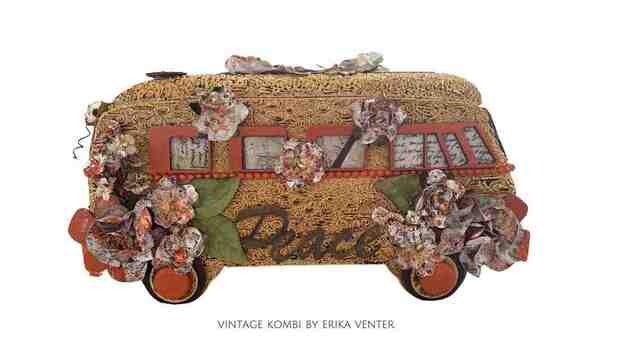
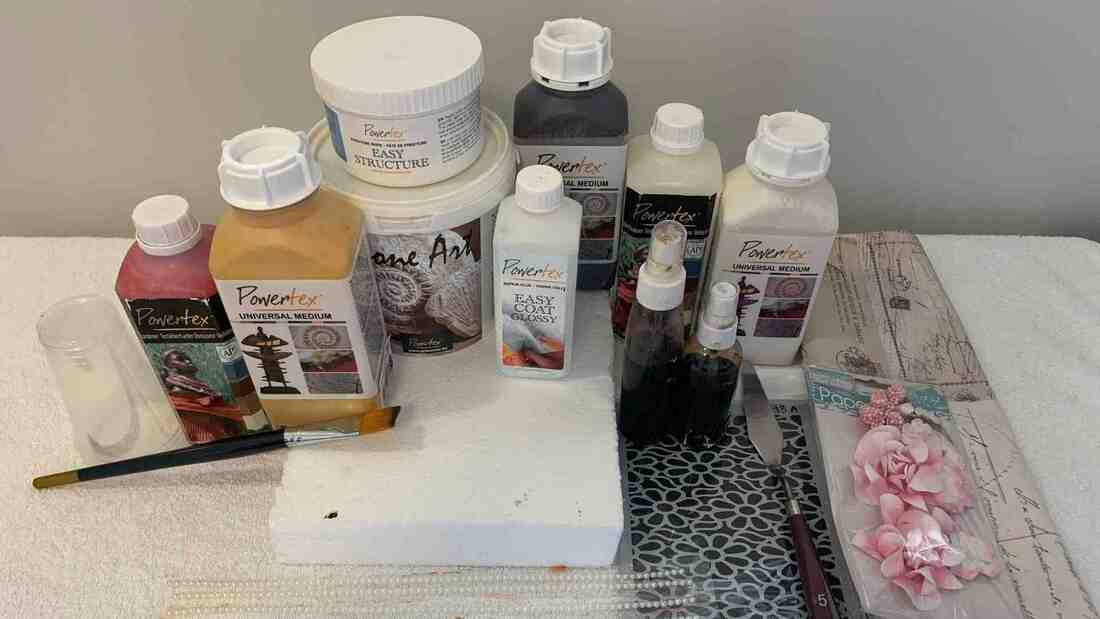
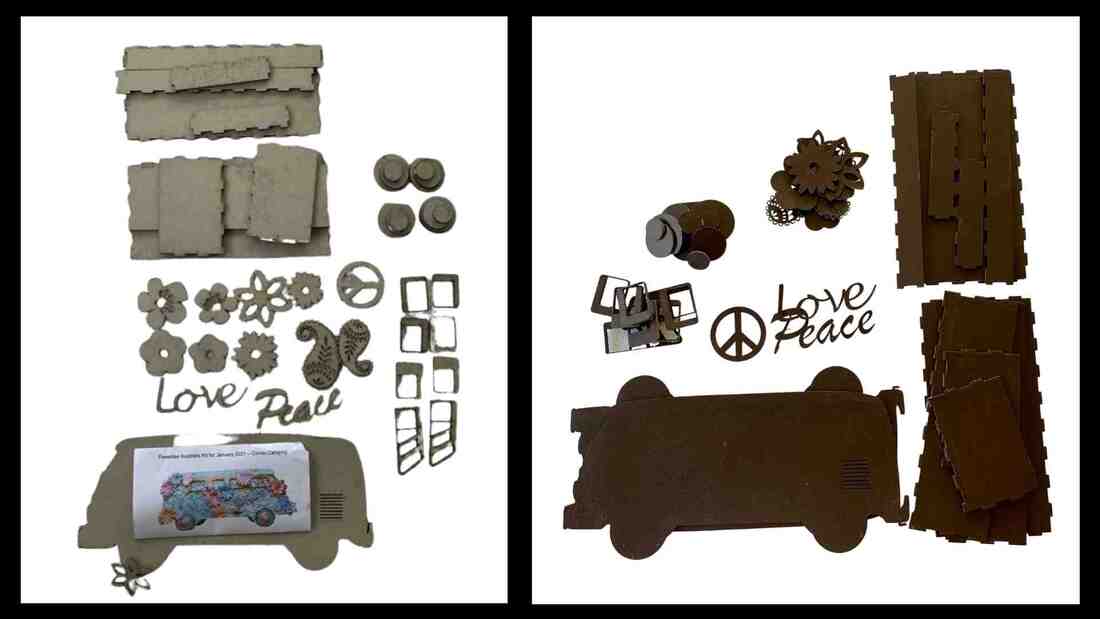
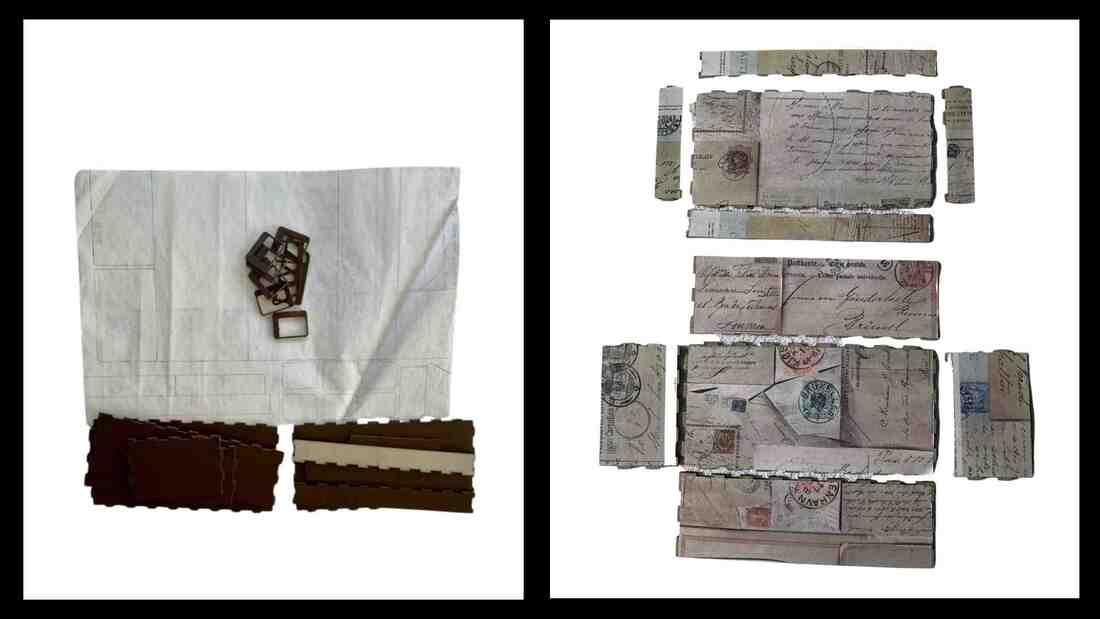
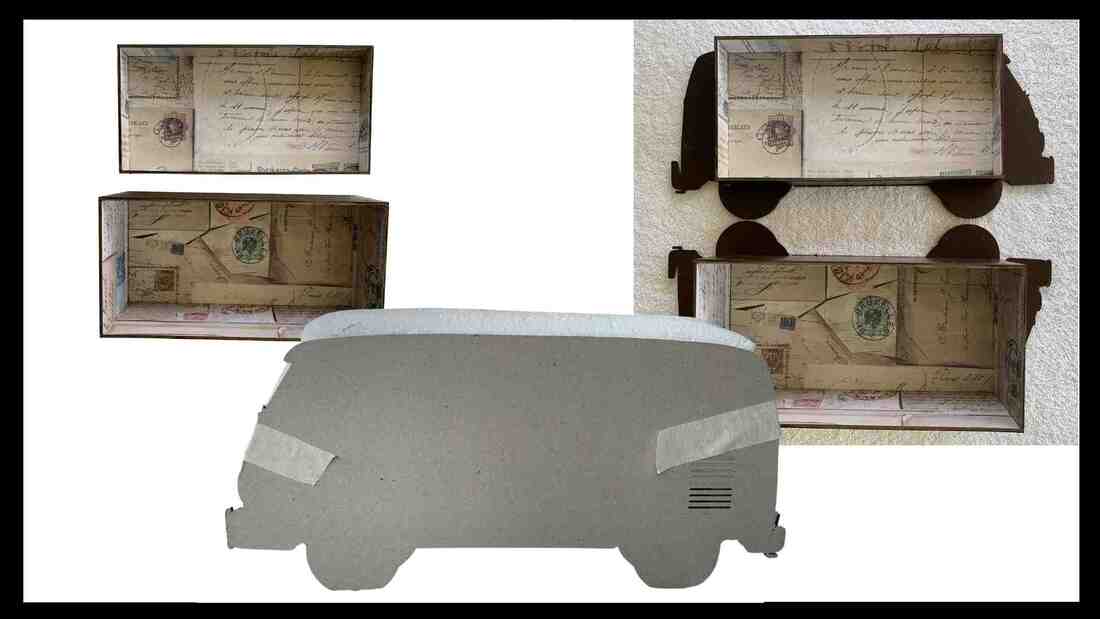
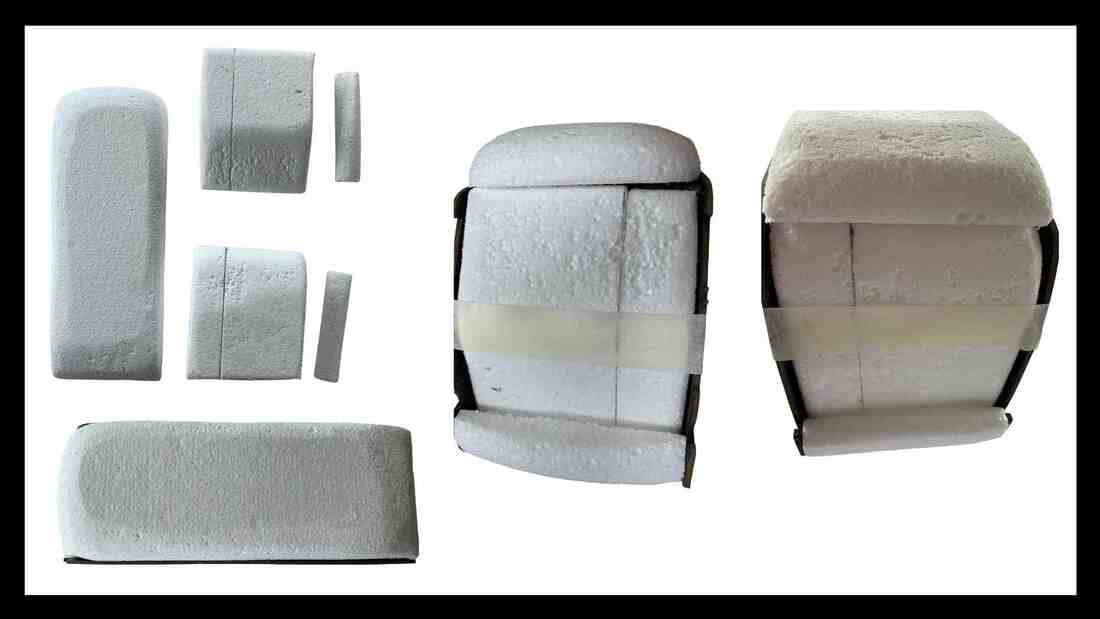
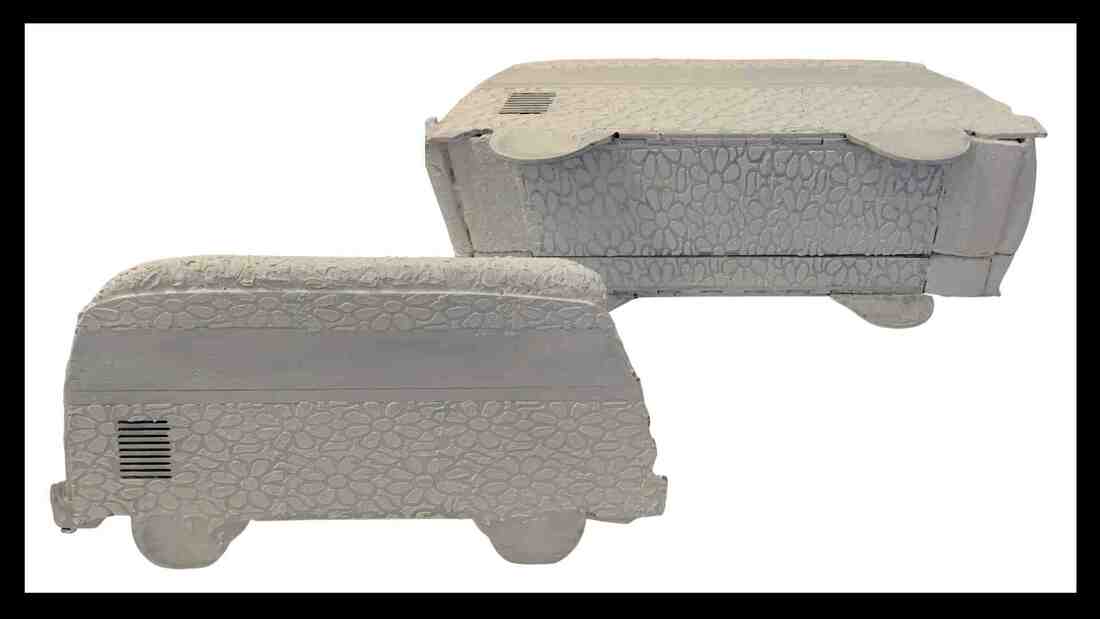
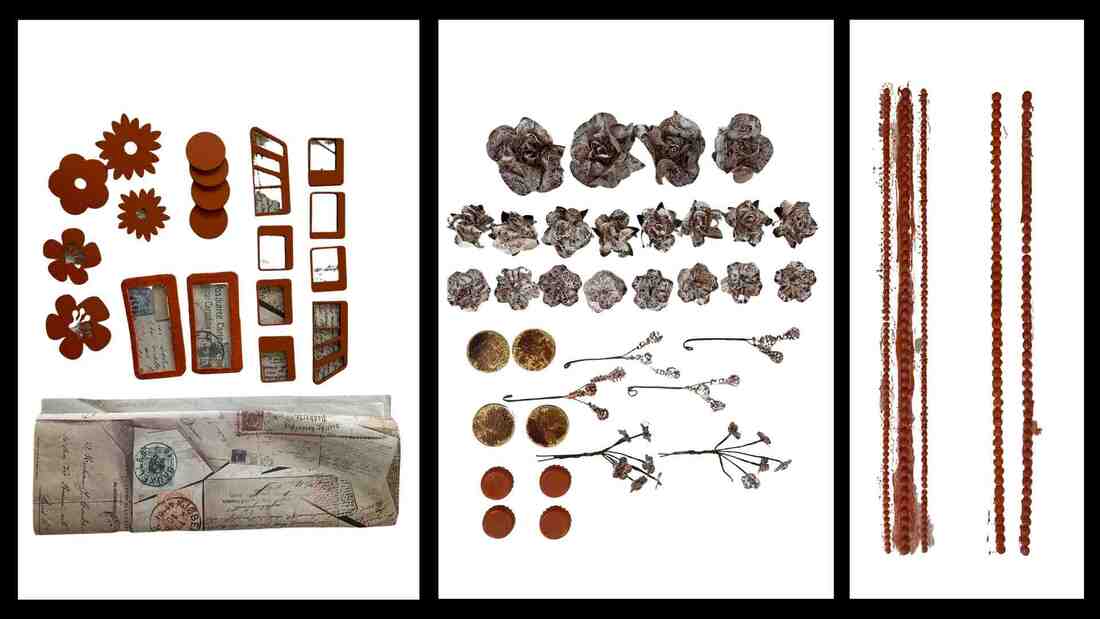
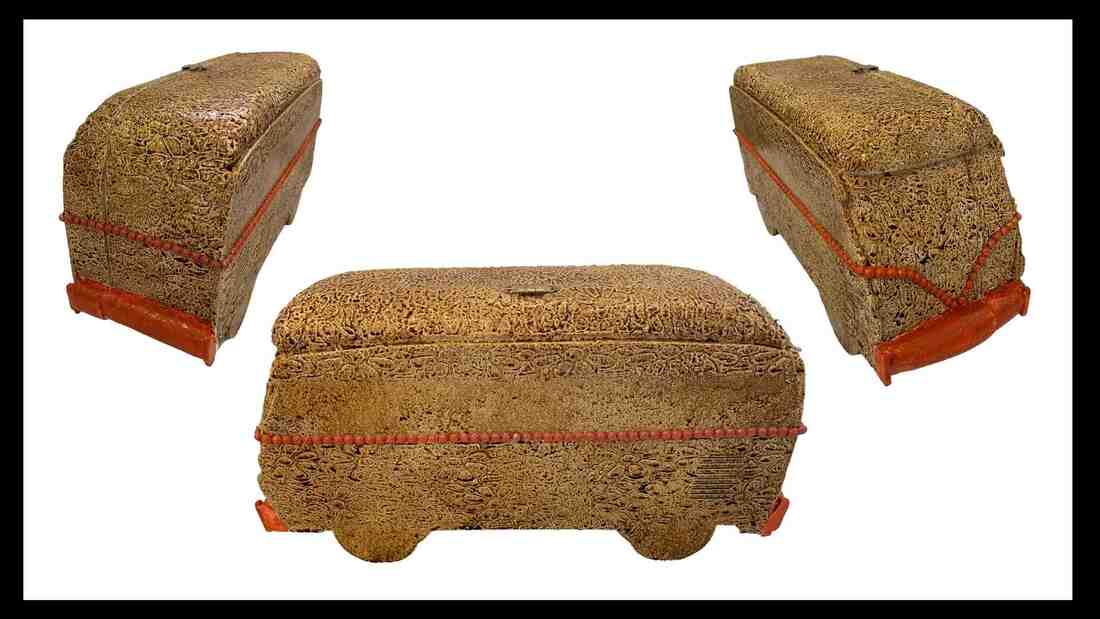
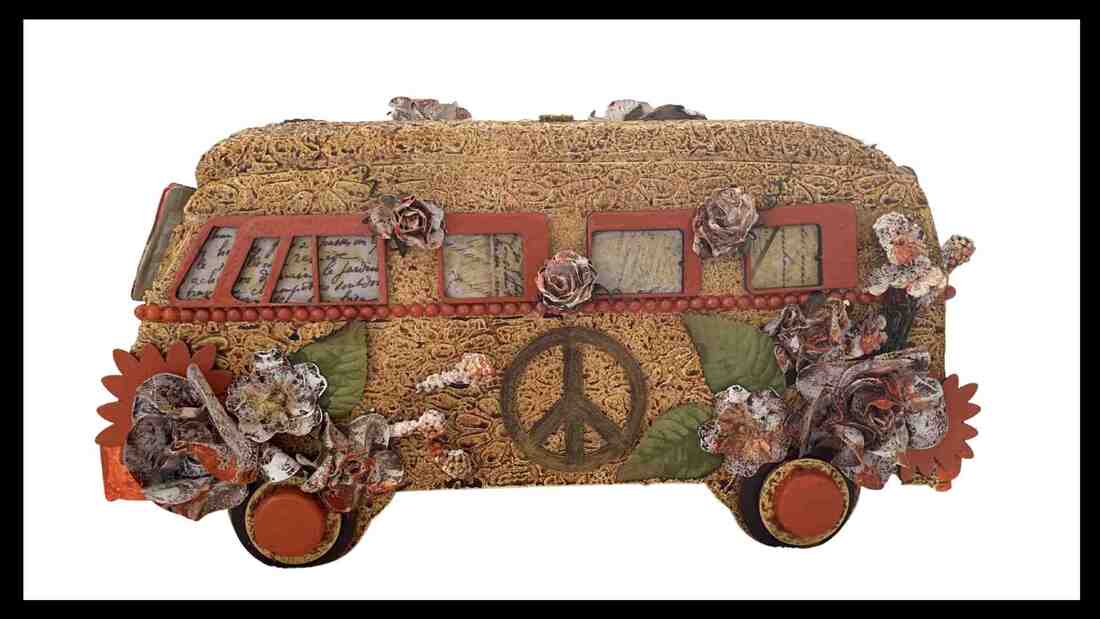
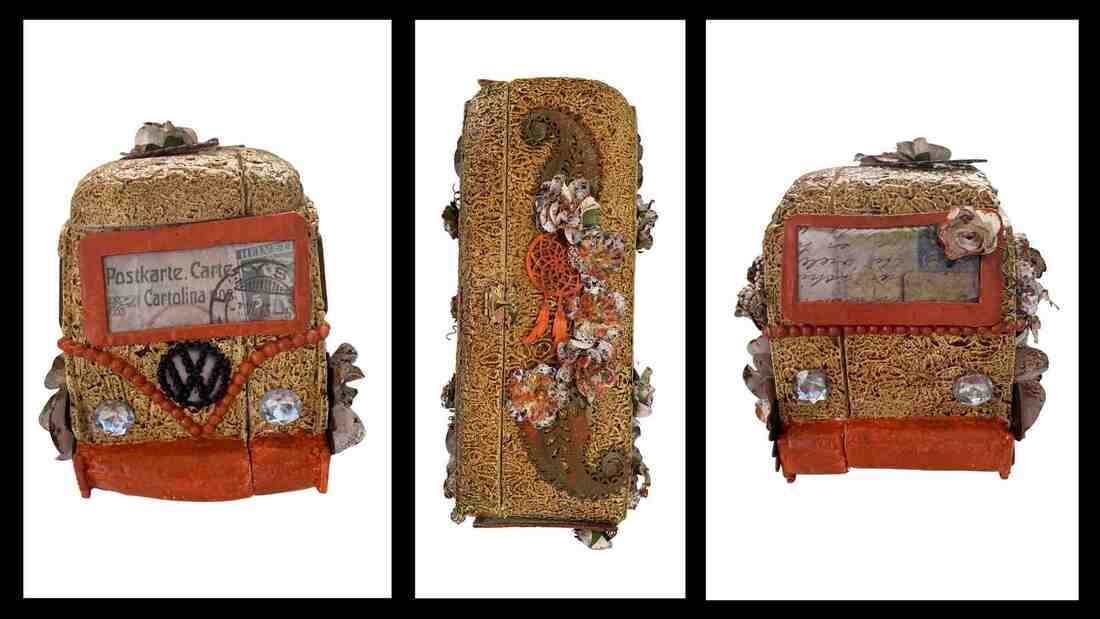
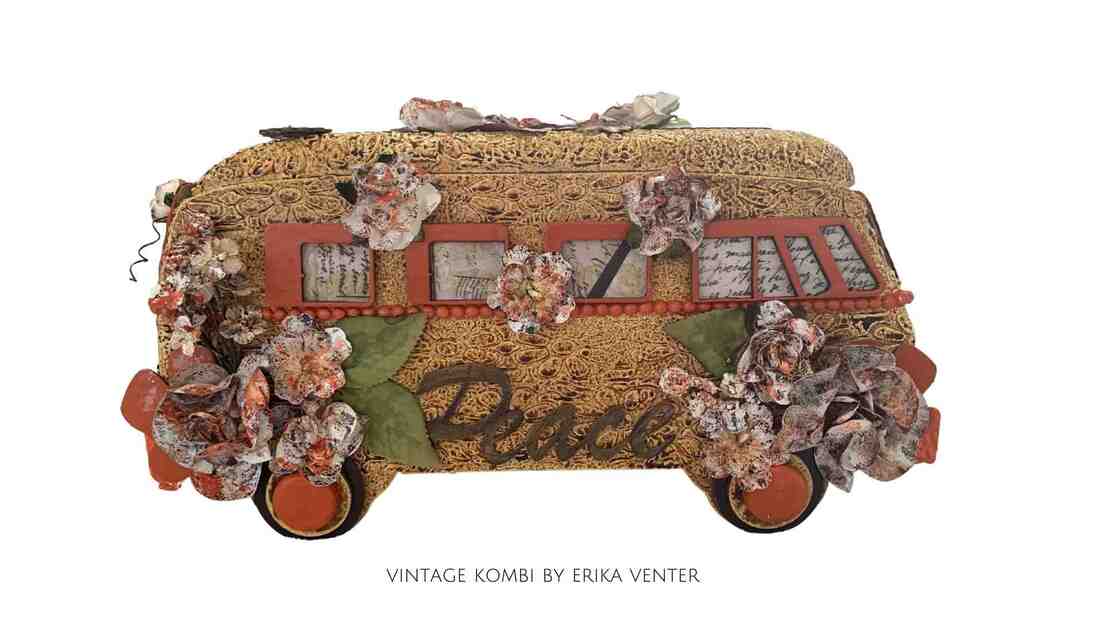
 For me the VW Kombi Van is the epitome of a very laid-back life… capturing all good things that happen on an adventure. I was extremely excited to start creating this wonderful memory box and had a lot of ideas! I thought the Kombi is such a classic flashback to the past that I decided to make a Vintage Kombi. This is how I created my Vintage Kombi Memory box… ready for my next adventure! Powertex Products: MDF Kombi Kit, Powertex Ultimate Medium Bronze, Transparent, White, Yellow and Red, Stone Art, Easy Structure, Bister Yellow, Postcard Silk Paper and Easycoat Glossy, Other Materials of your choice: Hinges & Latches, Paper Flowers, Stencils, Styrofoam, Masking Tape, 4 Bottle Caps, Pearl Strips, Bling for the lights, Cardboard, Tools: Paint brushes/rollers, Stanley knife, Sandpaper, Container for Powertex, Spatula or Palette knife. Step 1. Unpack your Kombi MDF kit. I used Powertex Bronze to paint one side off all bits and pieces and left it to dry completely. Step 2. Use all sides of the box and trace them onto the back of the silk paper. (I used the postcard silk paper because it fits with the idea of a travel memory box.) After cutting out all the pieces I then decoupaged the papers onto the box by painting a layer of Easycoat Glossy on the unpainted sides of the box, and carefully but quickly placing the silk paper over it and rubbing with my hands to get rid off any wrinkles and creases. Do all the side and then apply a layer of Easycoat glossy over the paper to give it a glossy shine. Leave to dry completely. Step 3. I then used some Powertex Transparent to put the box together. I also painted the edges to make sure that the box is completely sealed on the inside. I than used masking tape to hold the box together while it dried. Step 4. I used Styrofoam to create the front, back, Roof and bumpers of my Kombi Van. After cutting it out with a Stanley knife, I carved it onto the shape of the back, front and Roof of a Kombi. I then used sandpaper and sanded out all the dents and smoothed the edges. When I was happy how it looked, I painted the whole Kombi with Powertex White (TIP: You could begin your project with white instead of Bronze). Step 5. I added some texture to my Kombi by using Easy Structure and this lovely flower stencil also from Powertex Australia. This structure paste is the best product because it dries super quickly and it’s very easy to use. Step 6. 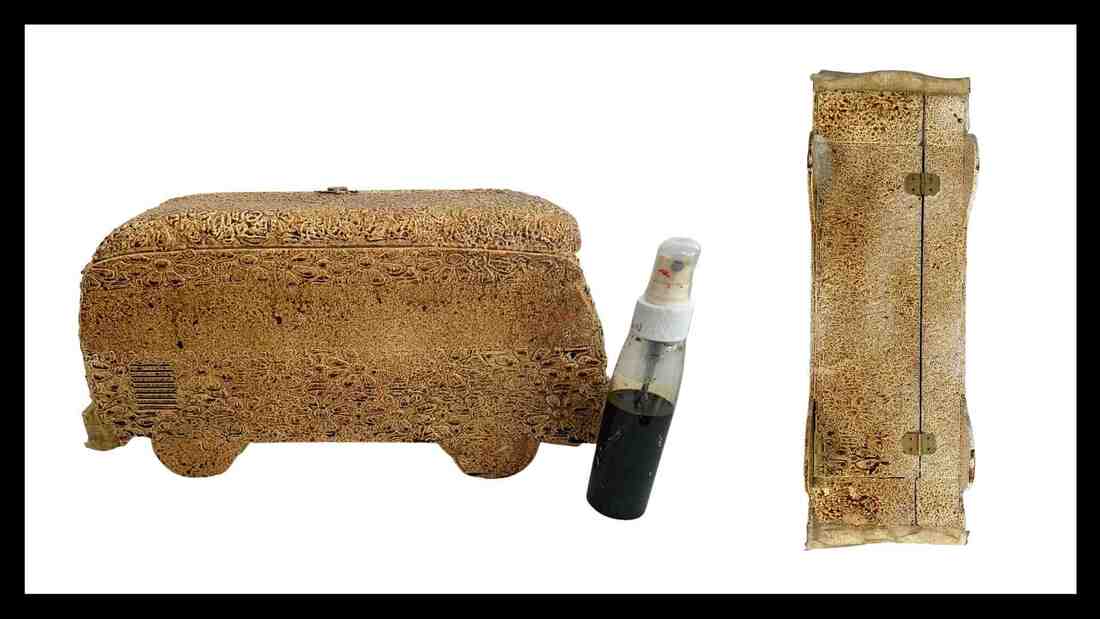 I then mixed a small amount of Stone Art and Powertex Transparent to adhere the Latches and Hinge onto the Kombi’s Roof and bottom. I waited until they were completely dry. I used masking tape to cover the bumpers front and back because I wanted them in another colour. I sprayed the whole outside of the Kombi with Powertex Bister Yellow and left it outside to dry Step 7. Meanwhile, I started my embellishments. For the windows I also traced them onto the Silk postcard paper to get the effect of looking through the windows to the inside of the Kombi. I thought it would look great if the Kombi had front and back windows, so I used a piece of card box and cut out 2 windows. I mixed Powertex Red and Yellow together to get this lovely orange colour, then I painted the windows and the chippie flowers that I was going to use. I also painted the bottle caps and the Pearl strings in this lovely orange colour. I then poured Powertex White into a container and painted all my flowers with it. When all the flowers were nearly touch dry, I used Powertex Natural Bister and sprayed some on the to get a vintage effect. Once everything was dry, I gave all the flowers a little splash of the orange colour with a paintbrush. Step 8. I used Orange Pearl peel off strips and stuck them onto the sides front and back. I also used the rest of the Powertex Orange colour that I mixed and paint both Bumpers of my Kombi Van. Suddenly everything just worked so well together. Step 9. I was super excited to see how everything was just falling into place. I used Powertex Transparent to glue the windows on and then Embellished the Kombi with all the bits and pieces that were left. For the wheels I used the large and medium round MDF circles and then glued them together in the position of the wheel space and added the bottle cups last. I also decorated the roof of the Kombi. I used smaller pearl strips to create the VW badge of my Kombi and painted it with black paint. I stood back and new there was something missing and I thought how you can go on a road trip without lights, so I looked in my stash and found some bling, to use for my lights. Now for a bit of peace on my road trip!
Anybody want to join me for the ride??? HOP IN….
0 Comments
Your comment will be posted after it is approved.
Leave a Reply. |
AuthorNatalie Parish creates eclectic pieces of art. She is the Distributor and Design Team Trainer for Powertex in QLD Australia and enjoys sharing her passion for the product Archives
September 2021
Categories
|
 RSS Feed