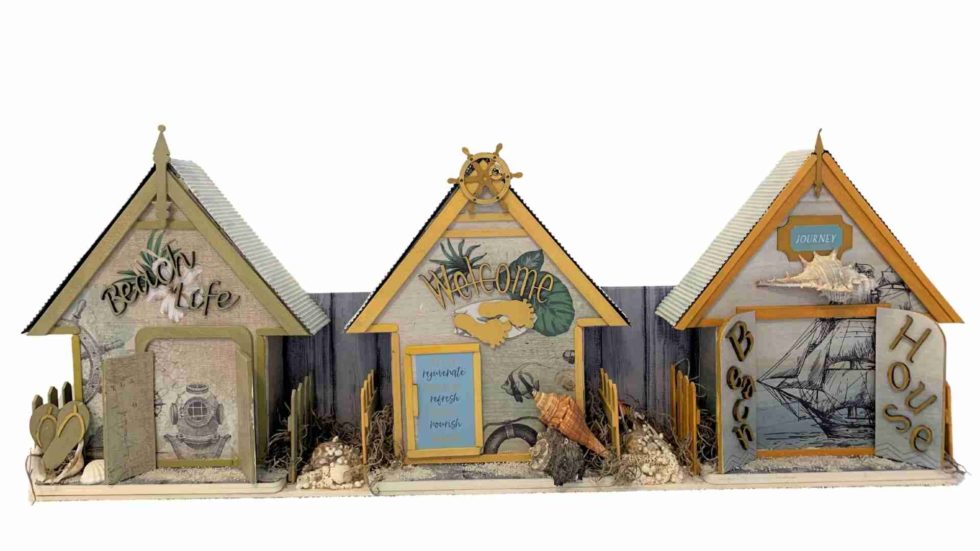
 Interesting facts about the Brighton Beach Bathing Boxes One of the most frequently asked questions, perhaps, is this; what is the true purpose of these bathing boxes? According to internet sources, the bathing boxes were built over a century ago in response to the very Victorian idea that women should only change in and out of swimming costumes in a well-protected and fully covered private area. These small little huts with timber framing, weatherboards and corrugated iron roofs, hence, serve their respective purpose of providing excellent shelter to the classy ladies who wanted to enjoy the sunshine in public, but at the same time, preserve their modesty. I was so excited to start my Beach Houses! I decided not to make a colourful design, but instead go for a Victorian vintage look, because of their history. This classic MDF Beach Houses kit is now available from Powertex Australia so jump online to order yours and start creating with us. 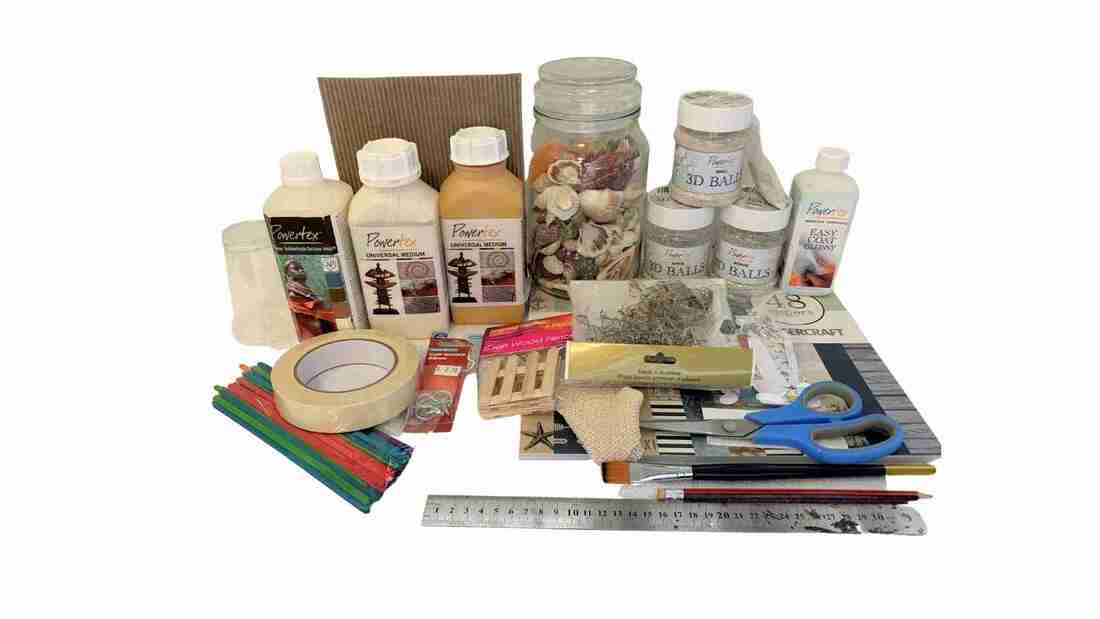 Materials: MDF Beach House Kit, Powertex Ultimate Medium Transparent, White, Yellow Ochre, Easycoat Glossy, corrugated paper, any board paper of your choice, Masking tape, 3D Sand and Balls, Shells, Grassy fibre, Craft fences, Craft sticks & Fabric Tools: Scissors, Pencil, Ruler, Paint brush, Water in a cup, Containers for Powertex colours, Gloves Plastic tablecloth to work on. Step 1. 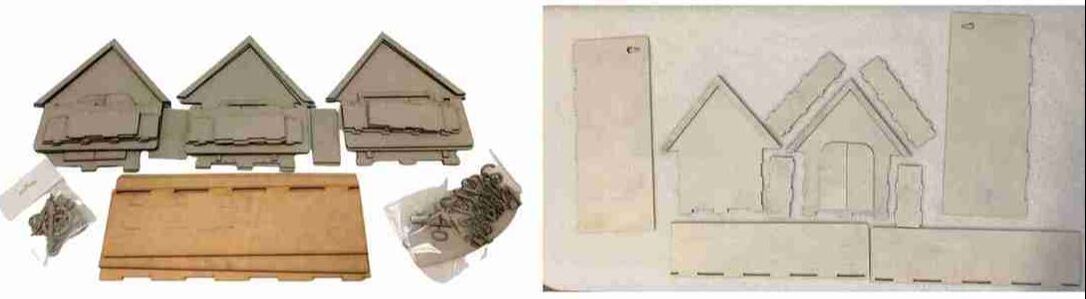 Step 1 Unpack all the bits of your MDF Beach Houses and then use Powertex White to paint the front and Back and let it dry. 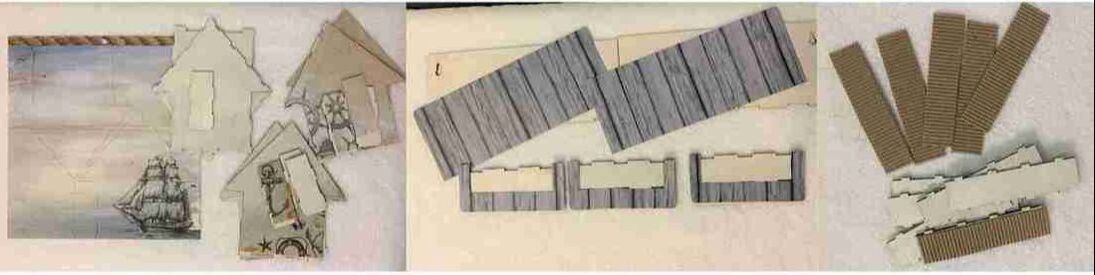 Step 2. Use any paper of your choice and trace all the sides of the Beach Houses, stand and floor. I love corrugated paper and thought it would work great for the roof. Cut the traced shapes out and set aside  Step 3. Put the stand together with masking tape on both sides and paint over it and let it dry. Then I painted a layer of Easycoat Glossy onto the back of the board and Beach House floors. Stick the paper onto the back and floorboards and paint another layer over the paper and make sure you paint the sides so that the paper does not lift up 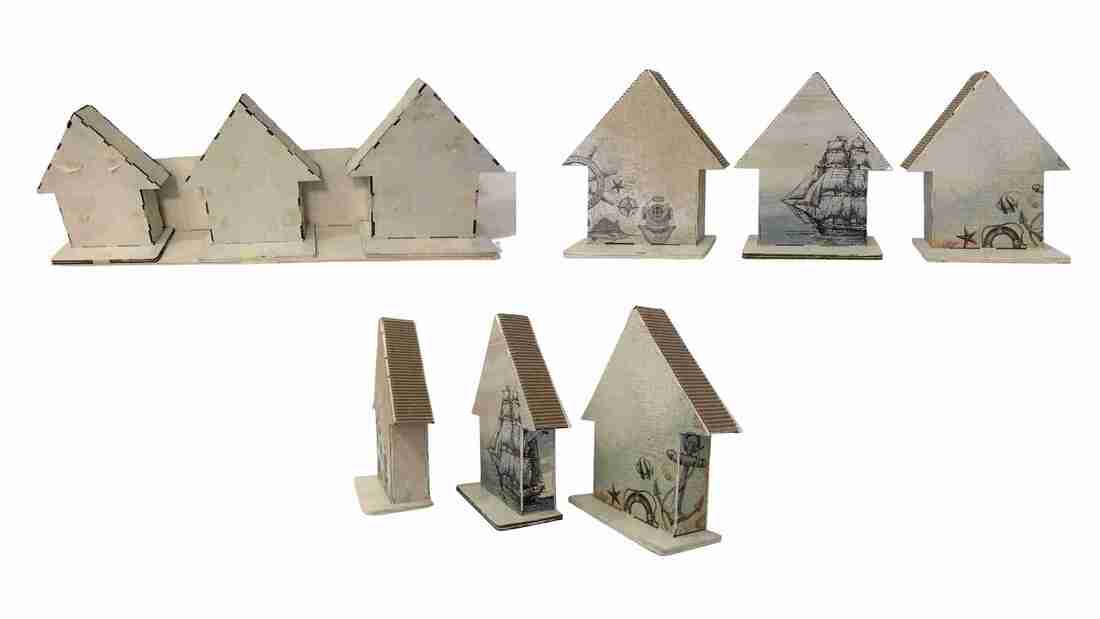 Step 4. Use masking tape to put the Beach Houses together. Paint a layer of Easy Coat Glossy on the front of the Beach House and stick the cut-out pieces onto the Beach Houses. Paint another layer of Easycoat Glossy over the paper. Repeat this step on all the sides and the roof. 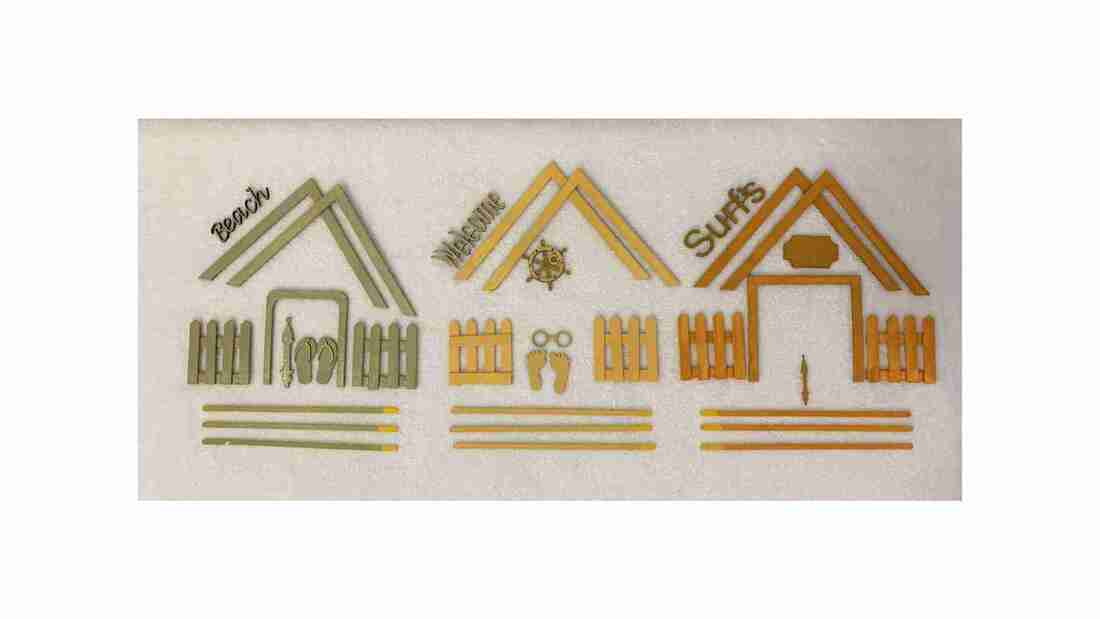 Step 5. I loved the colours on the paper and thought I would mix and match Powertex colours to the get the colours that I wanted. So, I started with Powertex Yellow ochre and painted one of the house’s bits, including the roof, door frame, fences and the sides. I then mixed Powertex Yellow Ochre with a little bit of Powertex White to soften the colour and painted all bits of Beach House two. To get the olive green colour I mixed Powertex Yellow Ochre with a bit of Powertex White and added a bit of Powertex Grey then painted Beach House number 3’s bits 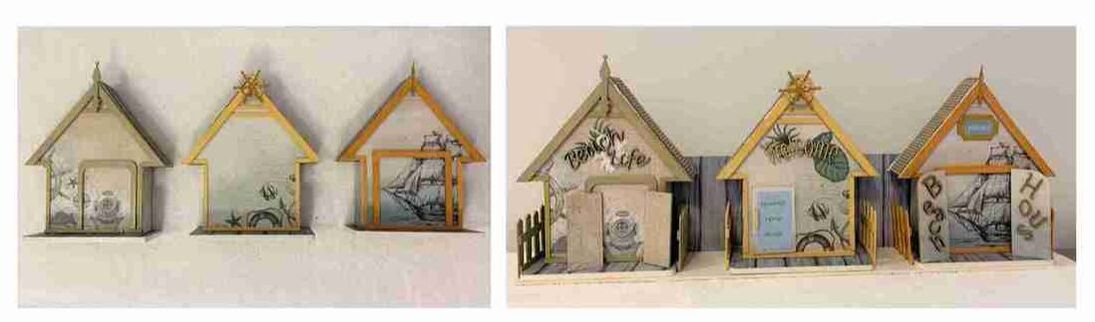 I then put all the pieces together by using Easycoat Glossy and placed the houses on the stands. I then put everything else in place (see picture above) and used a pencil to mark off the spacing between the Houses. Step 6. To create a Beach effect, I used two pieces of fabric which I dipped into Powertex White and scrunched it up and placed it between the marks that I draw on the board. I then paint the shells and laid them onto the fabric, finally sprinkling sand and balls over it and letting it dry completely. Once everything is dry I painted the 3D Balls with Powertex White. Then paint the bottom of the Beach Houses and place them in position on the board. I used Easycoat Glossy to stick the fences onto the sides of the floorboards. I also found some grassy fibres that I glued on between the fences to create an even better Beach effect. 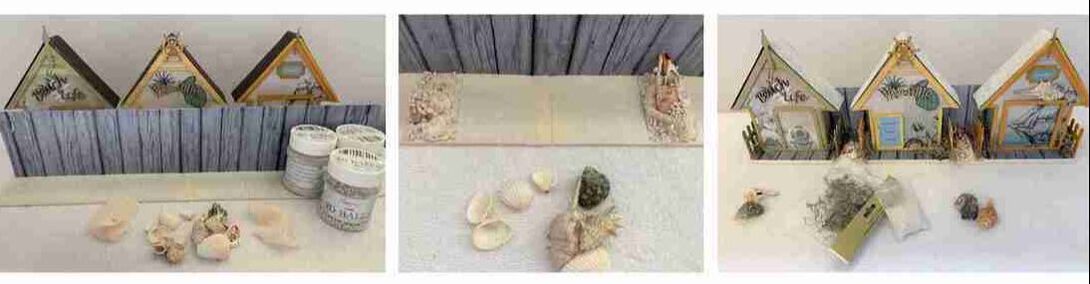 To finish off the Beach Houses I added all the pieces that I had left. Wording on the Houses, saying BEACH LIFE, WELCOME, BEACH HOUSE. Flip flops in a shell 3D sand on the doorstep what more do you want ready to sail away with… 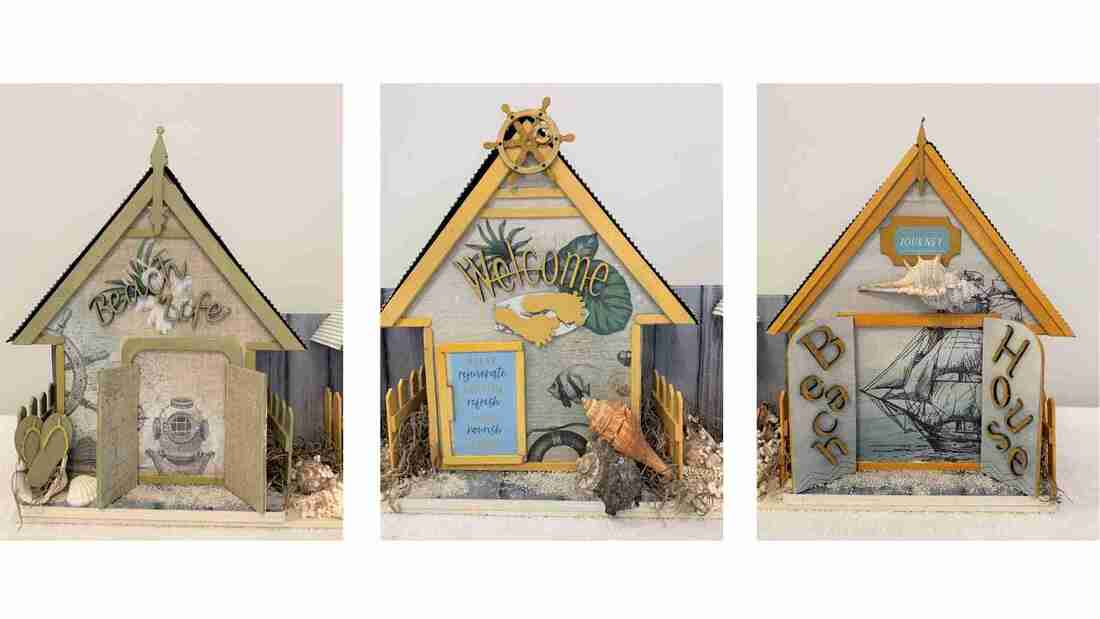 I had so much fun designing this project for the MDF Beach Houses. This is an opportunity that you do not want to miss out on so, get your creative hands and minds on one of these lovely kits today!!!. ENJOY THE RIDE BY ERIKA VENTER DESIGNS QLD
0 Comments
Your comment will be posted after it is approved.
Leave a Reply. |
AuthorNatalie Parish creates eclectic pieces of art. She is the Distributor and Design Team Trainer for Powertex in QLD Australia and enjoys sharing her passion for the product Archives
September 2021
Categories
|
 RSS Feed