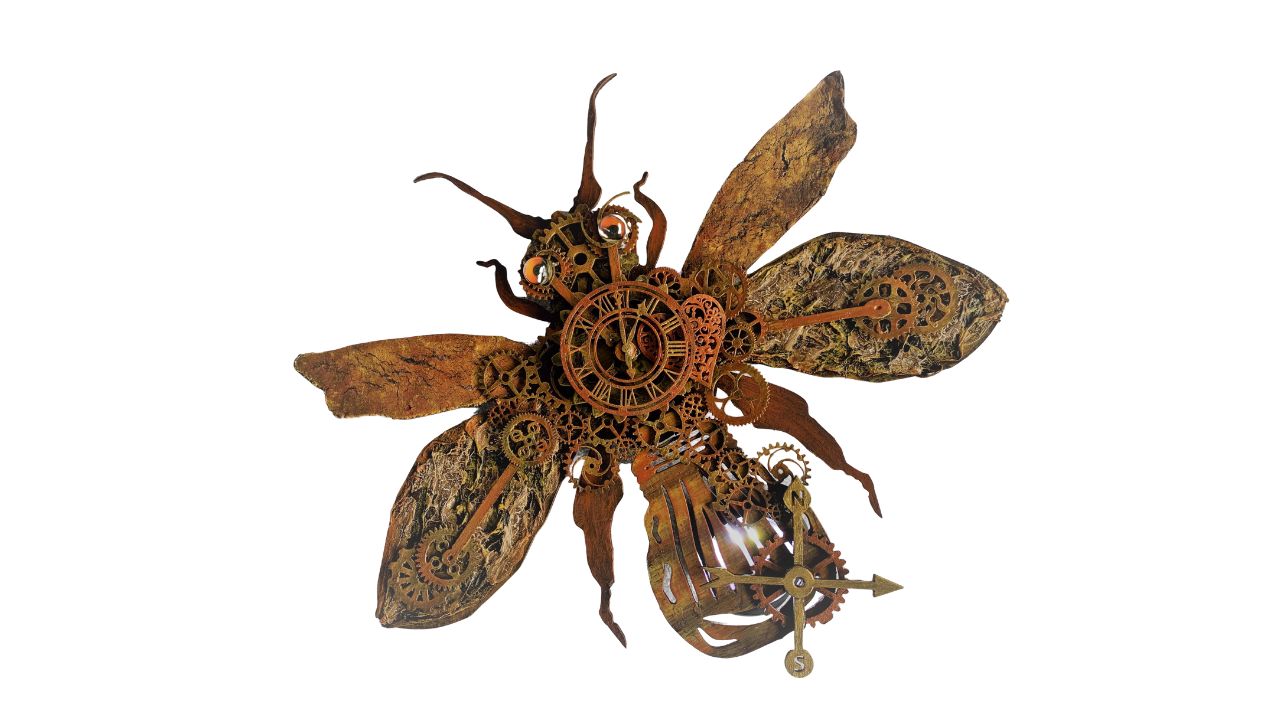
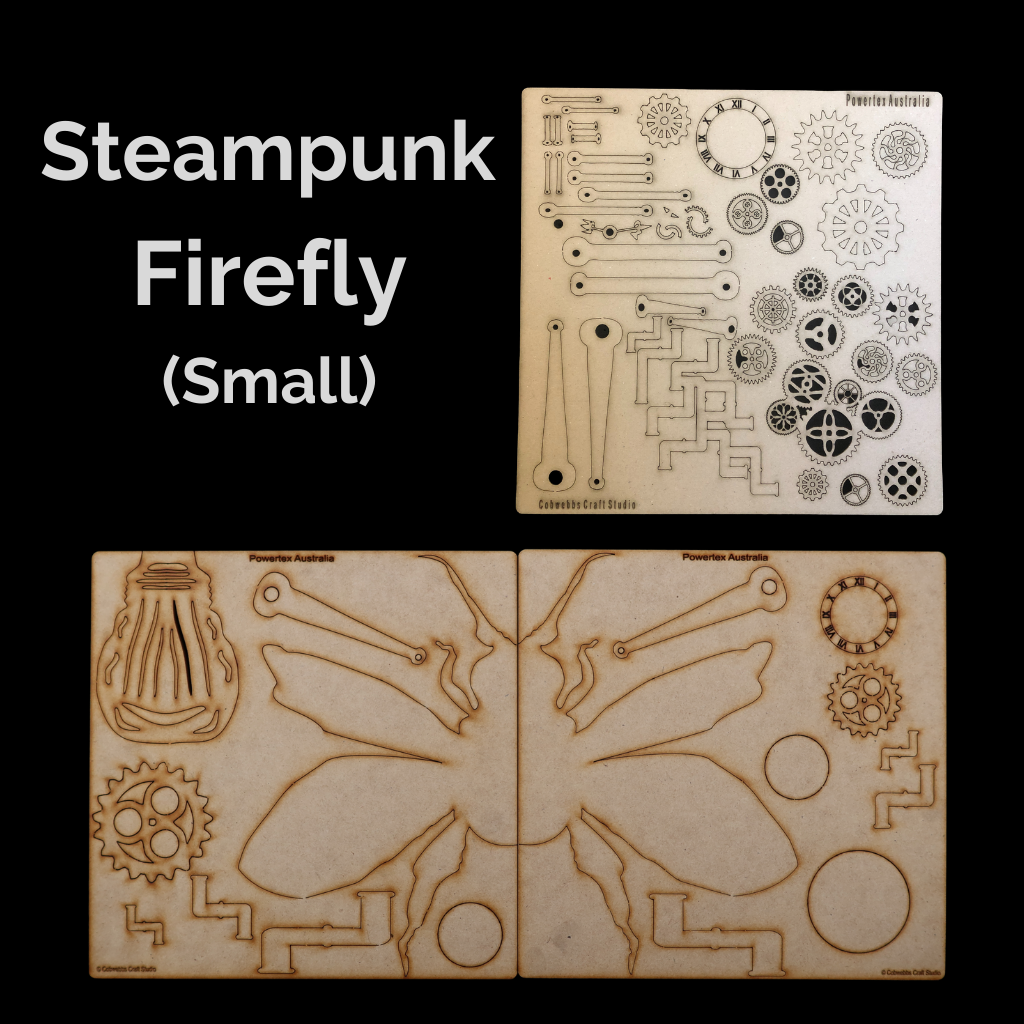
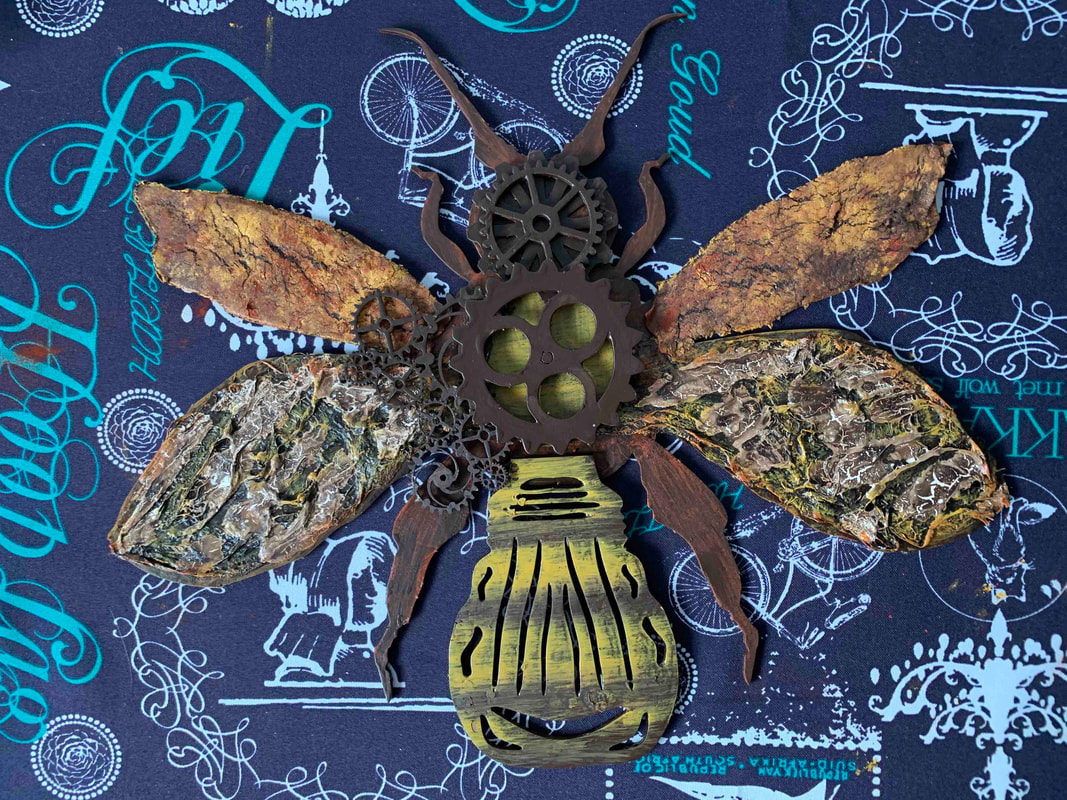
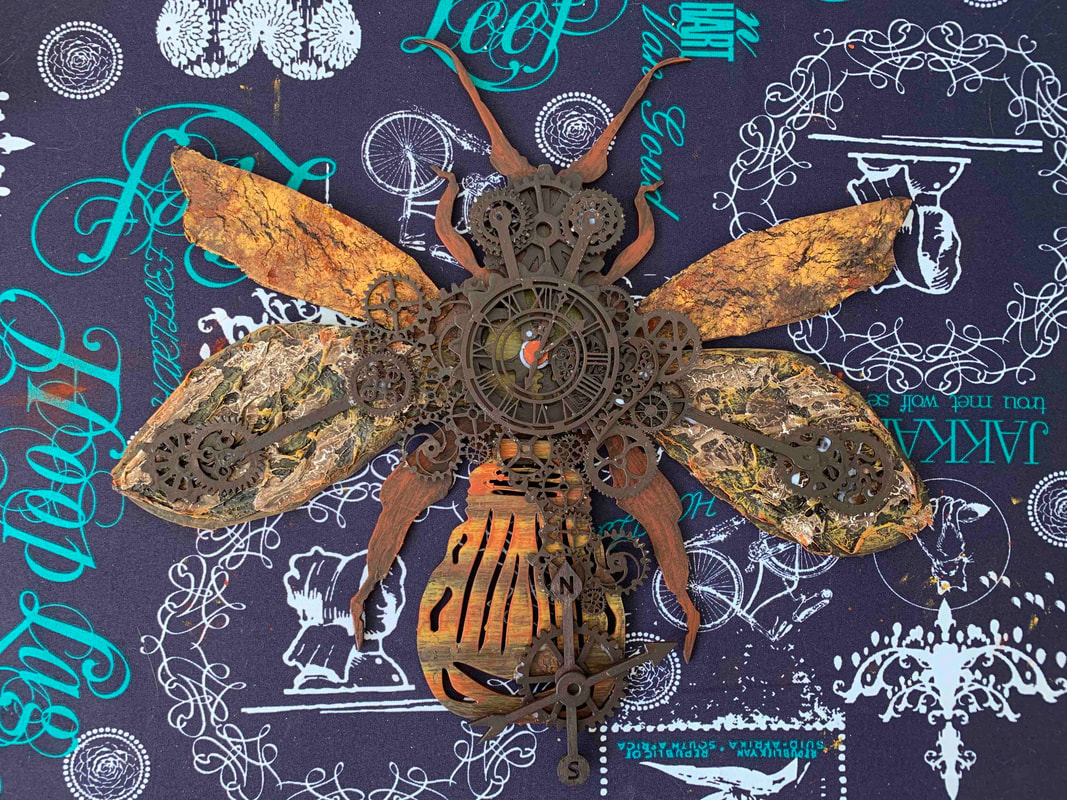
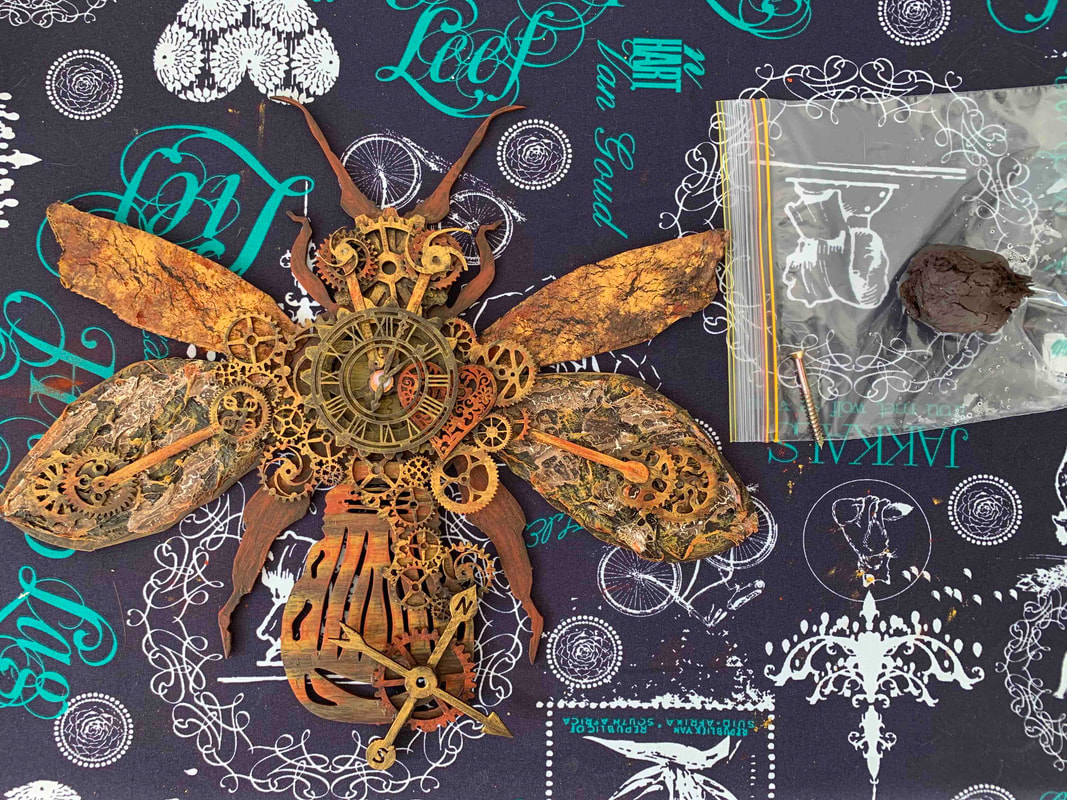
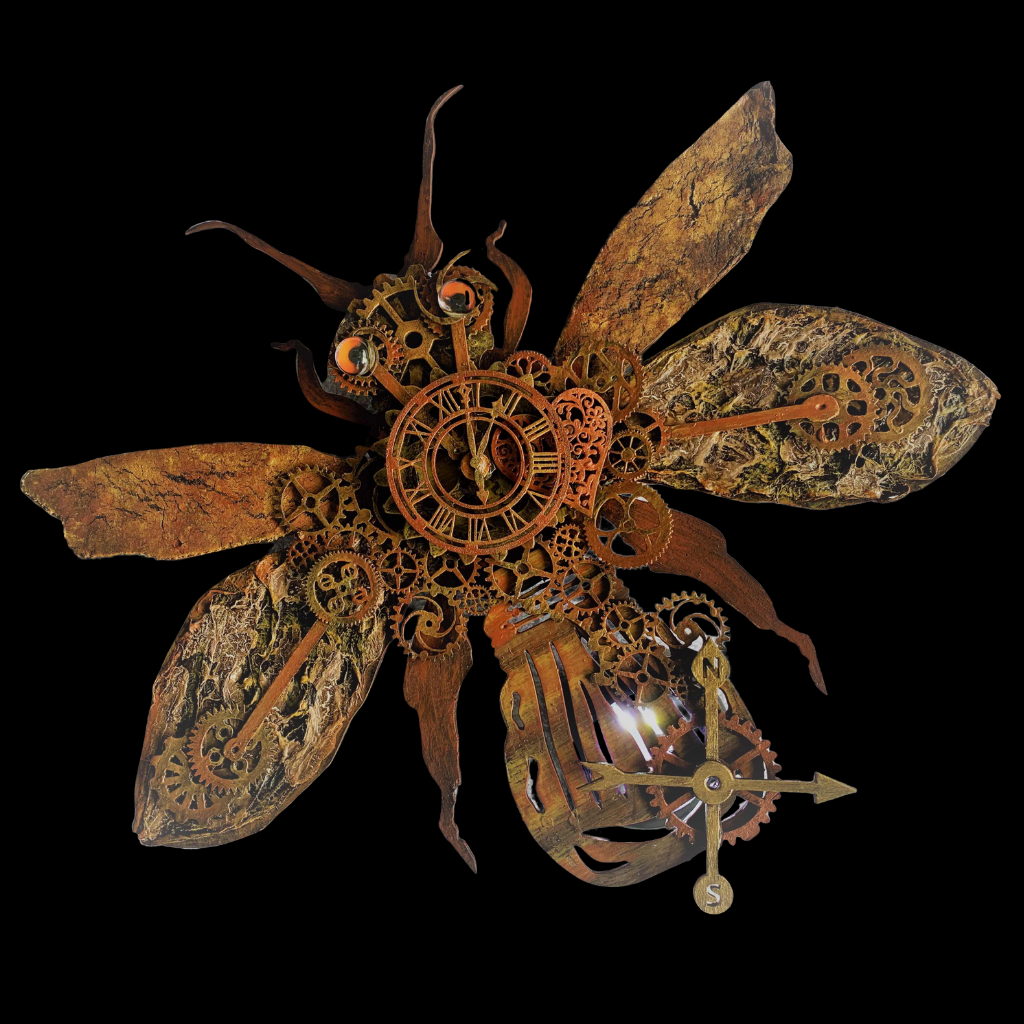
AuthorErika Venter Designs. - erikaventer.weebly.com/ The inspirational theme this month is ‘Living Light’ in celebration of the International Day of Light… and Erika Venter along with Powertex Australia and Cobwebbs Craft Studio has brought out a fantastic new kit for you to create at home – a Steampunk Firefly… it’s awesome! There are so many ideas on the internet to get you started… but the best is when you use all bits of info and actually create your own idea. This is how I created my beautiful Steampunk Firefly. You can make one too…
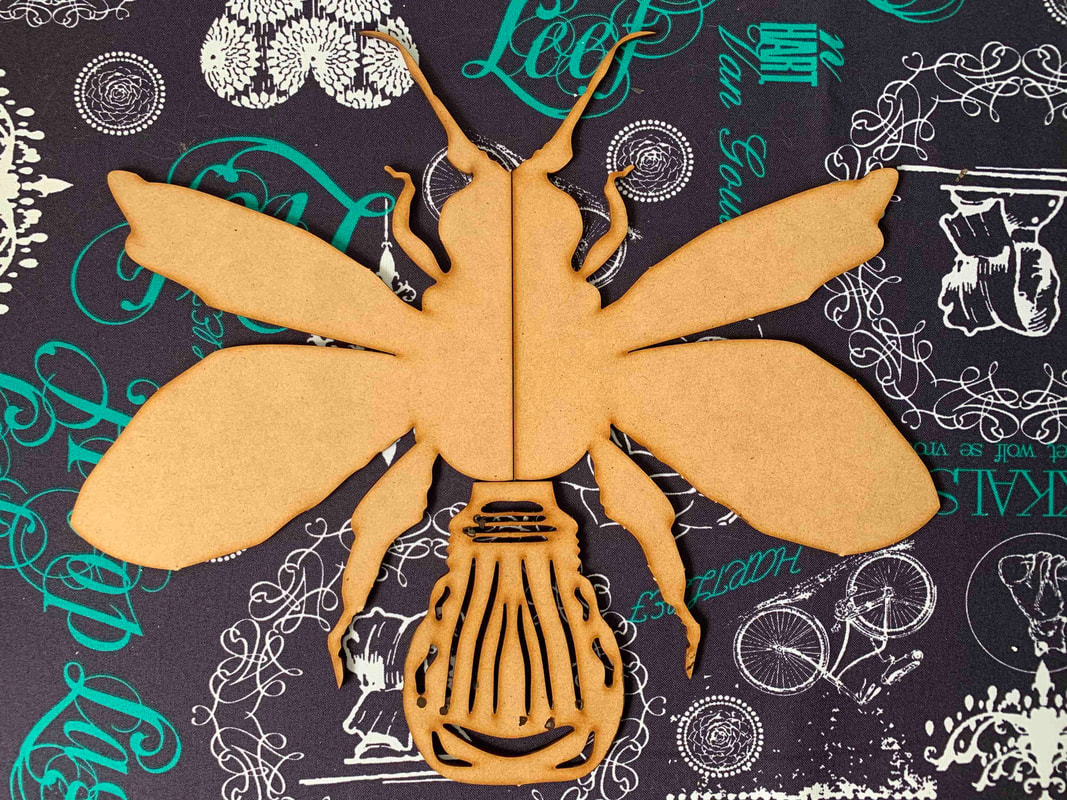
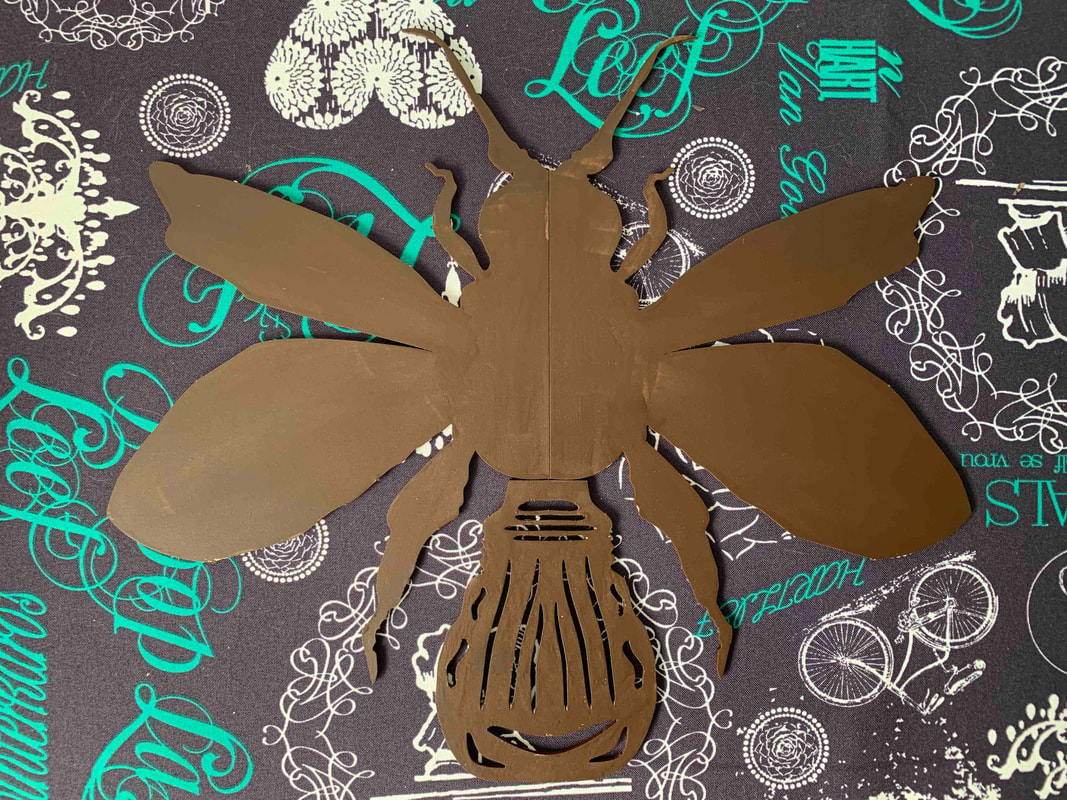
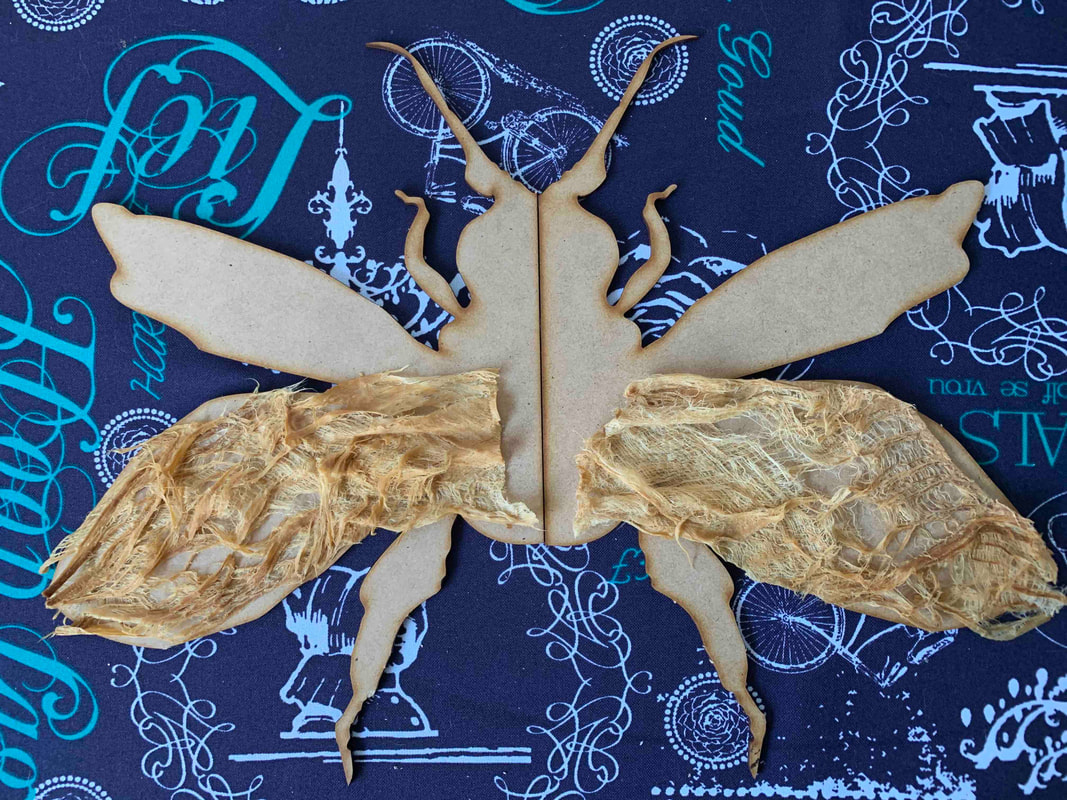
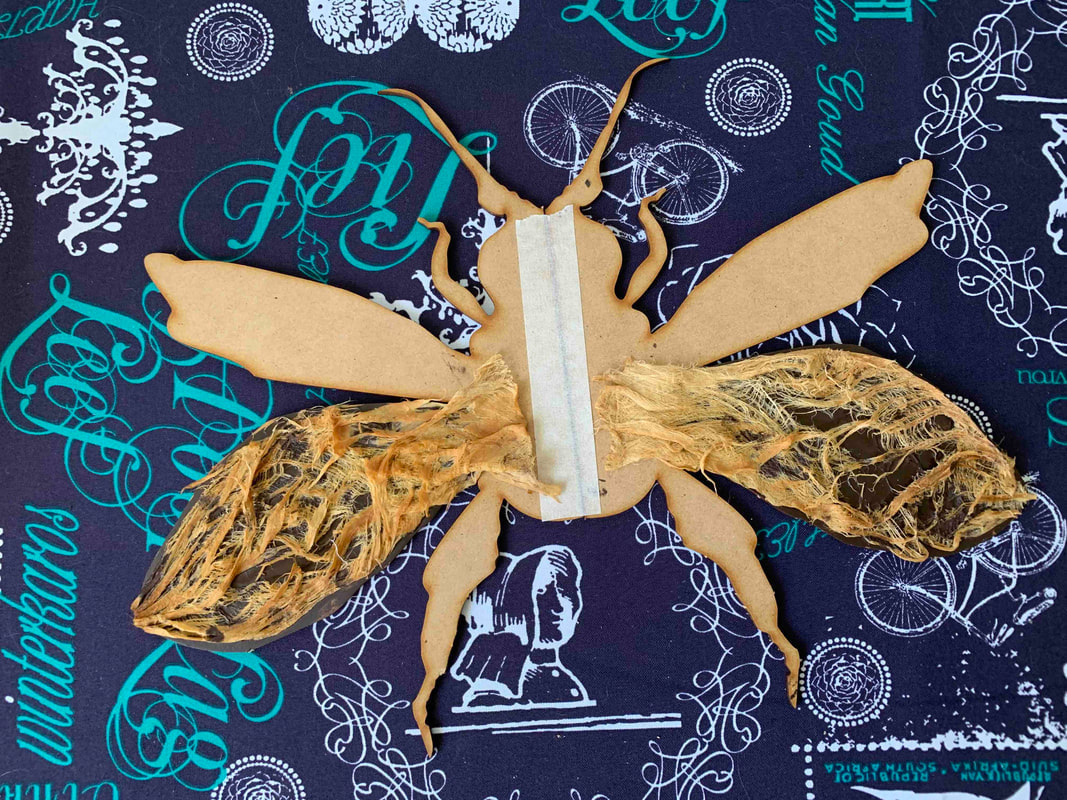
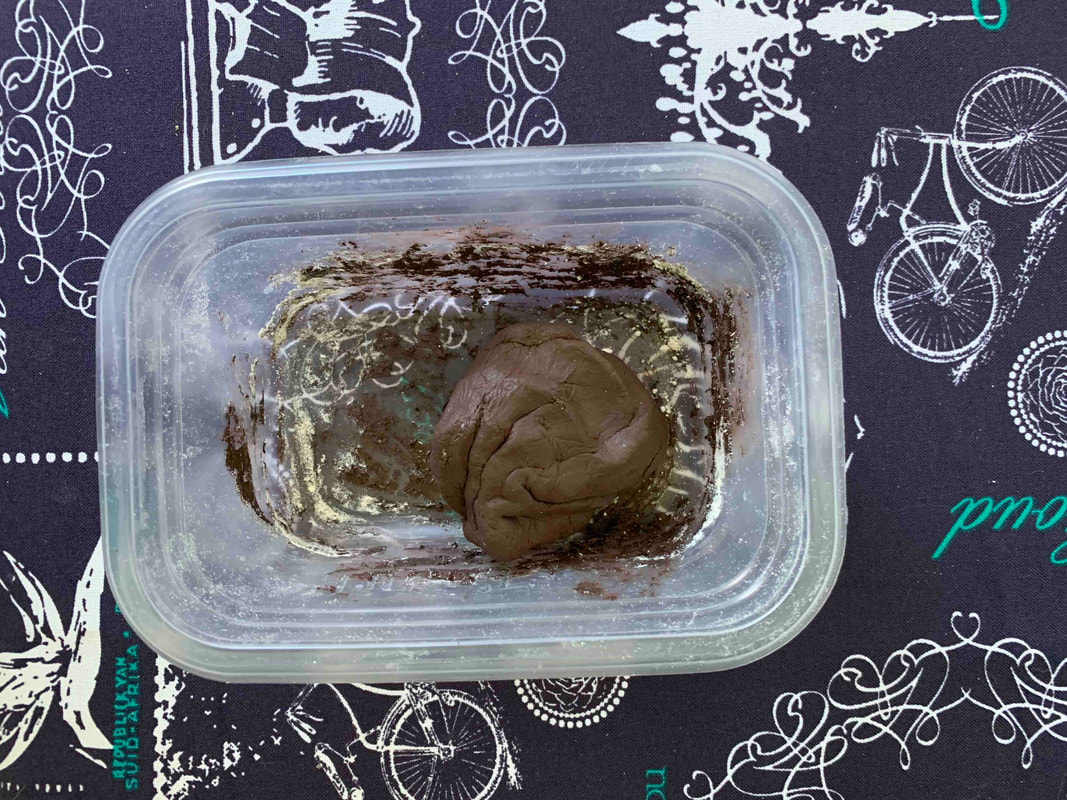
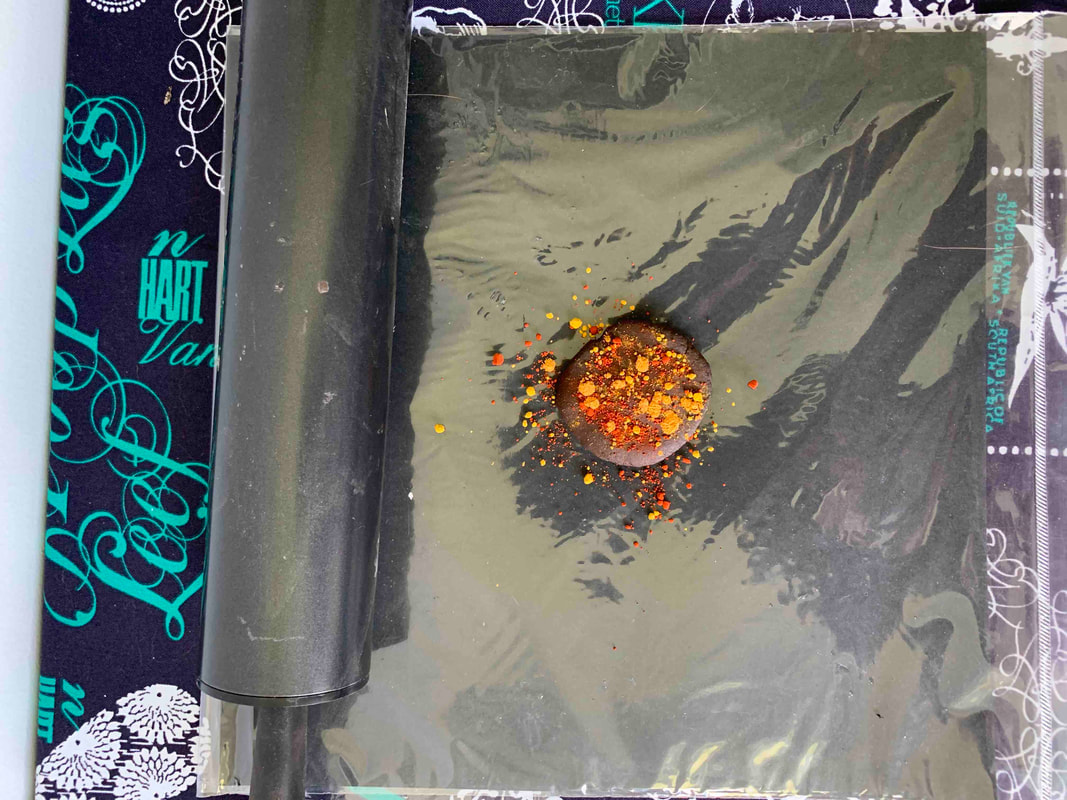
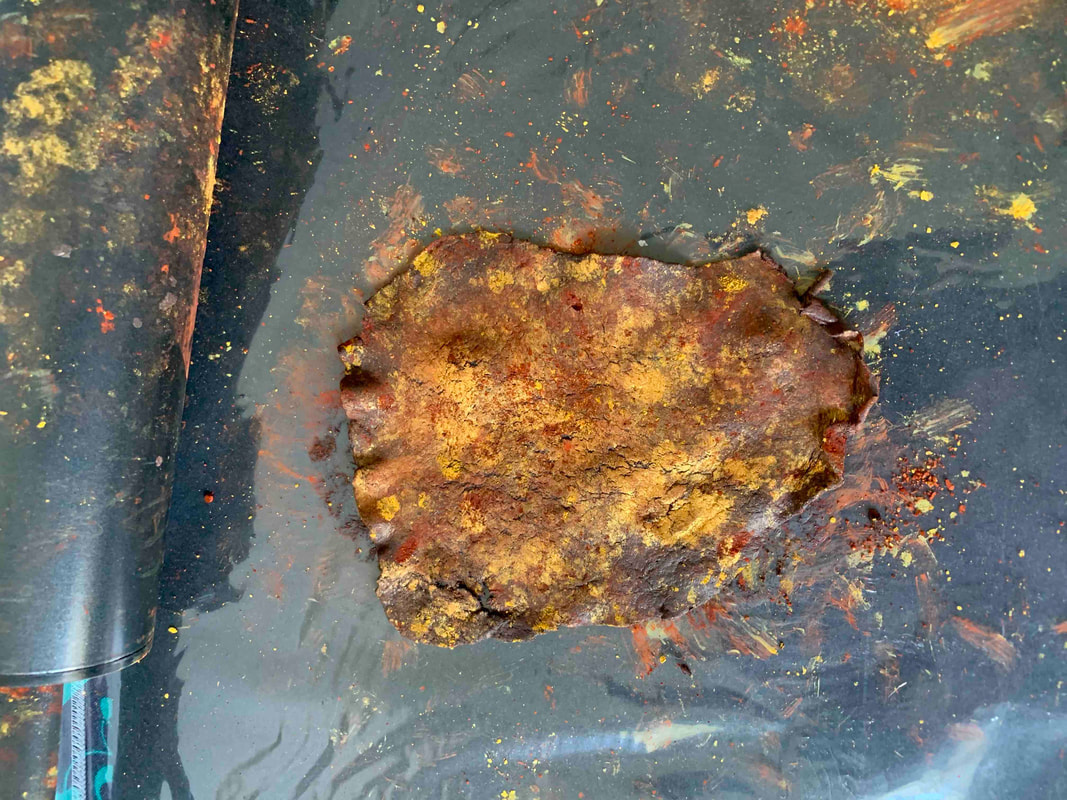
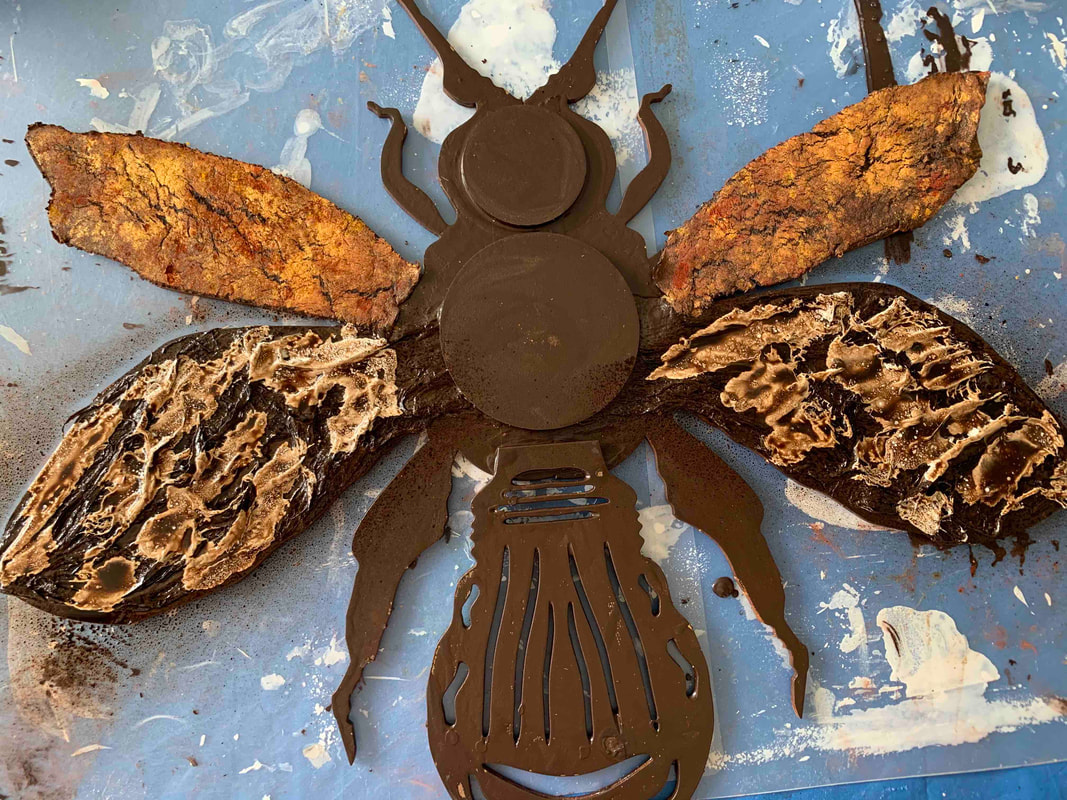
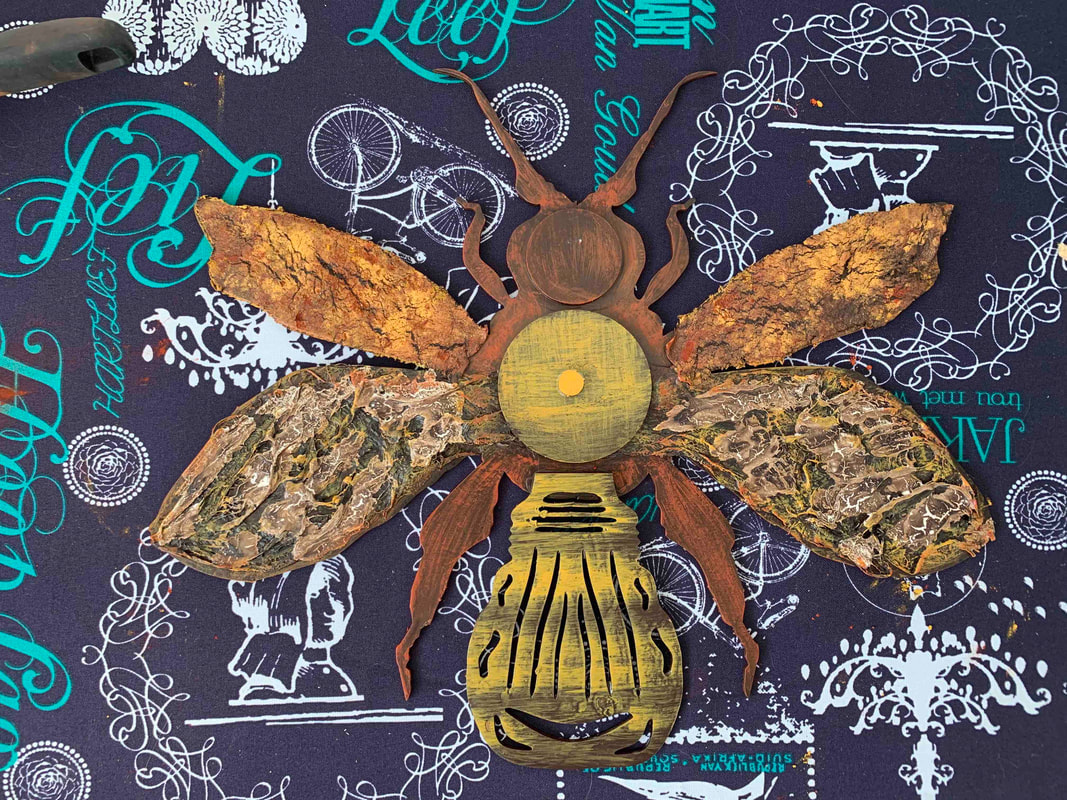
Take all the bits out from the kit. Use Powertex Bronze and paint the back sides of the MDF Firefly and leave to dry. Step 2. Use the natural paperdeco and cut 2 pieces in the shape of the back wing. Paint the back wing with Powertex Bronze. Dip the paperdeco in water (not to wet) pull it apart to create texture and lay it onto the wings. Use masking tape to hold the body parts together. Step 3. Use Powertex Bronze and Stone art and make a soft clay. Roll it into a ball and press it flat on a plastic cutting mat. Sprinkle pigment colours of your choice onto the Stone Art clay. I used Powercolour Red Ochre, Yellow Ochre and Rich Gold. Use the rolling pin and roll the clay out so that the colours press into the clay. It should be very thin. Step 4 Gently pick up the clay and tear it into the shape of the top wings. Paint the wings with Powertex and lay the clay onto the wings. Paint the rest of the Firefly with Powertex Bronze including the back wings over the paperdeco. I also used two of the round circles in the MDF kit to create a base for the head and the body. While waiting for this to dry off start painting the rest of the bits in the MDF kit that you would like to use. Use a little bit of Powertex White and spread it over the back wings into the groves of the paper deco and spray some Bister over it. Create a crackle effect by drying it off with a hairdryer on hot. Step 5. Mix Powercolour Yellow Ochre with Easycoat glossy and paint the tail and the centre piece of the body with brush strokes. Mix Powercolour Red Ochre with Easycoat glossy and paint the legs and the rest of the body with brush strokes so that you still can see the Powertex Bronze colour shining through. Step 6. It’s now time to get into gear and gear up your Steampunk Firefly. Use Powertex Bronze and all the bits that you already painted and start layering it onto each other. You can use some of the left-over clay to stick all the bits on if you are to scare that you will drip on your Firefly with the Powertex Bronze.
Mix Powercolour Yellow Ochre and with Brush strokes go over some of the gears that you would like to high light and do the same with Powercolour Red Ochre. To give your MDF Steampunk Firefly a bit of a shine use our beautiful Rich Gold pigment and go over some areas that you would like to stand out. I really love this colour so I always go overboard with it! I also used 2 glass eyes to perfect my Firefly but there was still something missing in my project. Yes, it needs a light on the tail to make it a real Firefly. So, I used one off my hand torches and put it behind the tail and it just lit up the whole room. This was so much fun and I love my end result! This MDF Firefly project will allow you to make use of a variety of techniques using Powertex, Stone Art, Paperdeco, Bister, Easycoat Glossy, Metallic and Matt Pigments. Join me on my creative journey with Powertex Enjoy the ride Erika
0 Comments
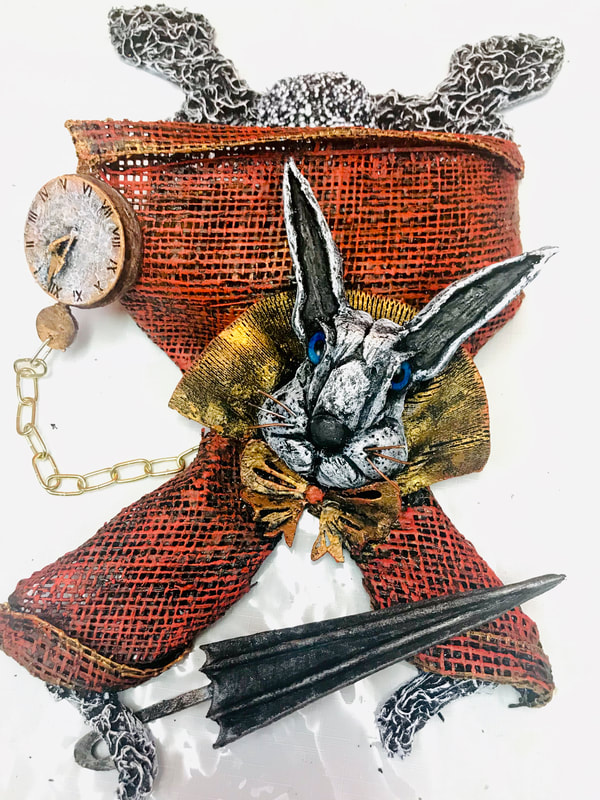
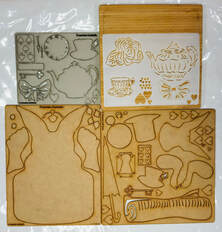
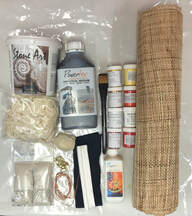
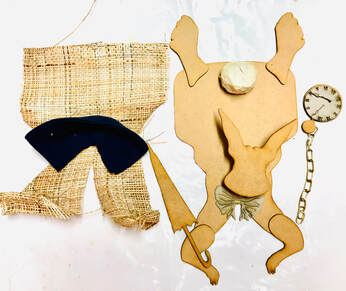
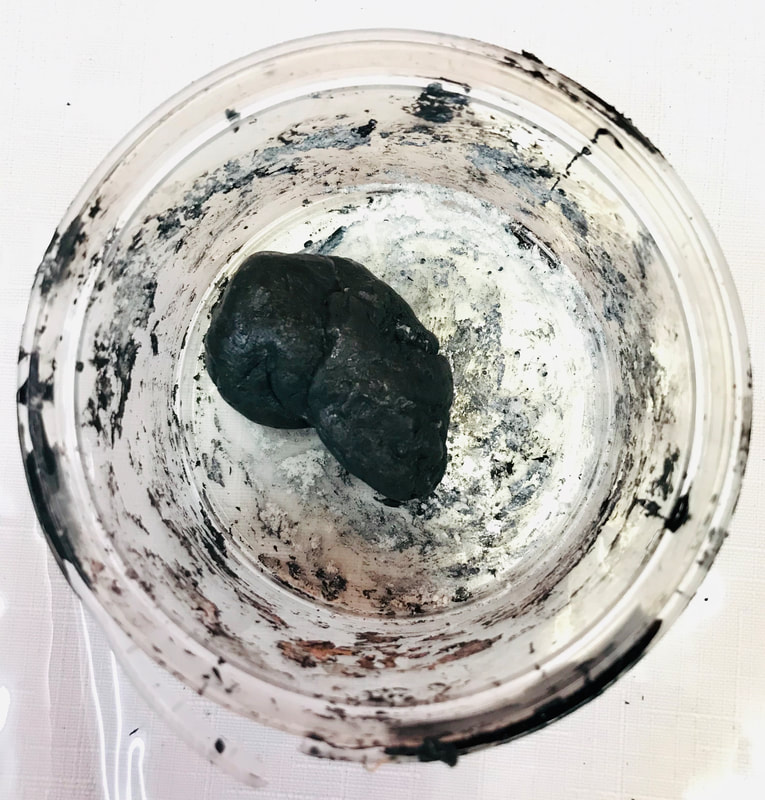
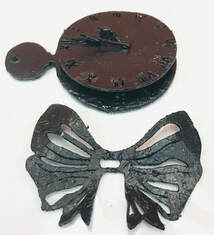
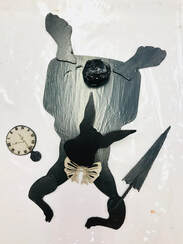
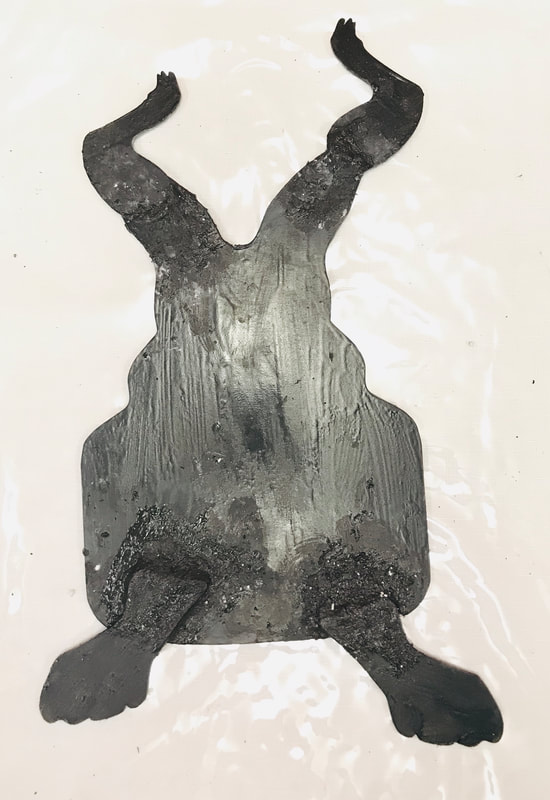
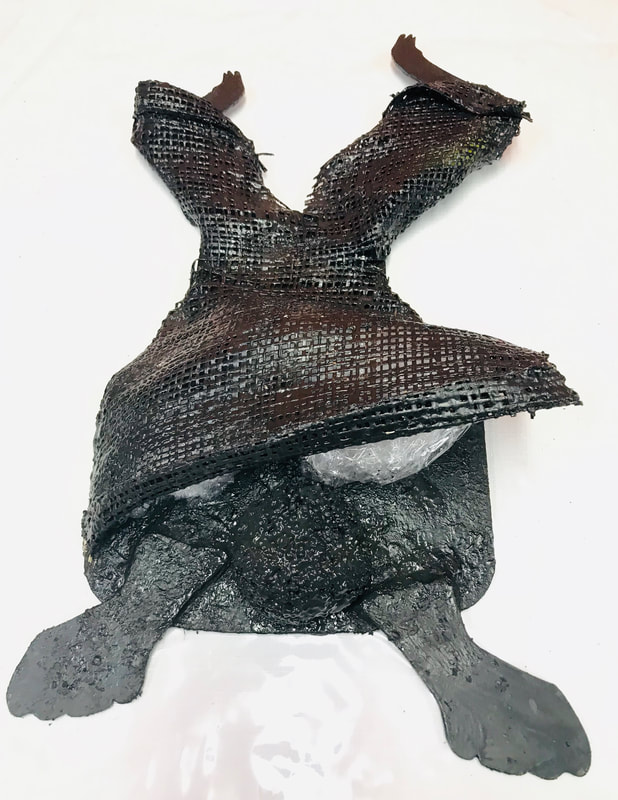
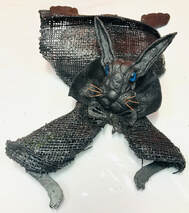
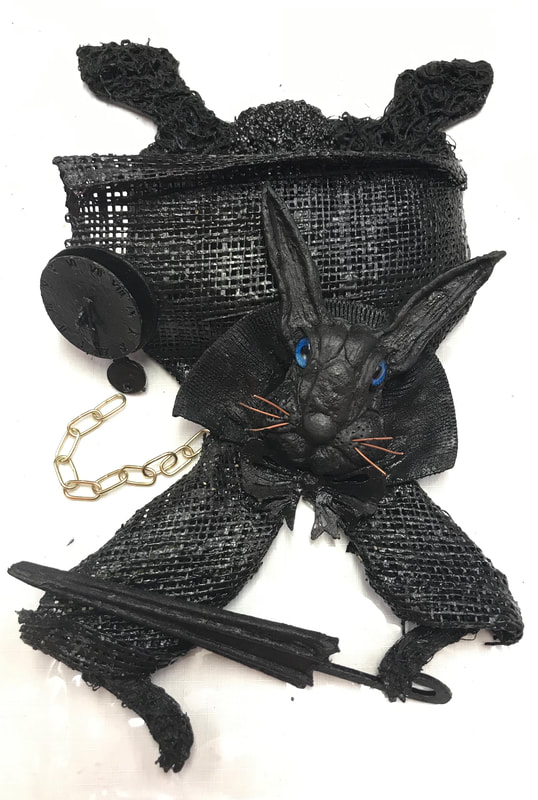
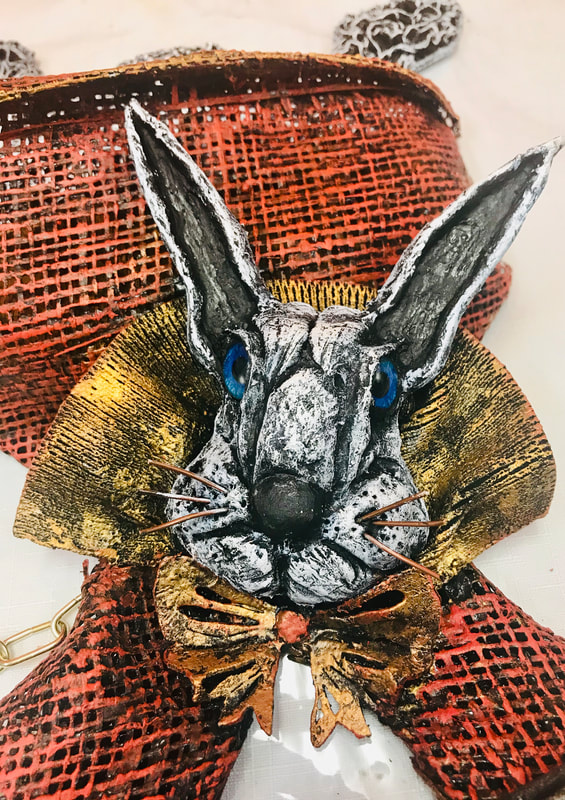
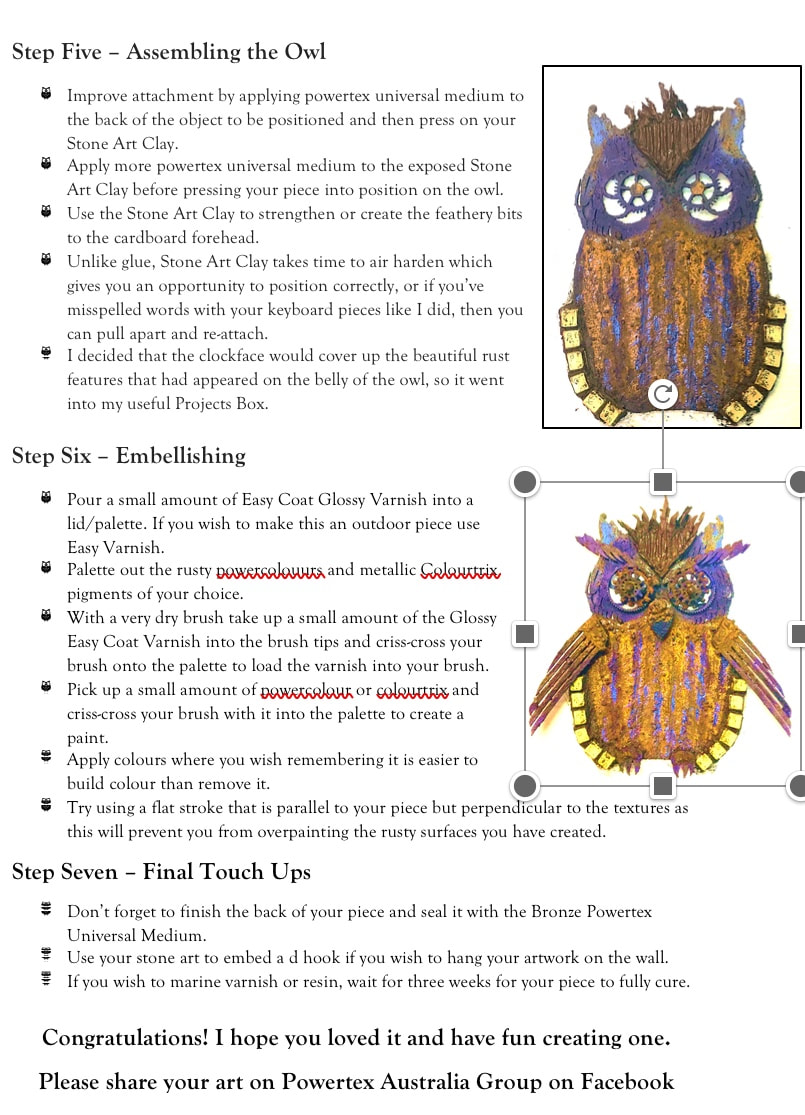
It’s no secret how much I love Alice in Wonderland Themes. So, I was very excited to receive this month’s Rabbit Design Kit so I could build upon by Wonderland Artwork Collection. (see blog ‘We are All Mad Here - The Red Queen & Alice Art Dolls). Therefore, I wanted to find some design elements that would work in with this collection. Secondly, I wanted to tie in the idea of falling down the rabbit hole (something I symbolically do daily). This led to rearranging the MDF pieces to simulate the White Rabbit falling. However, I couldn’t think of what to do with all the extra pieces – especially the scroll. Finally, I hit upon the idea that when I am organized and ticking off errands, I am less likely to procrastinate. I make lists and scroll through them all the time and still end up doing tasks in a furious hurry, much like when we first meet Lewis Carrol’s White Rabbit I realized. That led to the idea of attaching and decorating an old pinboard to my artwork to pin up my to do lists or bills in a vain attempt to not always be late. Alas, due to time constraints I did not include the pinboard in these instructions but intend to do so at a later date (I have another rabbit hole to visit first).
Step 1: Design Layout
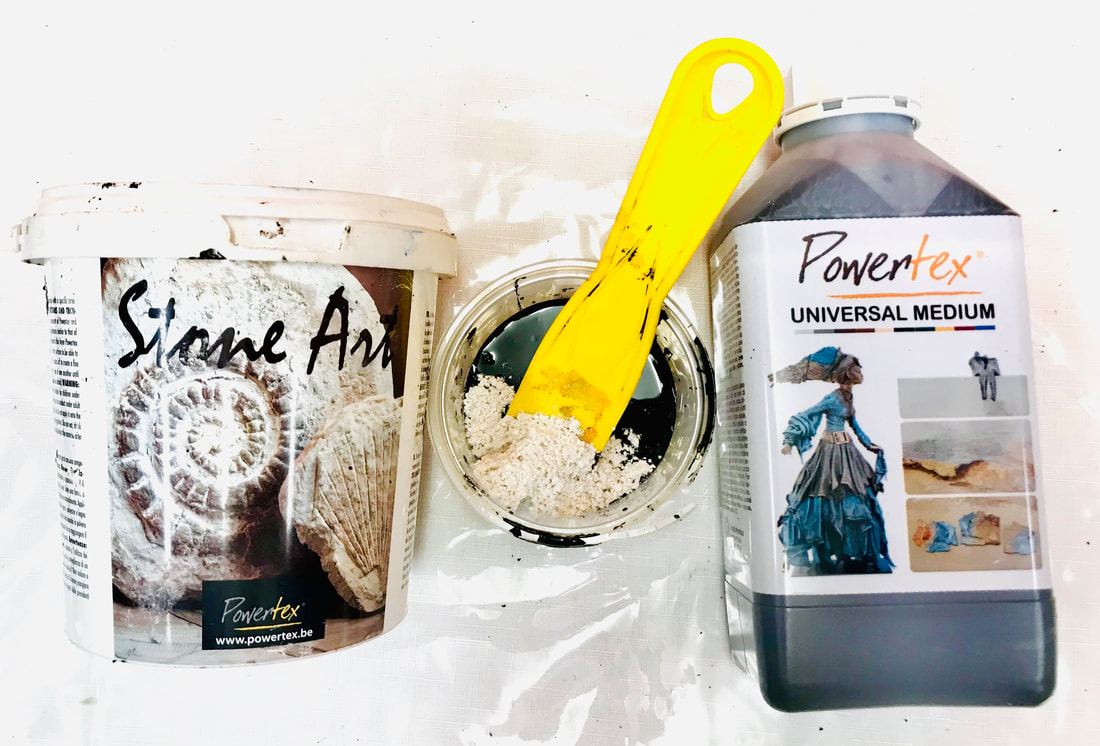
Step 2: Make Stone Art
Step 3: Seal MDF Boards
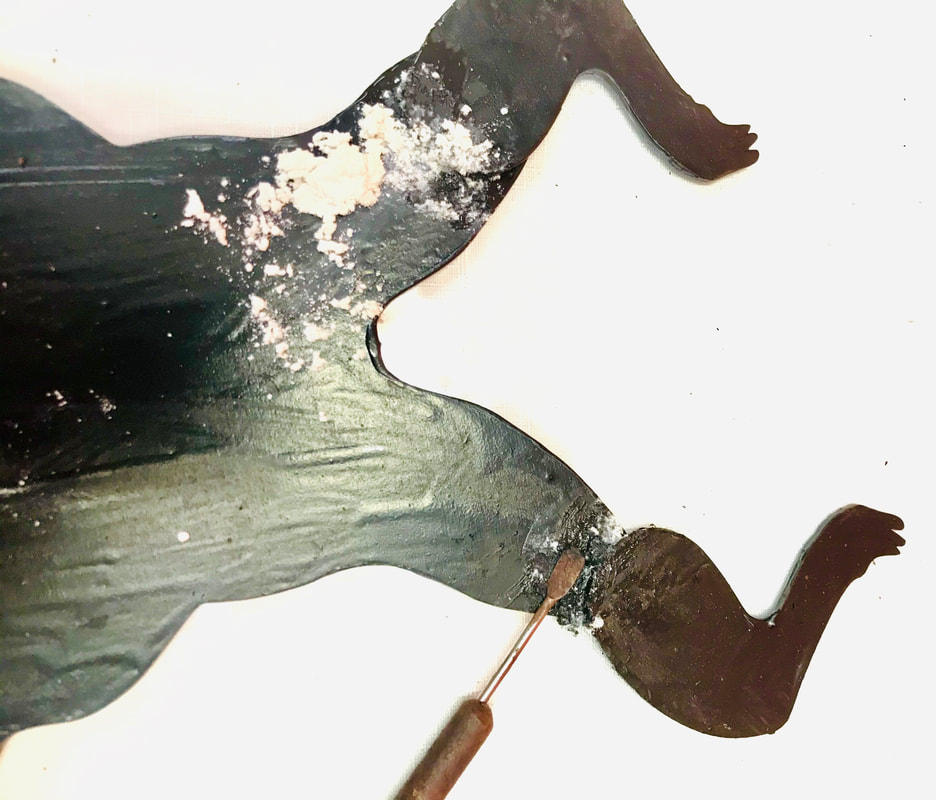
Step 4. Join MDF Pieces Together
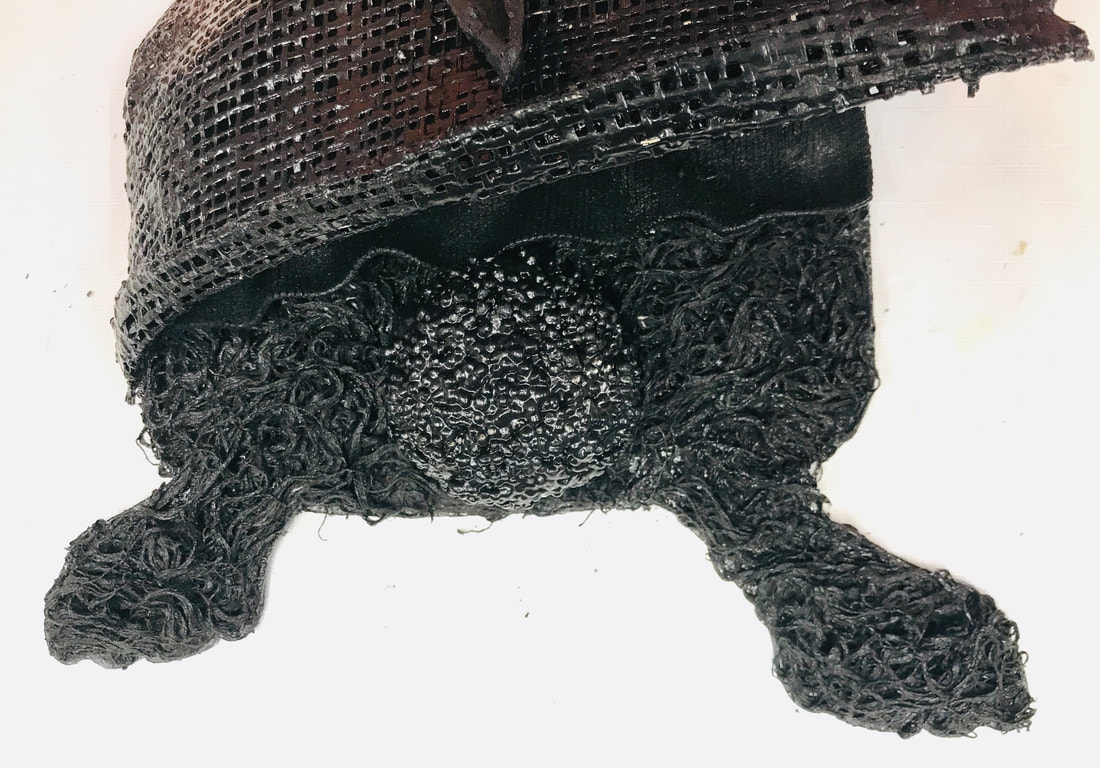
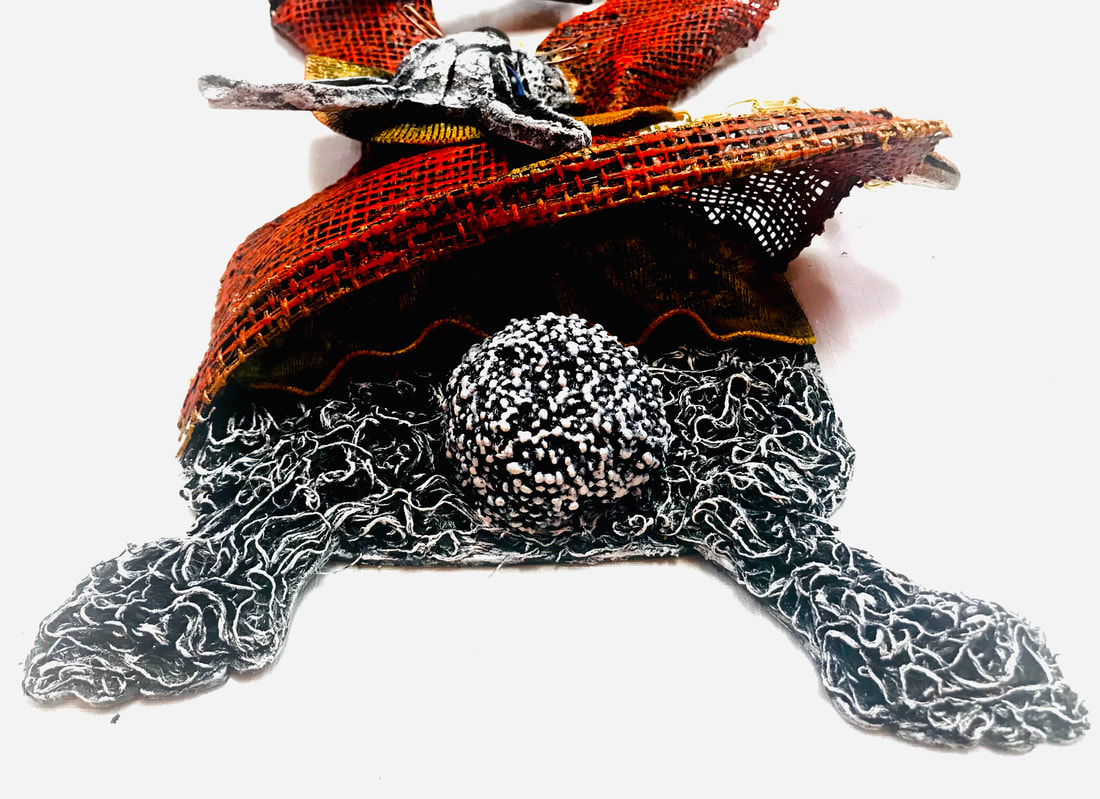
Step 5. Make the Bunny Tail
Step 6. Attach Jacket and Bunny Tail.
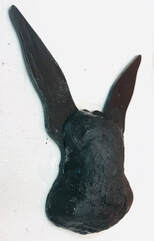
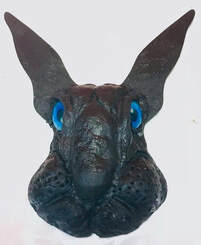
Step 7. Sculpt Rabbit Face
Step 8. Attach Collar and Rabbit Face
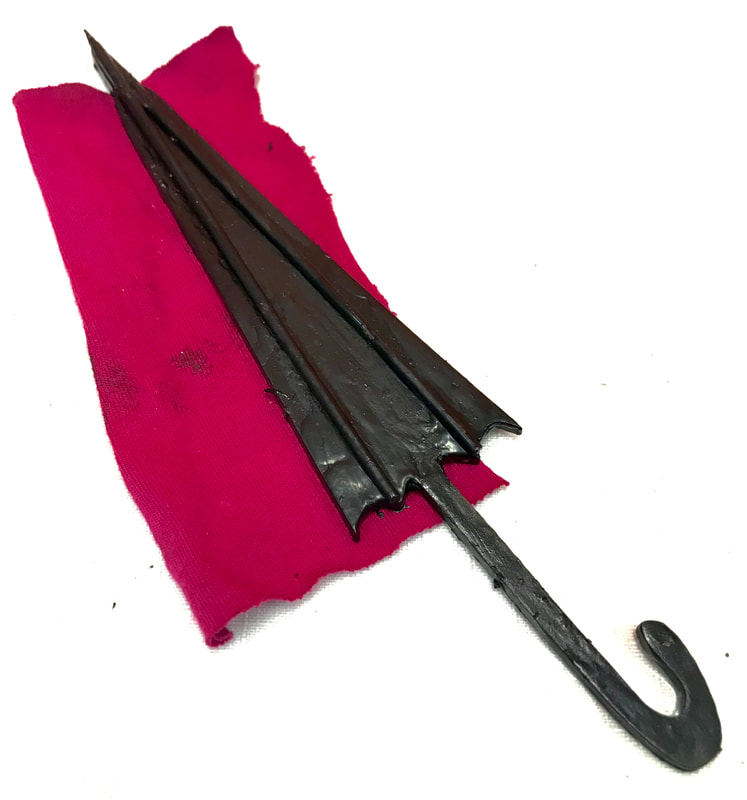
Step 9. Cover the UmbrellaStep 10. Make the Rabbit Furry
Step 11. Embellish with Powercolour & Colourtrix
Step 12. Attach Chain, Fob Watch, Umbrella & Hanging Hooks.Congratulations You Have Finished.
|
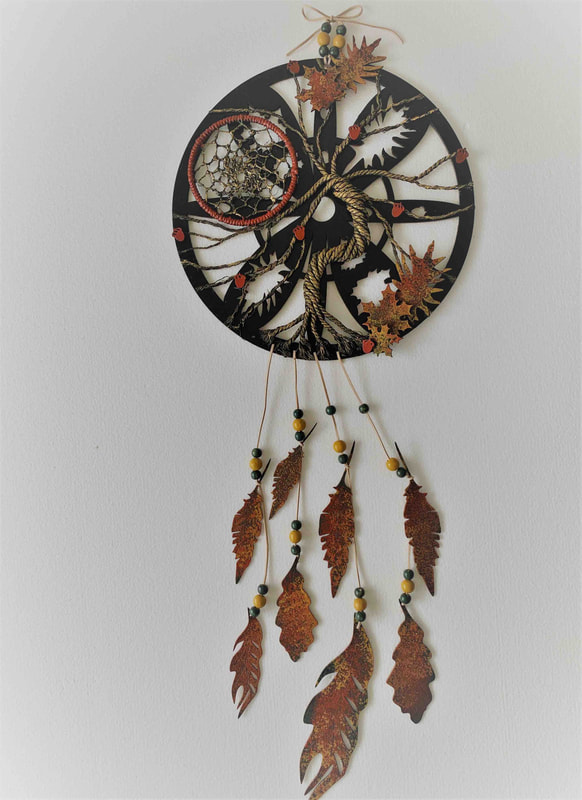
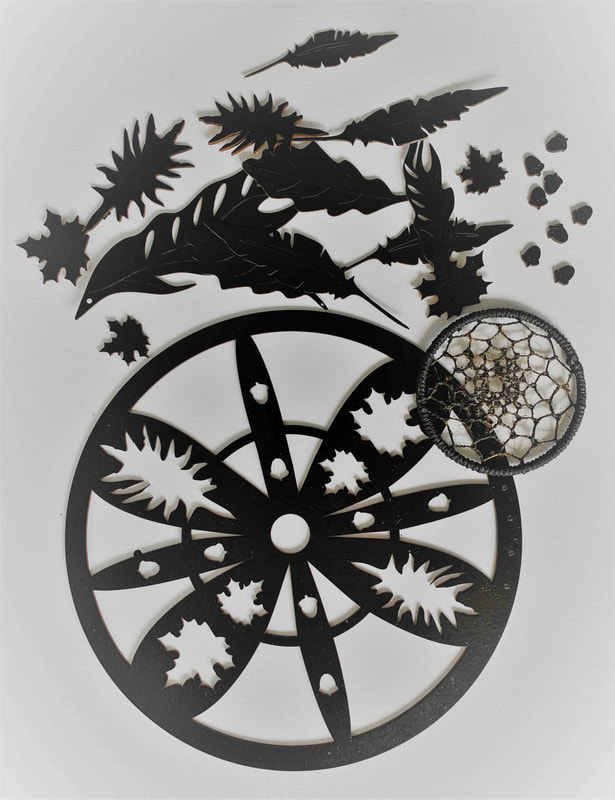
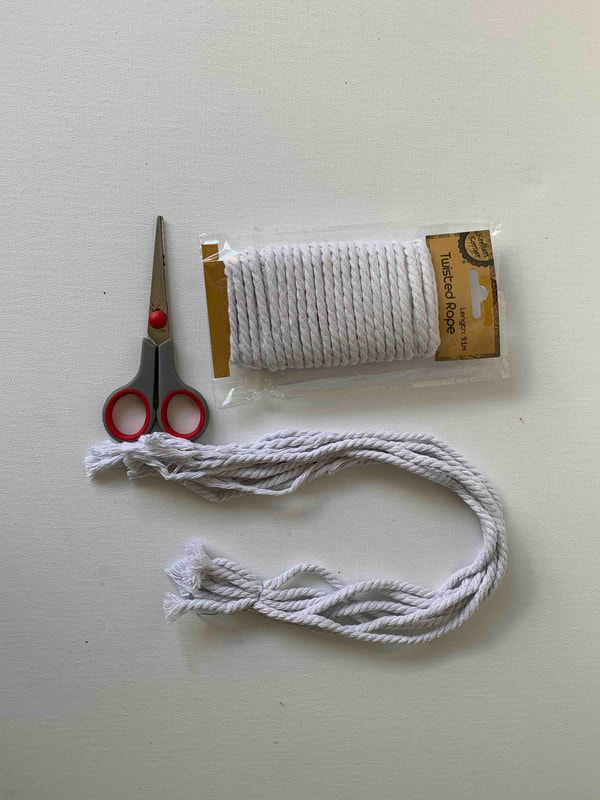
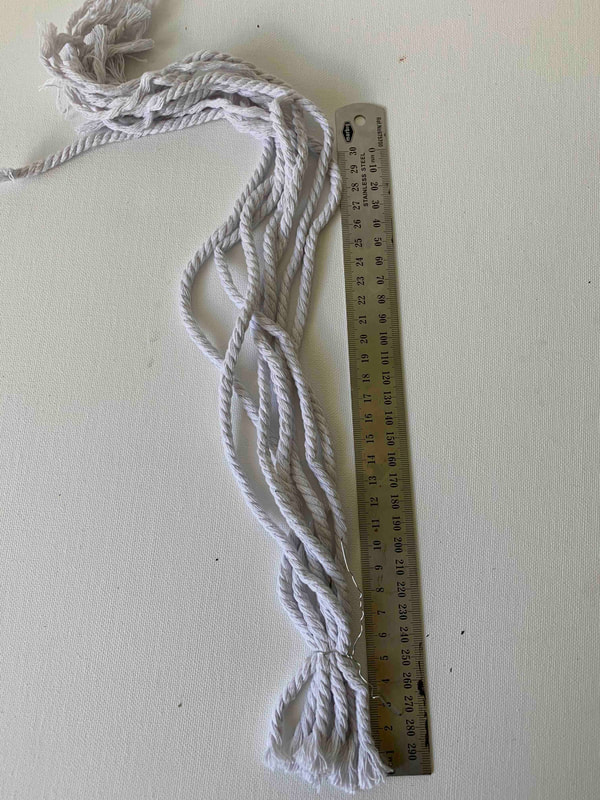
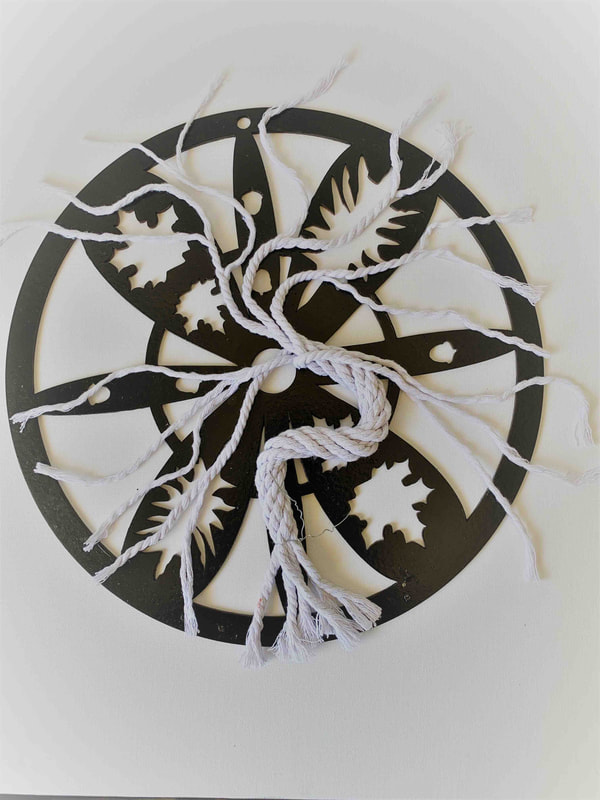
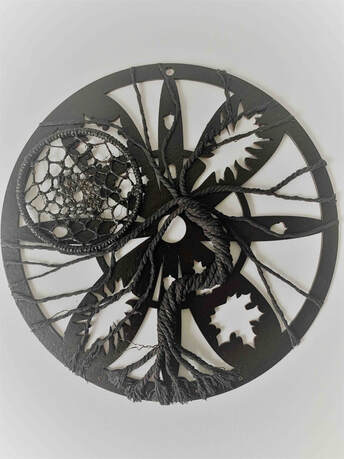
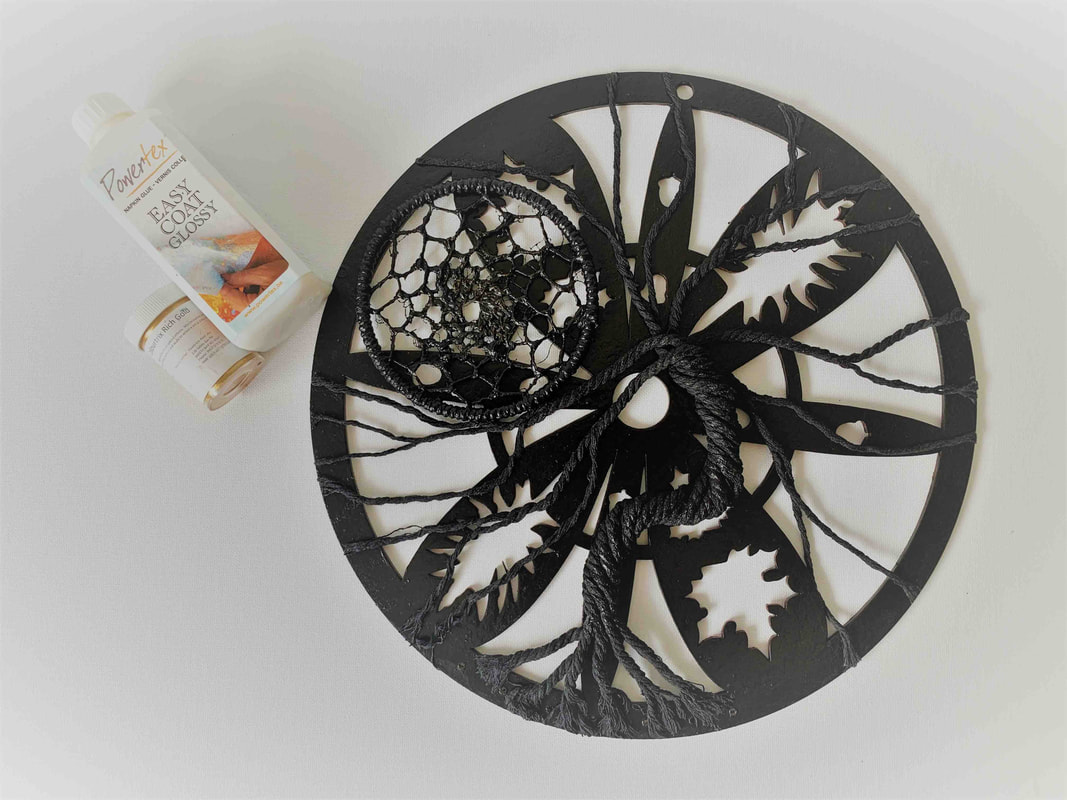
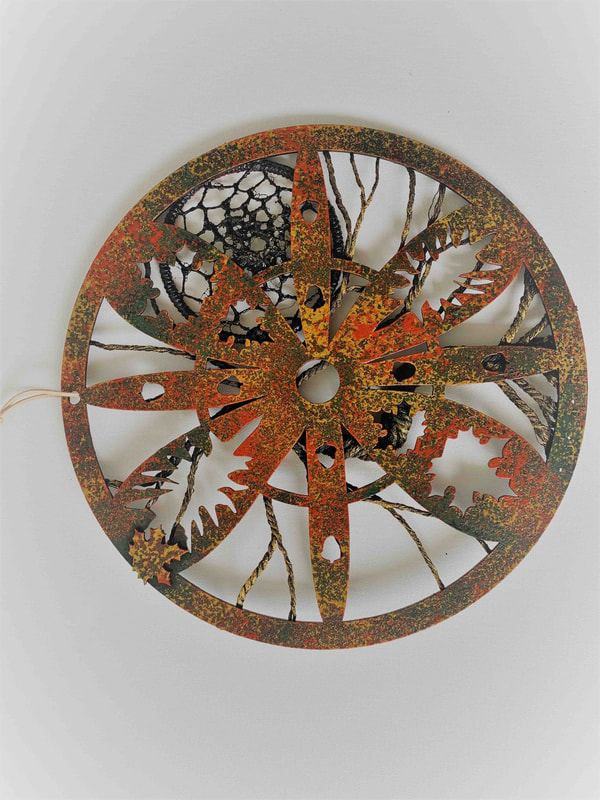
| STEP 3: Attach the Tree to your Mandala Undo the rope but keep the piece of wire tied onto the rope to keep your spacing. Pour Powertex Black into a bowl and dip the string into the Powertex and then massage it through the fibres. Once coated twist the rope and drape it onto the MDF Board. Use the short pieces for the roots, spreading them evenly on the bottom, making sure you don’t cover the holes for the string. Cut the excess branches off and leave to dry. Use Powertex Black and stick the small dream catcher on the MDF board between the branches. Leave everything to dry completely. |
STEP 4: Embellish the Tree
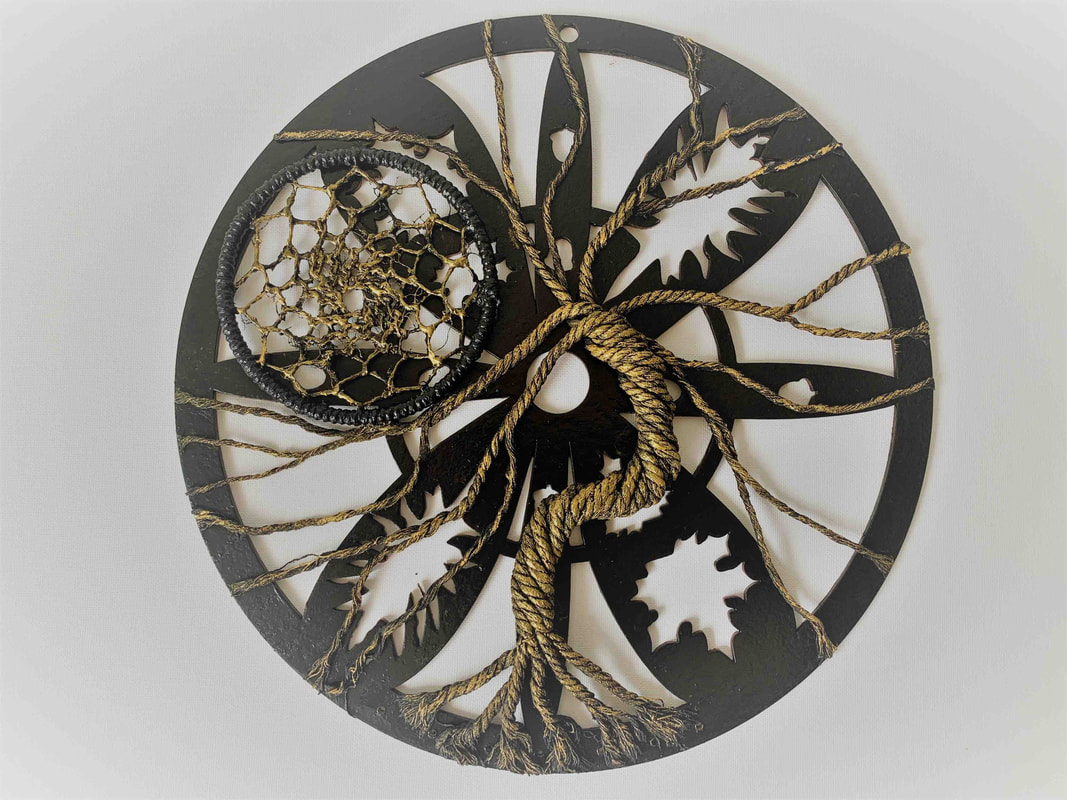
Use Colourtrix Rich Gold and Easycoat glossy to embellish the whole tree and the inside of the dream catcher.
Use Colourtrix Rich Gold and Easycoat glossy to embellish the whole tree and the inside of the dream catcher.
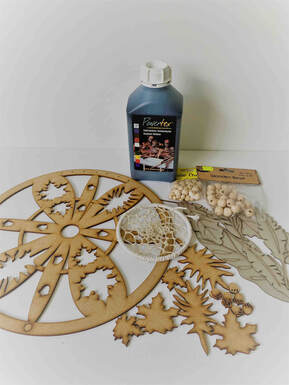
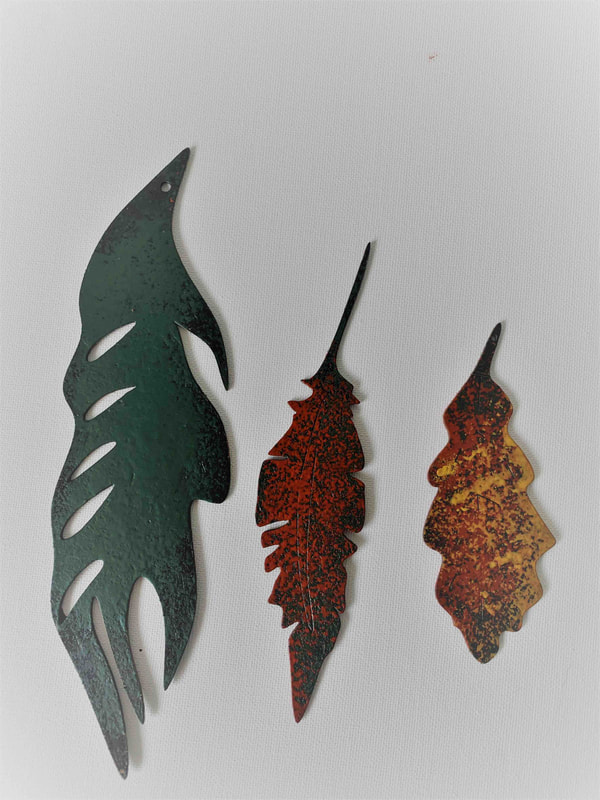
| STEP 5: Painting Autumn Colours While you’re waiting for step 3 to dry. Pour Powertex Green, Red and Yellow onto the plastic plates and cover them with plastic to prevent drying out. Start with the green and dab the sponge over all the MDF leaves - you still want to see some black coming through. Do both sides (working under a fan will speed up the drying process). Rinse the sponge after every colour that you use. Use now Powertex Red and do this process all over. Leave to dry. Finally, Powertex Yellow will bring that Autumn feeling to the leaves as the colours blend into each other. |
STEP 6: Adding your Leaves
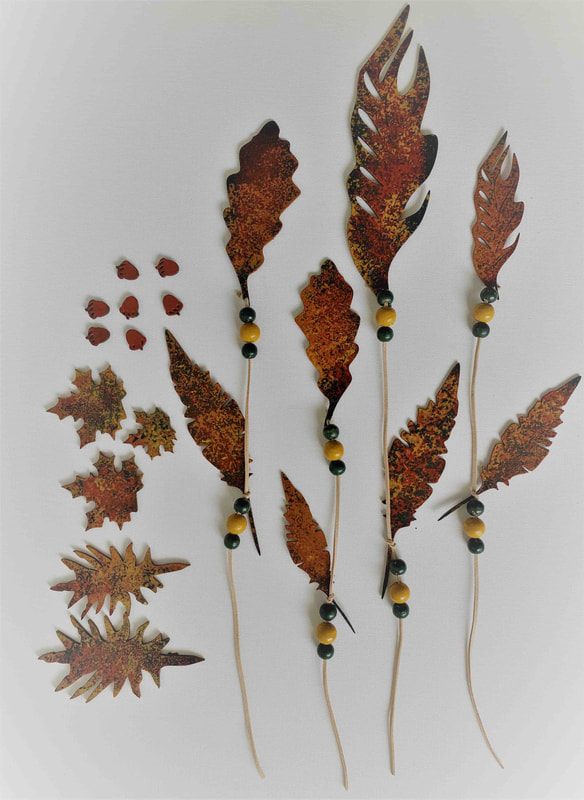
I used Powertex Green and Yellow to paint the beads and then put them aside to dry. Cut the sting into different lengths so that they hang uneven. Tie the leaves onto the string by spacing the beads between them. Use the left over Powertex and paint the back of the MDF Mandala board the same as the leaves (it will dry pretty quickly).
I used Powertex Green and Yellow to paint the beads and then put them aside to dry. Cut the sting into different lengths so that they hang uneven. Tie the leaves onto the string by spacing the beads between them. Use the left over Powertex and paint the back of the MDF Mandala board the same as the leaves (it will dry pretty quickly).
STEP 7: Finishing Touches
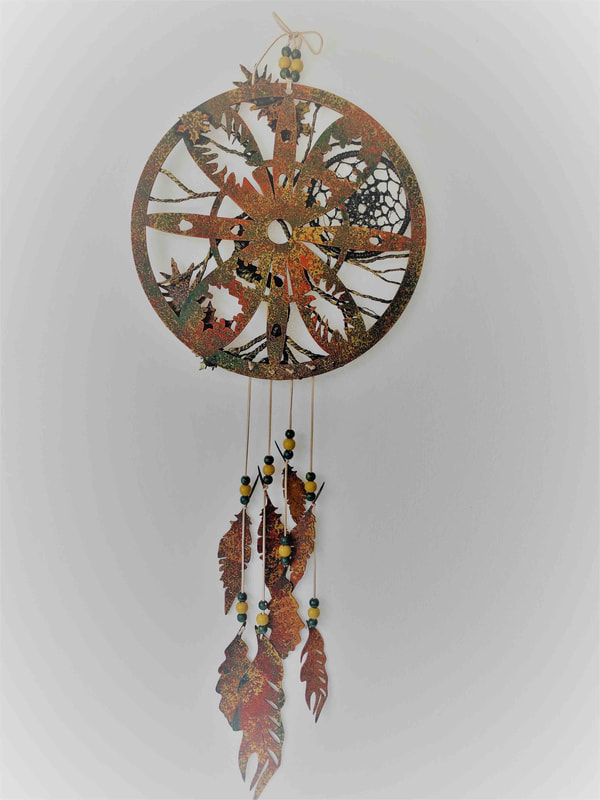
Use the left-over leaves and nuts to finish decorating your Mandala. Use some string and beads to create a hanging hook that matches the leaves hanging on the bottom. Add some more colour, for example I used Powertex Red and coloured the rim of the small dream catcher. Bring it all together by tying the string onto the bottom of the MDF Board and VOILA IT’S DONE.
Use the left-over leaves and nuts to finish decorating your Mandala. Use some string and beads to create a hanging hook that matches the leaves hanging on the bottom. Add some more colour, for example I used Powertex Red and coloured the rim of the small dream catcher. Bring it all together by tying the string onto the bottom of the MDF Board and VOILA IT’S DONE.
I had so much fun designing this Autumn Mandala
and I am really happy with the end result
I HOPE THAT THIS BEAUTIFUL AUTUMN MANDALA INSPIRES YOU AS WELL!
WHY WAIT??? ORDER YOUR KIT AND START CREATING TODAY!
Enjoy the ride…
Erika
and I am really happy with the end result
I HOPE THAT THIS BEAUTIFUL AUTUMN MANDALA INSPIRES YOU AS WELL!
WHY WAIT??? ORDER YOUR KIT AND START CREATING TODAY!
Enjoy the ride…
Erika
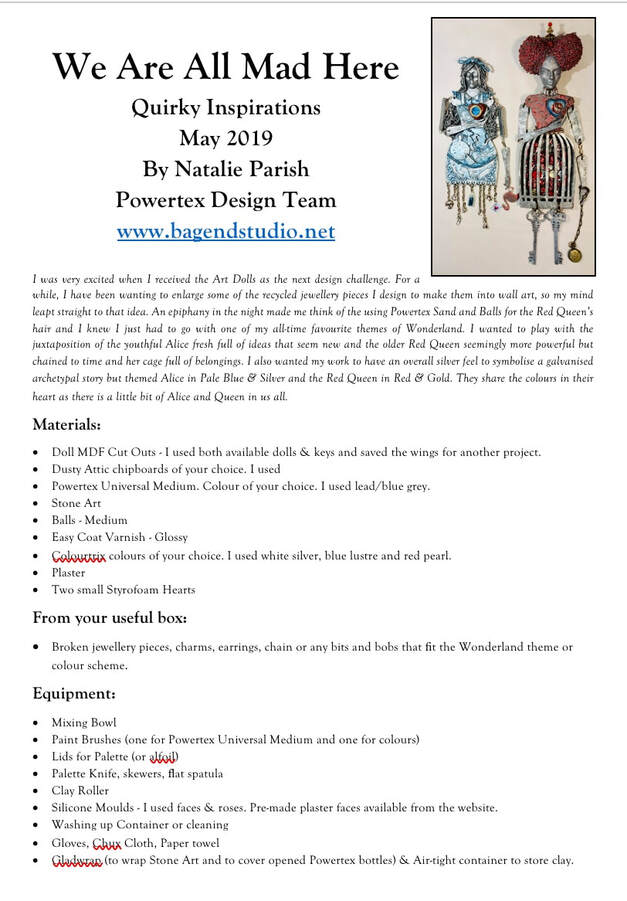
By Natalie Parish
Australian Powertex Design Team
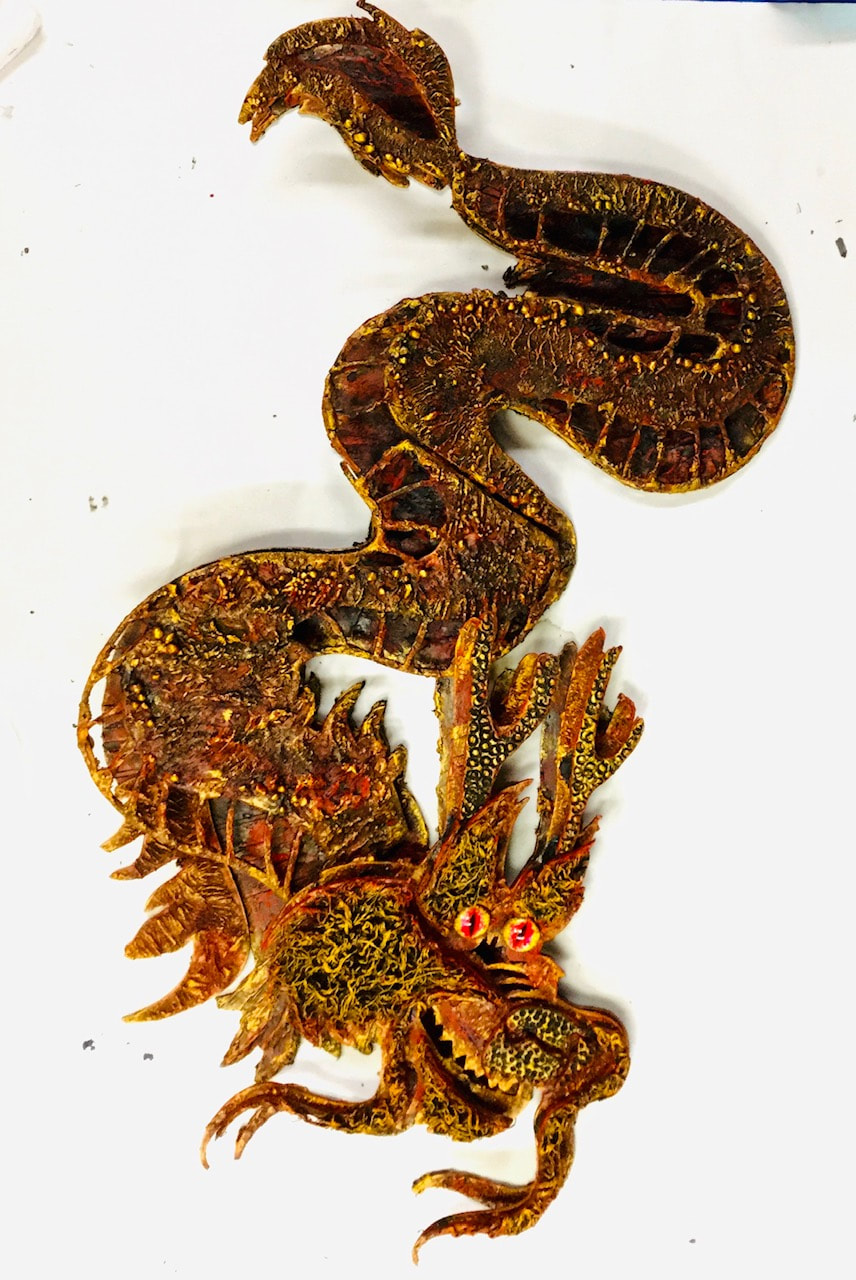
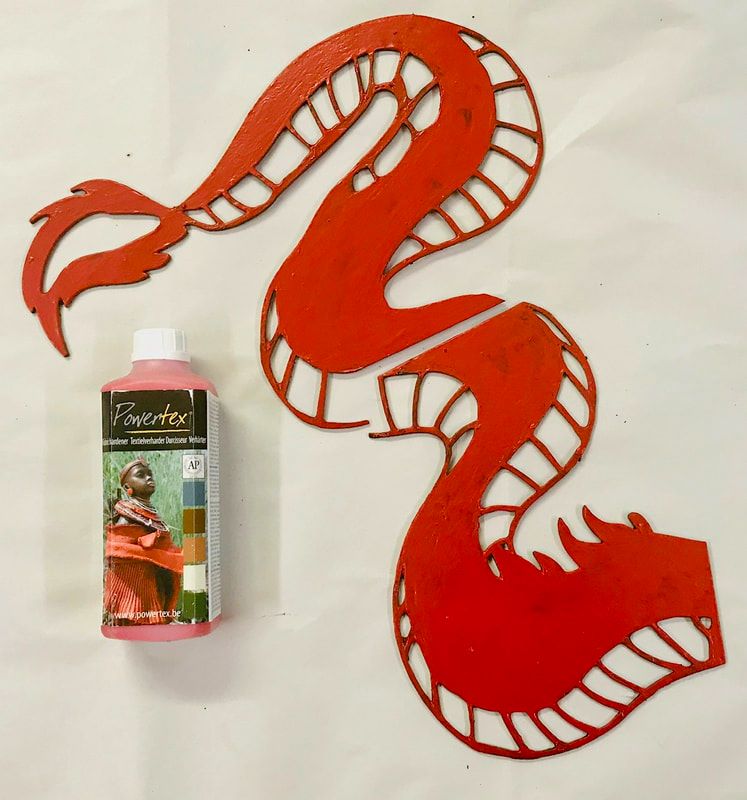
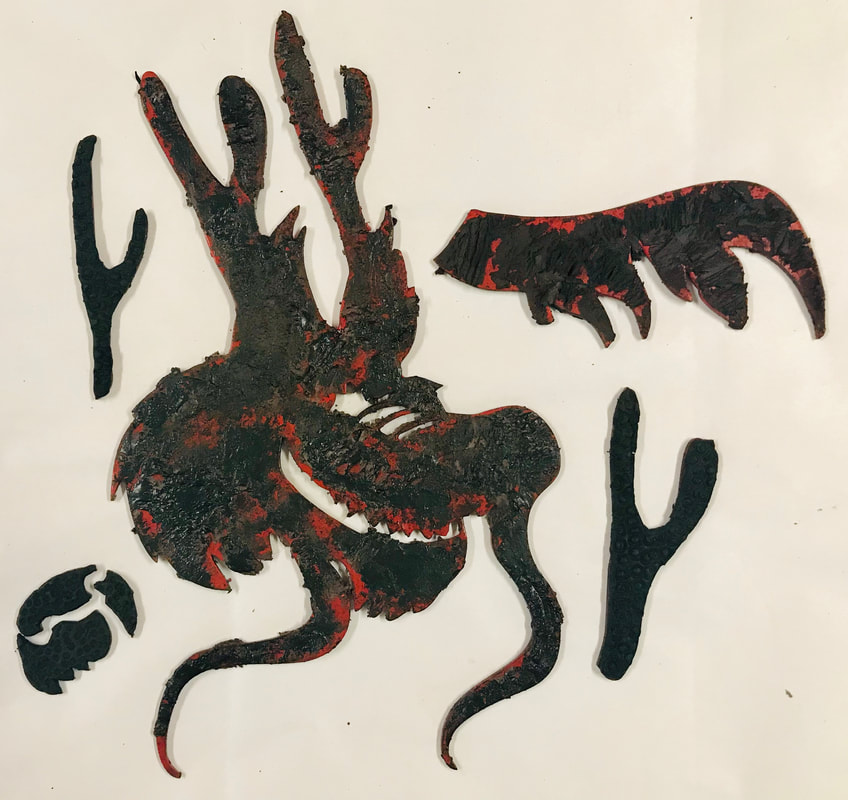
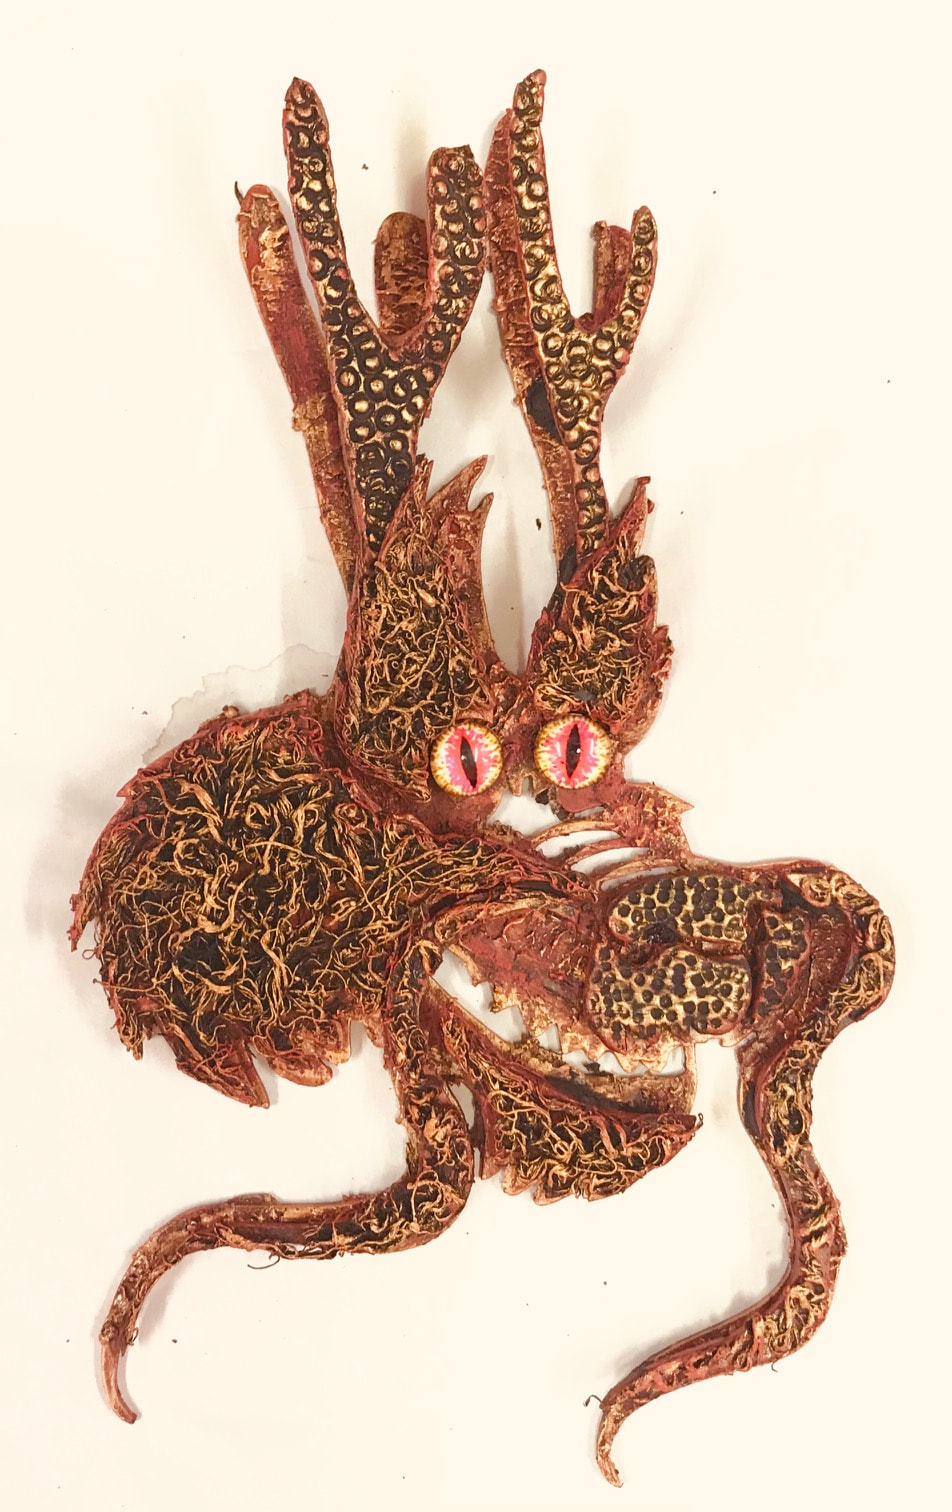
Thank goodness there is a second new year to celebrate in the world as I find I am always a little slow off the start in January. At our craft shows in 2019, a reoccurring request was for a Dragon Project. Dragons, a symbol of raw, untameable, ancient, energy also symbolises wisdom, strength, power and knowledge. An interesting symbol to our country’s troubled start to 2020.
According to Chinese legend, in the middle of winter, due to a scarcity of food, Nian the Dragon would come out of his mountain hiding and feed on the people and animals in the villages. Scared, the villagers hid indoors at night, leaving food on their doorsteps lit by red lanterns in the hope the dragon would be satisfied, and lives would be spared. However, a wise man discovered that Nian was afraid of the colour red and loud noises. With this knowledge, the Chinese villagers could take back the night by setting off firecrackers, banging on drum, parading down their streets in bright red colours and chasing off Nian with their own dragon dancers.
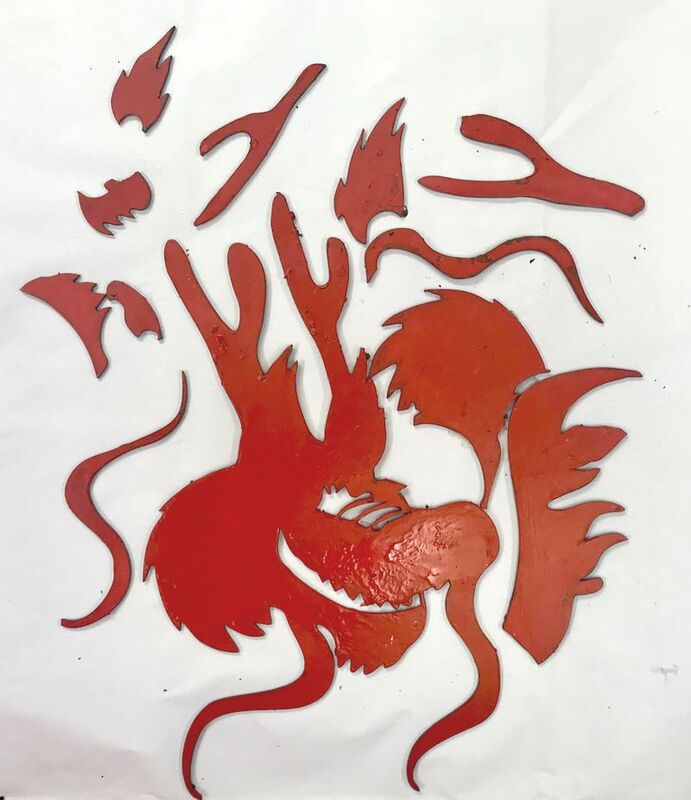
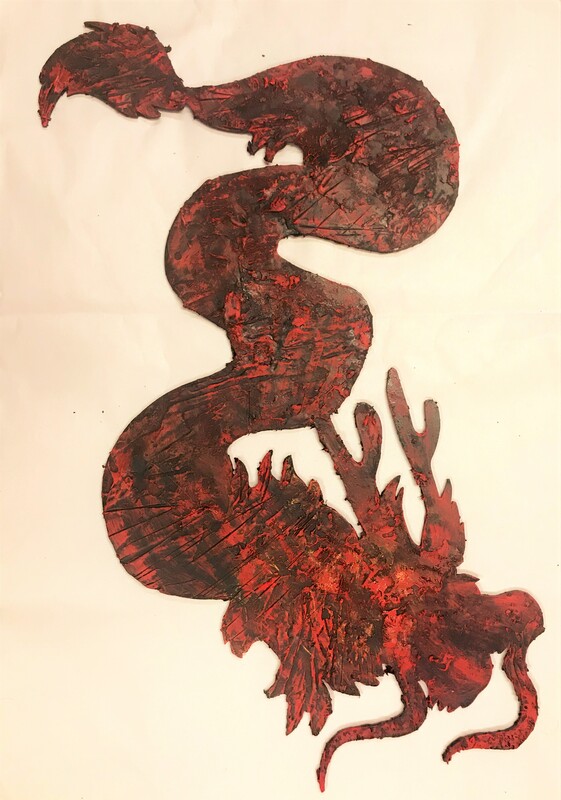
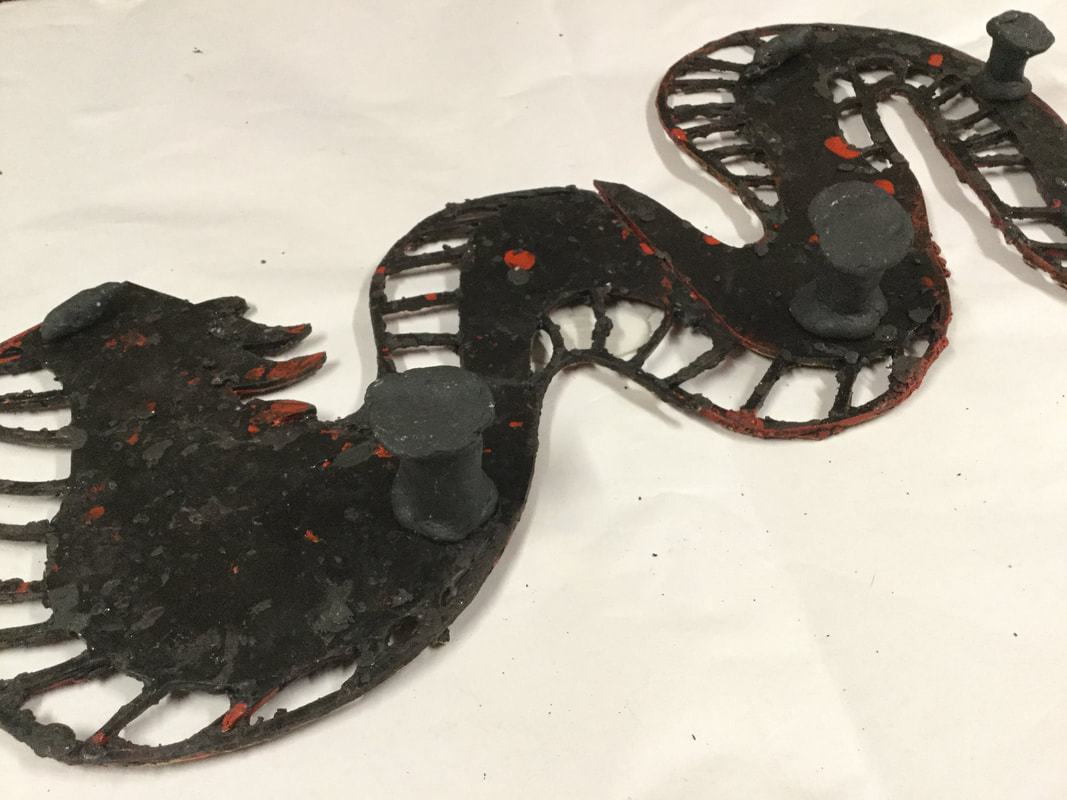
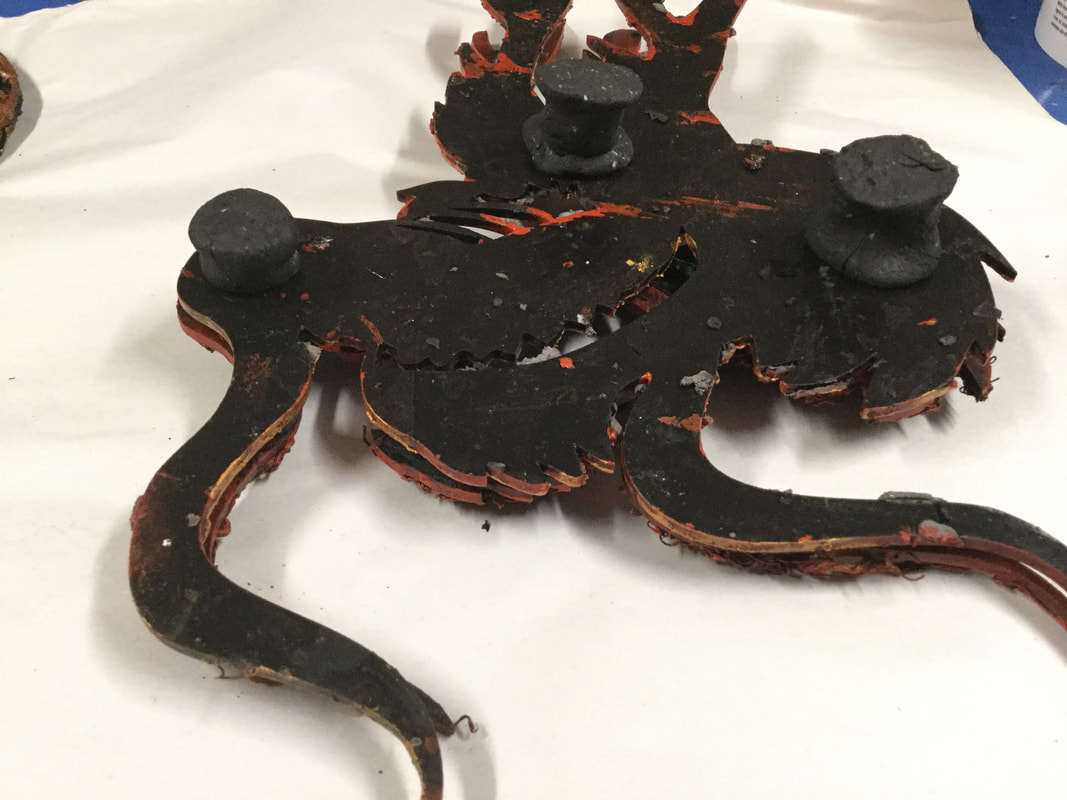
In my dragon I wanted to emulate the movement of the Dragon dancers through an exaggerated wave in front piece by using my Stone Art Pillar techniques. I have also used oriental colours of red (vitality), gold (wealth) and black (to balance oppositional forces with a grounded) to herald in the new year and energize the commitment to those New Year Resolutions.
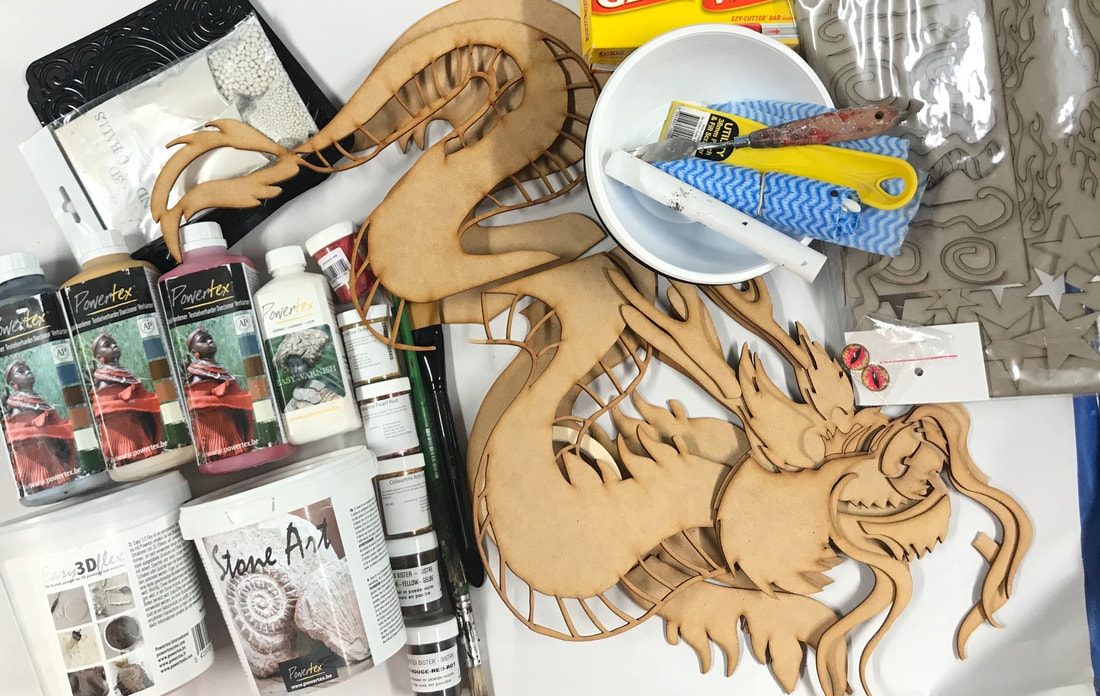
Materials:
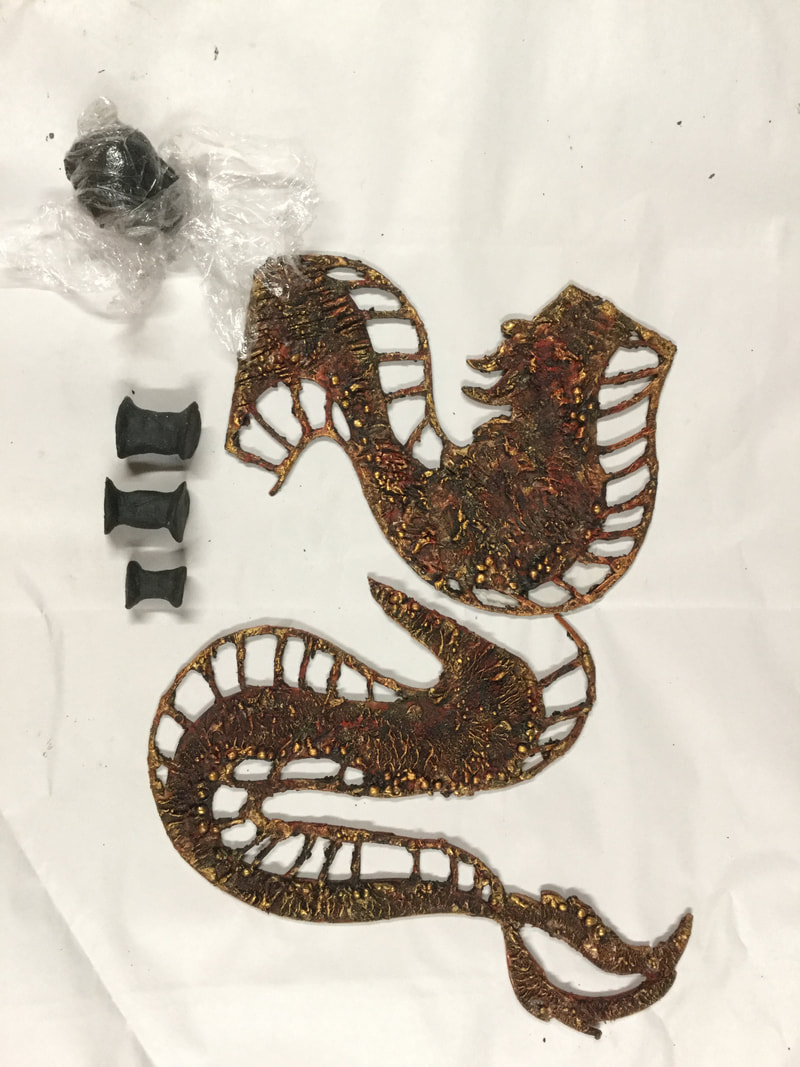
- Chinese Dragon MDF Cut Outs & Designer Chipboard Mat (although I did not end up using the chipboard Mat)
- Powertex Universal Medium. Colours of choice. I used black & red but did not end up using the yellow ochre)
- 3D Flex & Stone Art
- Balls – I did not use the sand.
- Bister – natural & red
- Easy Varnish
- Powercolours colours of choice. I used rouge & titanium white
- Colourtrix colours of your choice. I used rich gold
- Dragon Eyes (available from www.bagendstudio.net)
- Triangle Hooks for hanging.
Available on Bag End Studio - Online Shop
Equipment:
- Mixing Bowls
- Paint Brushes (two for Powertex and two for pigment colours)
- Lids for Palette (or alfoil)
- Palette Knife & flat spatula for mixing & apply 3D Flex.
- Skewers for lifting polycotton while drying
- Modelling tools or textures plates (I ended up spreading my 3D Flex more often than stamping–but I would like to do another using more stamping)
- Gloves, Chux Cloth, Paper towel
- Gladwrap (to wrap 3D Clay &Stone Art & to cover opened Powertex bottles)
- Air-tight container to store clay.
- Watching up containers for cleaning.
Step One - Design Layout
- Collect the necessary Powertex products & equipment
- Set up plastic workspace area (I’ve used a paper surface only for a photographic background).
- I did wing this project a bit & the steps are in retrospect the best order. I do wish I had taken more photos. It’s easy to get carried away when trying to make something work.
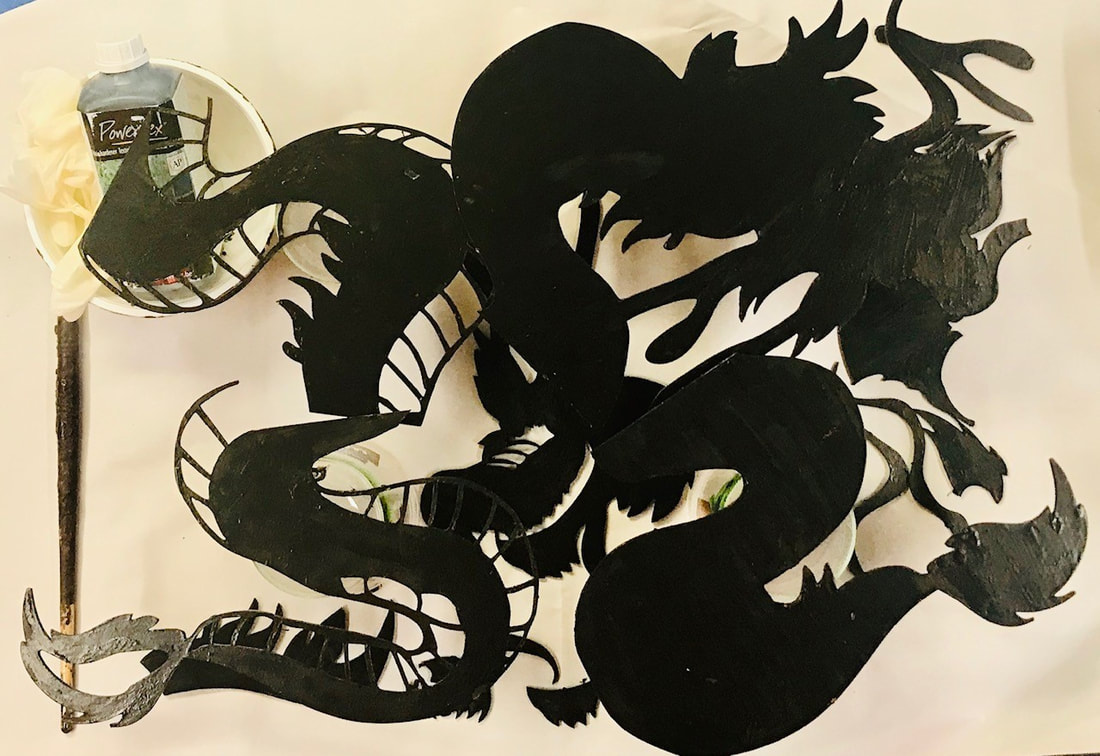
Step Two – Seal the Back of the Boards
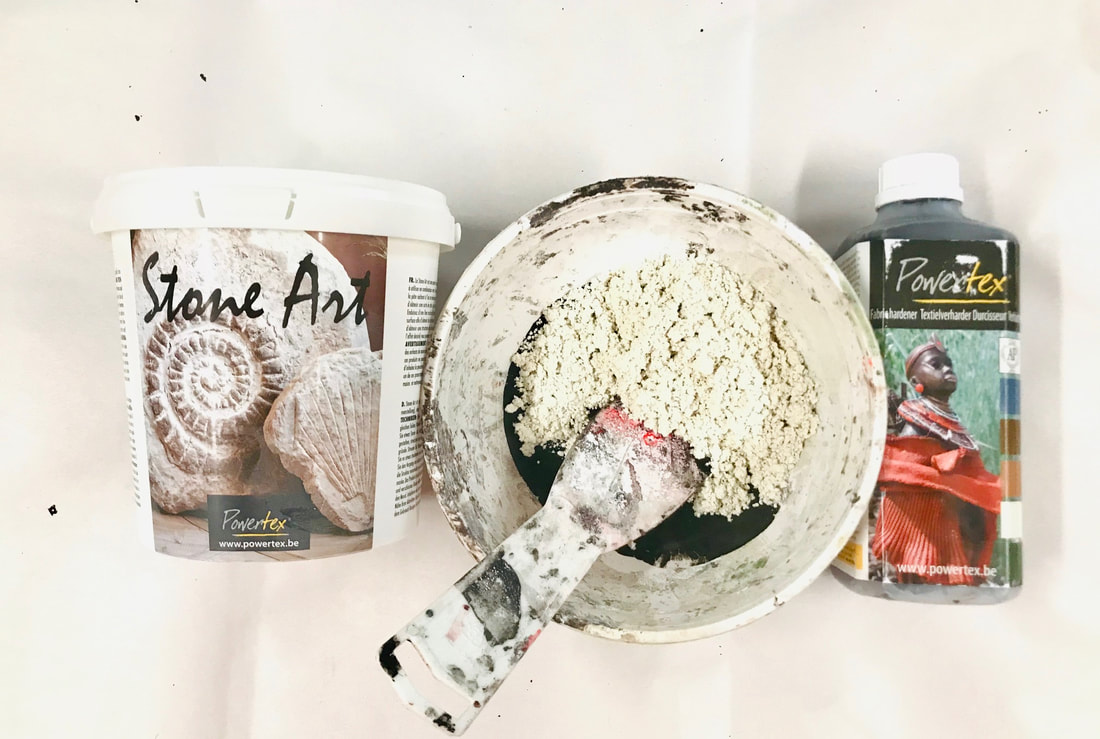
Step Three – Make Stone Art
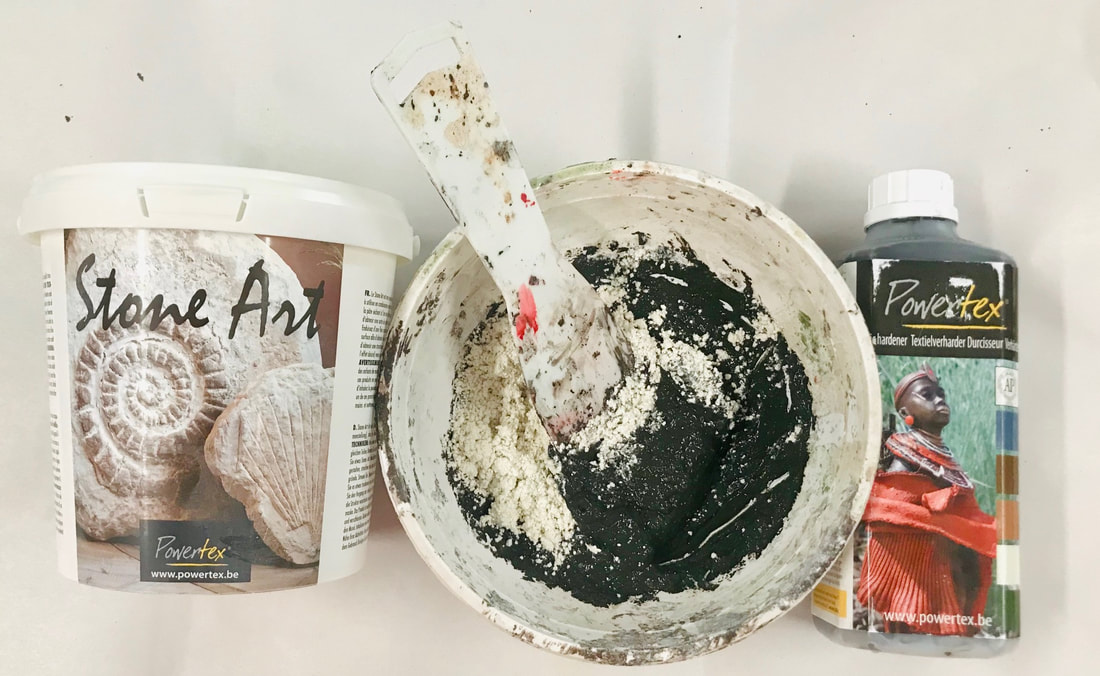
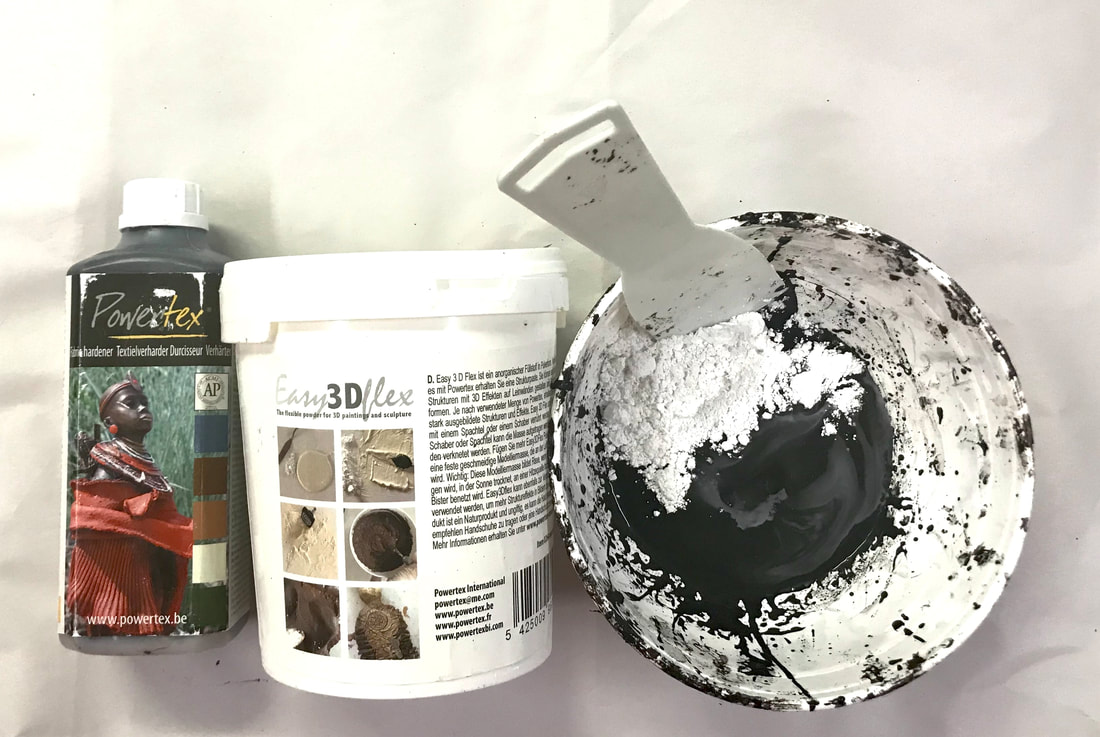
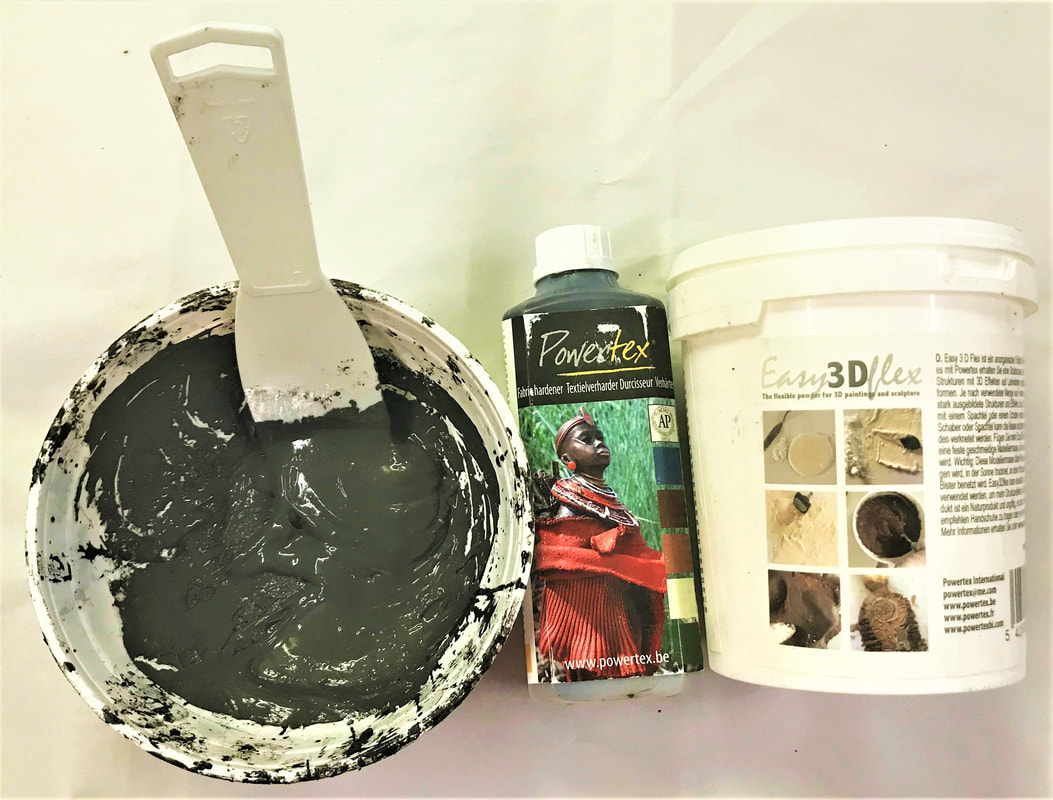
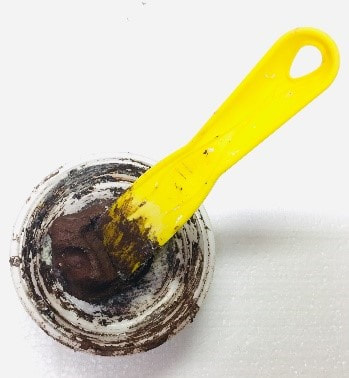
- Pour Black Powertex Universal Medium (approx.1/2 cup) into a bowl & add Stone Art (approx.1/2 cup) & mix with a flat spatula.
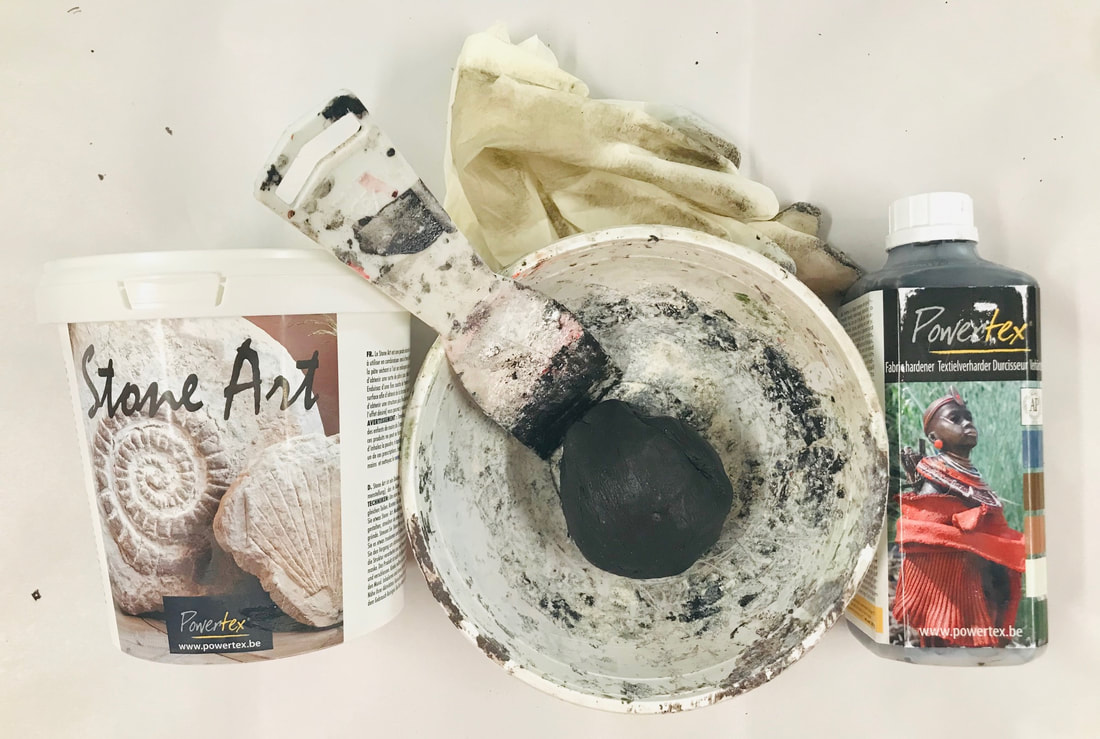
- Keep adding small handfuls of Stone Art until it forms a kneadable ball of dough that no longer sticks to the bowl or your gloves.
- Remove the sticky ball & add a little more Stone Art to ‘flour’ the ball. Knead the clay ball well, ‘flouring’ with a scatter of Stone Art if it’s a little sticky. It is ready when pushed into a textured surface & removed again without sticking but leaving an impression.
- Keep the clay ball wrapped in glad wrap & in a sealed airtight container to prevent hardening until use.
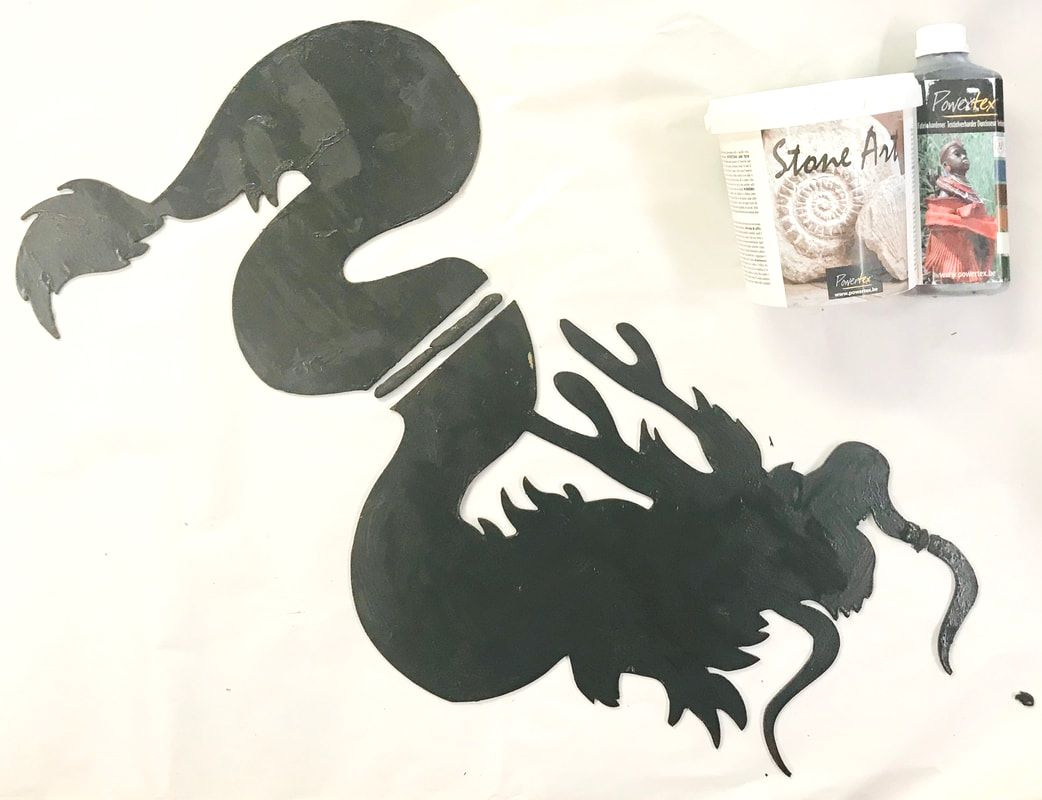
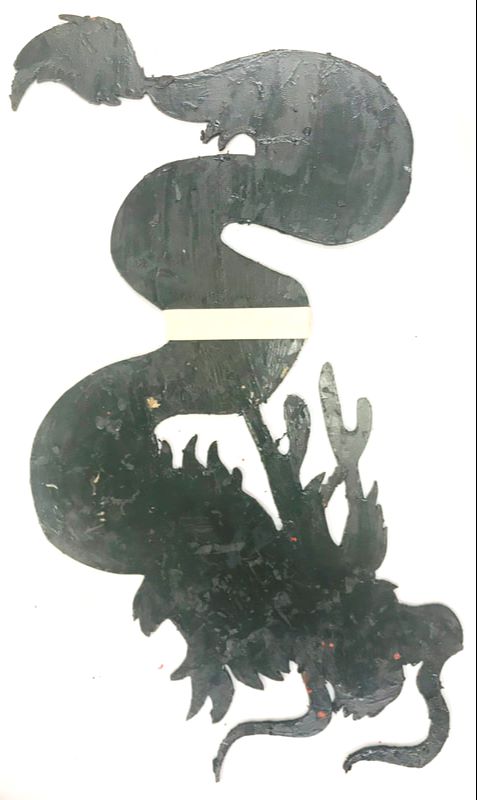
Step Four – Join Bottom Layer with Stone Art & Tape
|
Step Five – Seal Top Layer & Face Front
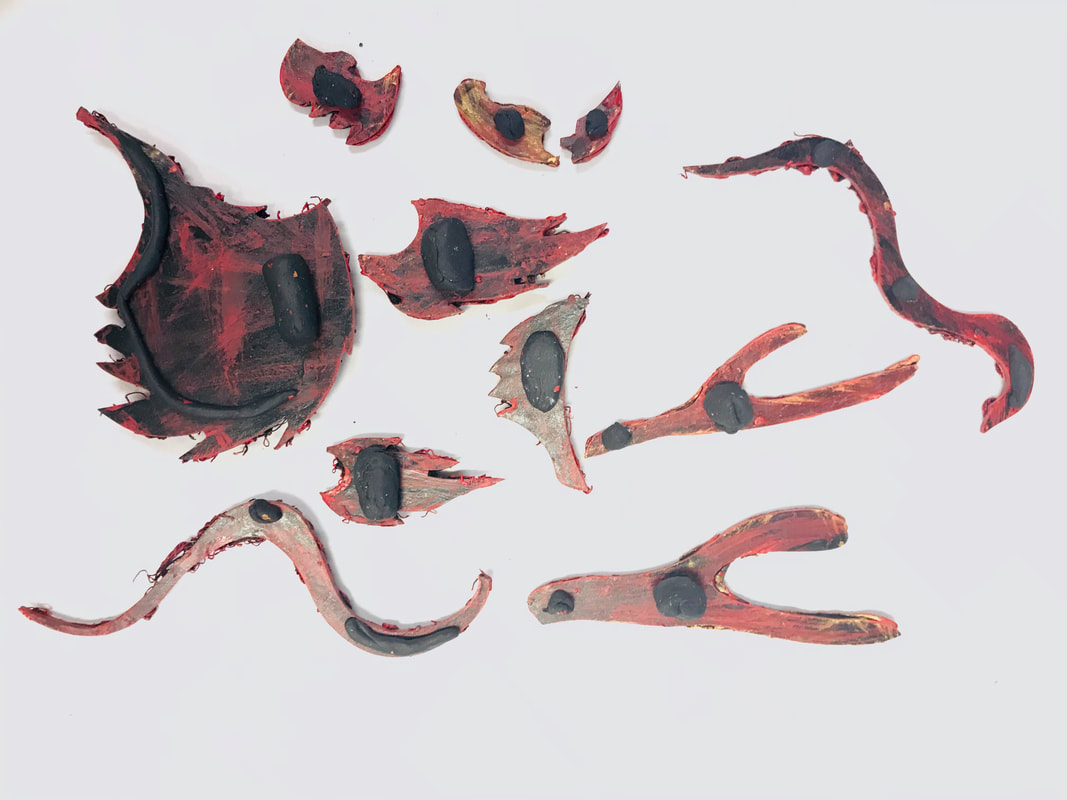
- Seal the front of the two top layers of MDF & all the Face Pieces
Step Six – Make 3D Flex Paste & Clay
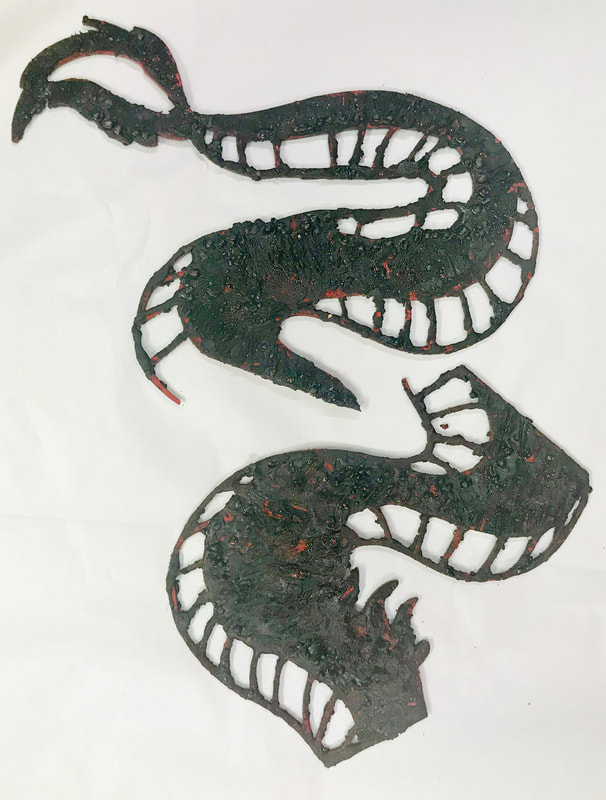
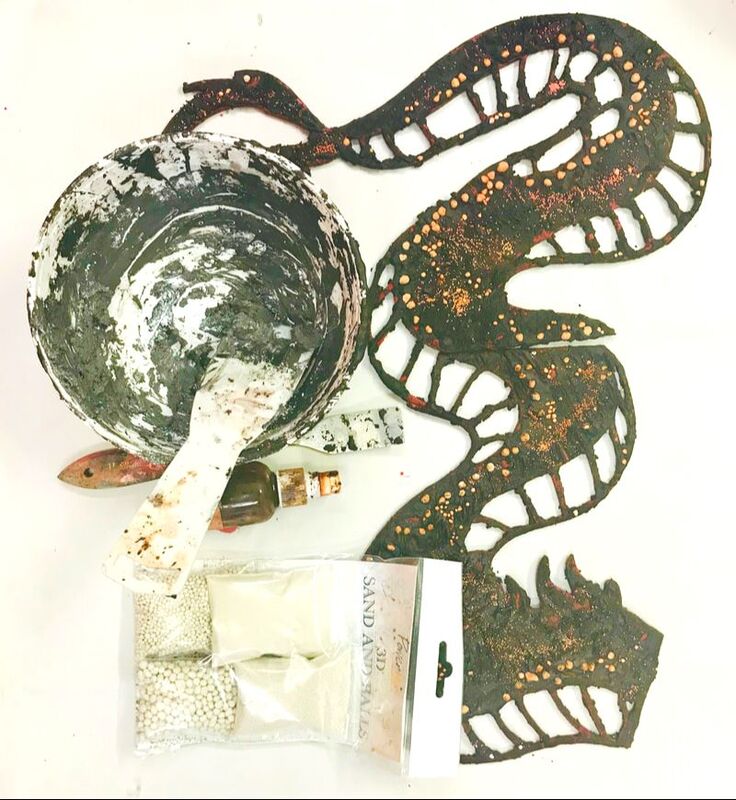
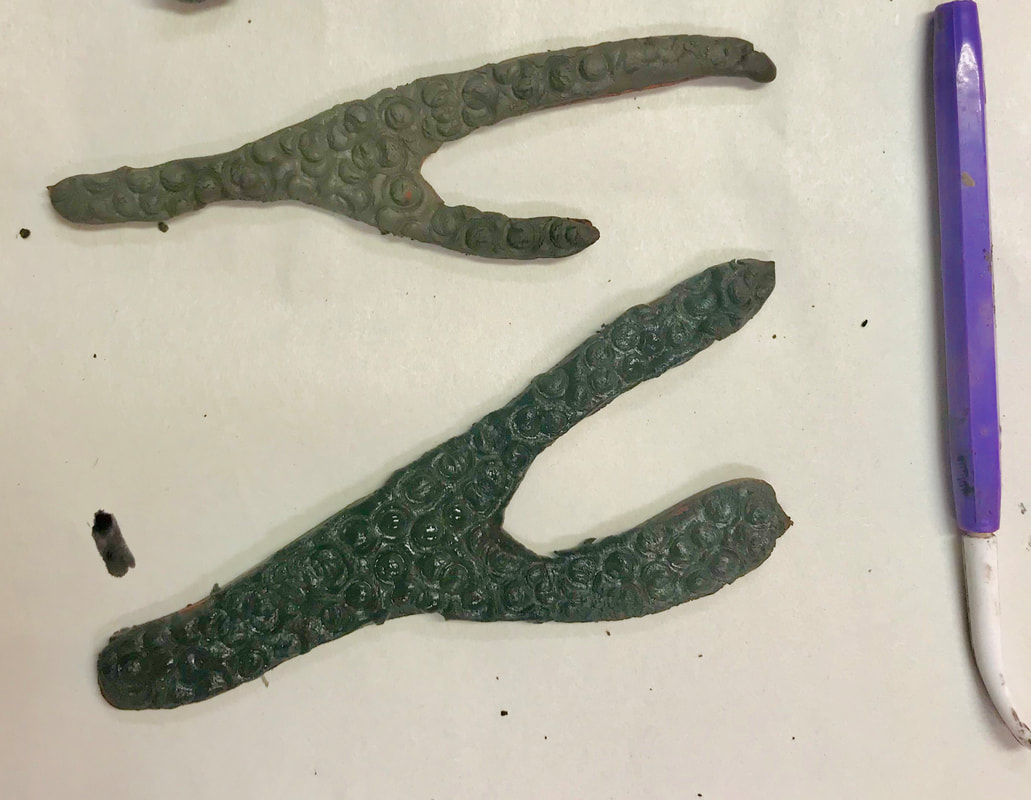
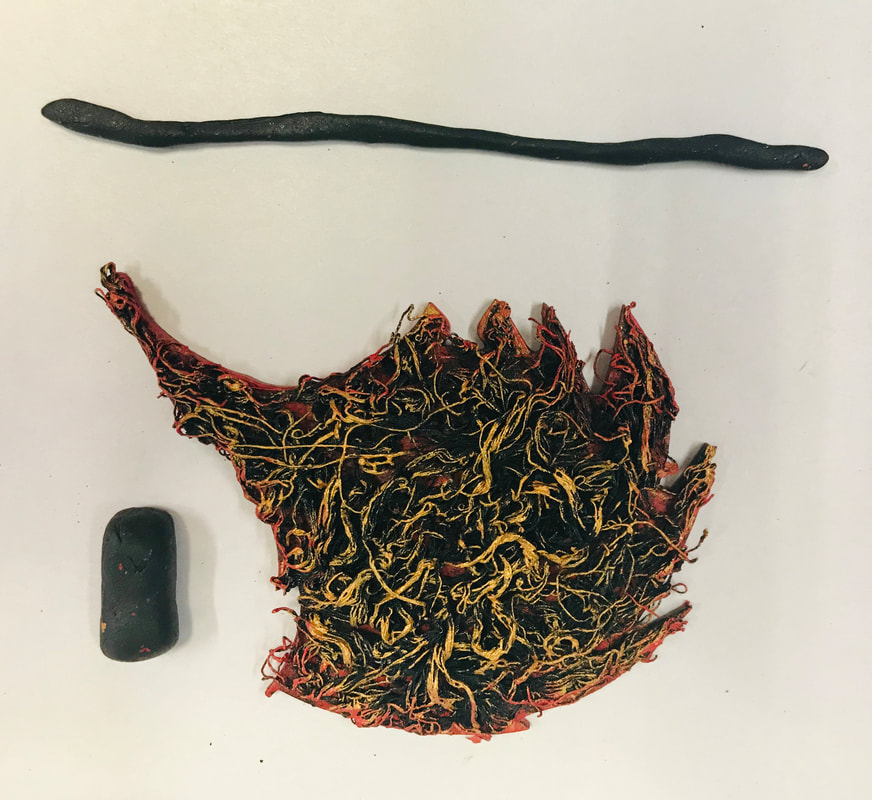
Step Seven - Texturize the Fronts with 3 D Flex & Balls
|
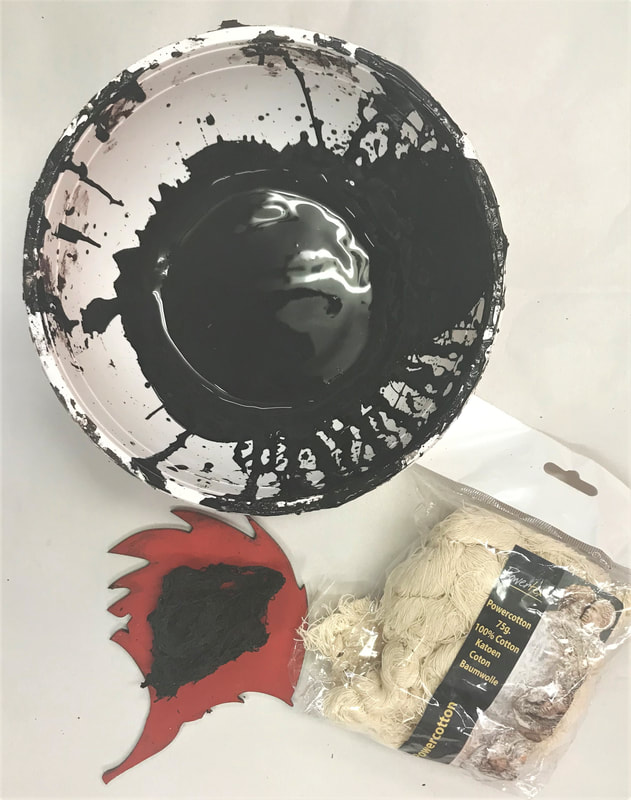
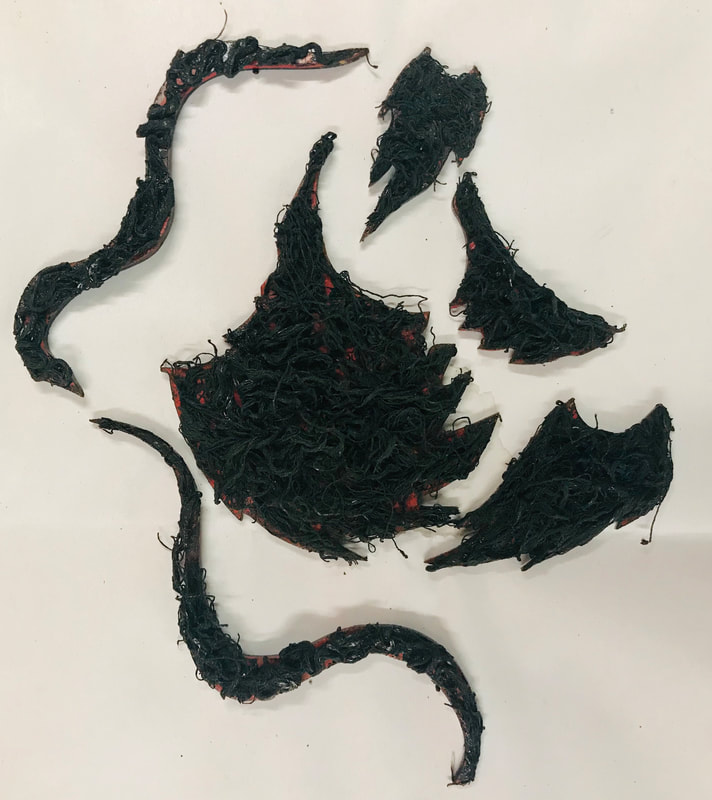
Step Eight- Add Powercotton to Face
|
Step Nine – Embellish & Assemble The Face
|
Step Ten – Assemble Body
|
Step Eleven - Hanging Hooks & Touch Ups
|
Congratulations you’re finished.
Where will you hang your dragon to bring you prosperity in 2020
A dragon’s energy is perfect for an office space but place it behind your desk to support you and not in front of you in opposition. If this position is lucky enough to be an eastern wall, even better as both dragons and the element of wood are represented. If your piece will live outside garden/courtyard then remember that Dragons love water, so maybe near a water feature. Or guardian on your front door.
See you next month for some March Magic.
Natalie Parish
See you next month for some March Magic.
Natalie Parish
Christmas Inspirations-December 2019
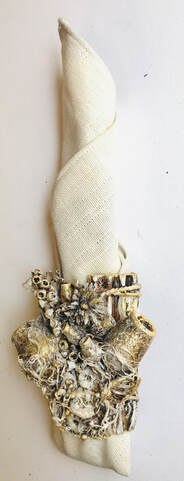
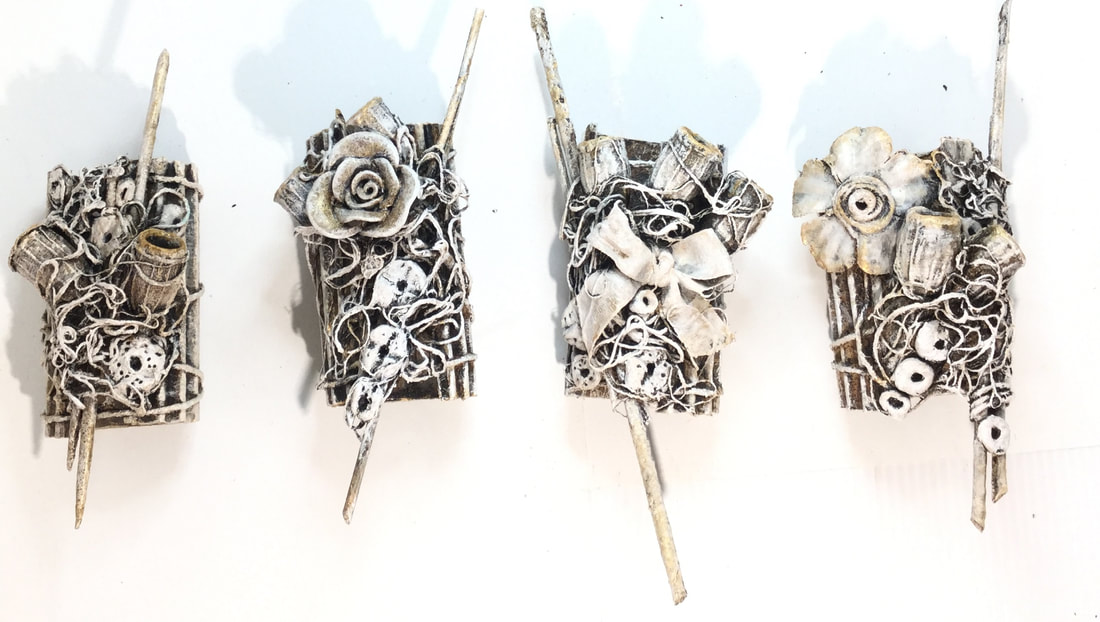
Country Napkin Rings
Natalie Parish from the Australian Design Team.
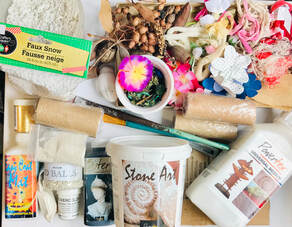
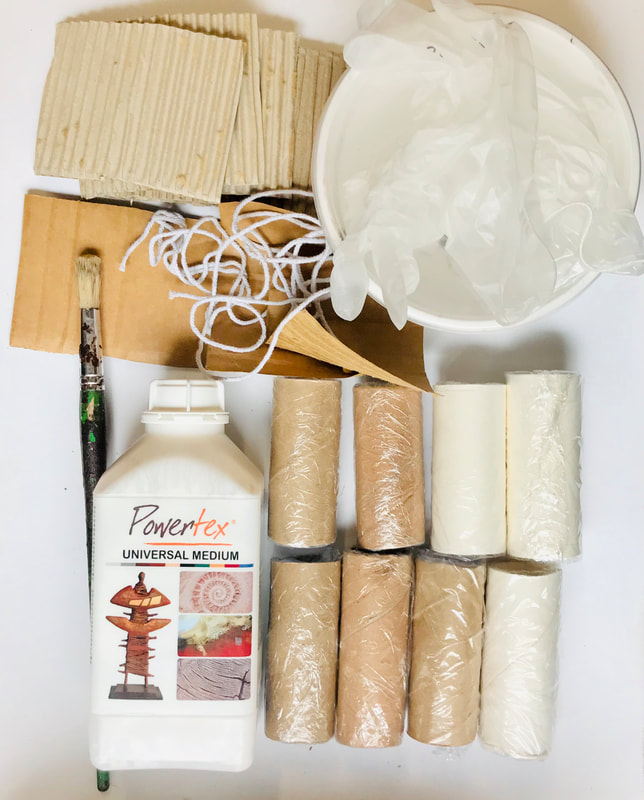
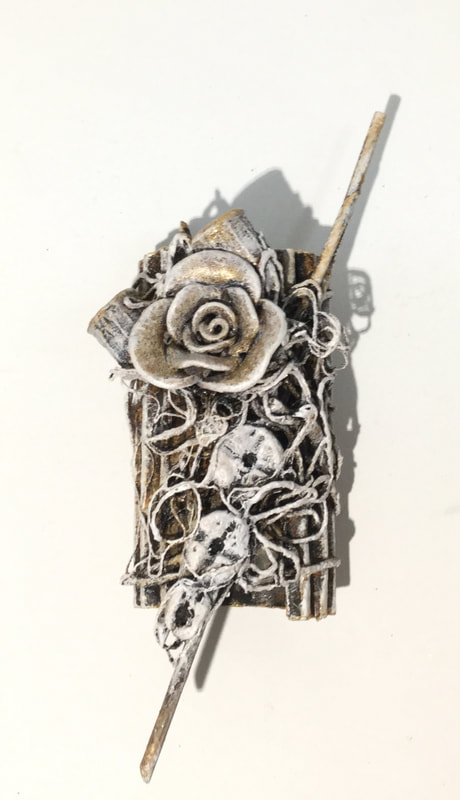
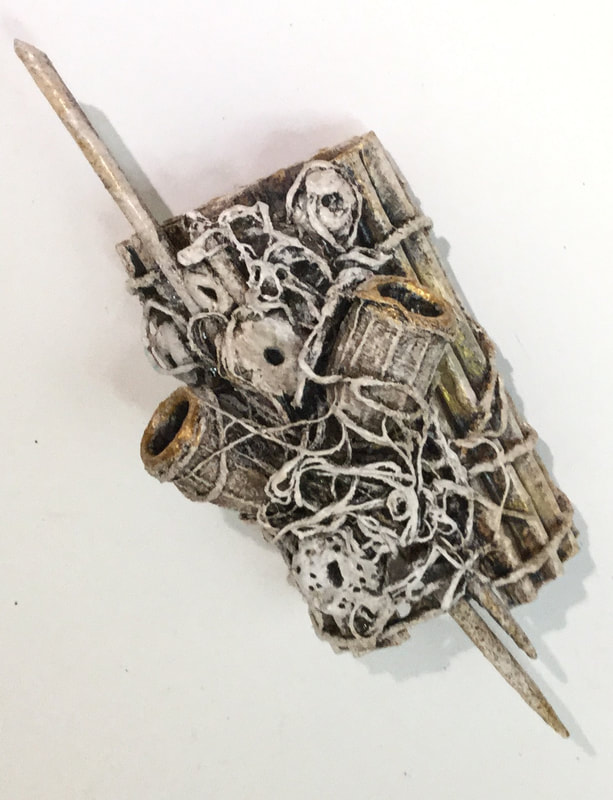
| Christmas can be a time for over consumption rather than contemplation. However, being crafty can give you that time and space to look at Christmas creatively. It is a tradition in my family to exchange gifts that are handmade, second-hand and this year we added bush gifts from drought and fire effected areas. So, I am going for a Country Christmas theme Dinner is at my house this year, so to tie in my theme I decided to rehash an old napkin ring idea to make table decorations. Determined not to go to the shops, I rummaged through my useful box and craft stash to use up bits I already had. That’s what I love about the Powertex universal medium and stone art – its ability to help you create assemblage art out of found objects, off-cuts, or bits from the backyard. that at first glance to anyone else may simply look like rubbish. Keep in mind, except for the PTX universal medium, everything is optional depending on the style you wish to create and what you have at home. I love to use the stone art as it speeds up the attachment process. |
| Materials
www.powertexaustralia.com | Equipment
|
A range of bush seeds, pods and dried flowers are available at www.bagendstudio.net
Step One – Set up to create the Base
|
Step Two - Make Stone Art
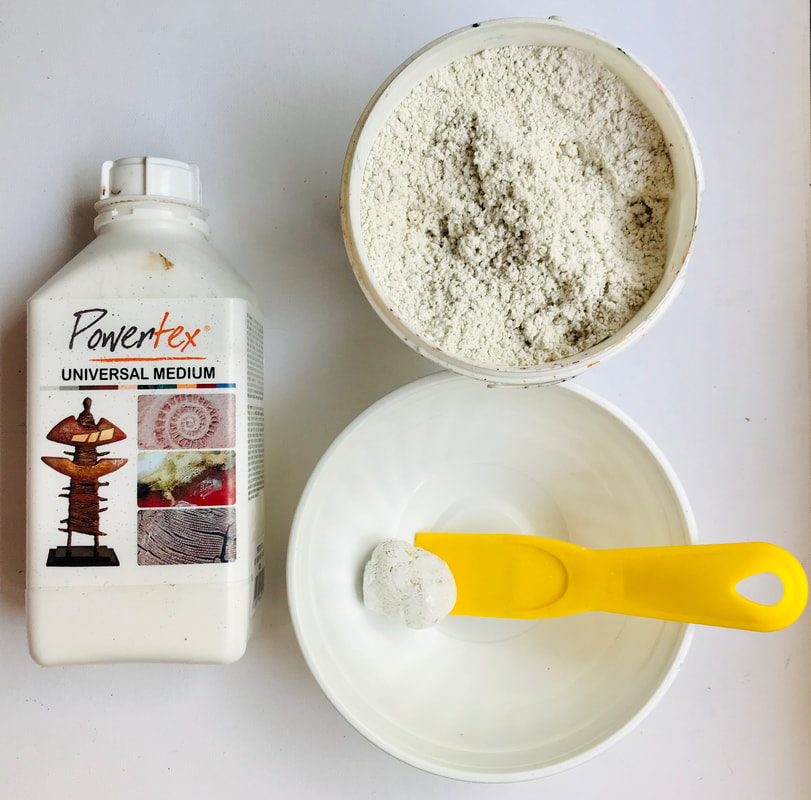
- Pour into a bowl with a small amount of White Powertex Universal Medium (1/4 cup) and Stone Art (1/4 cup) and mix with a flat spatula.
- Keeping adding small amounts of Stone Art until it forms a kneadable dough like mixture that no longer sticks to the bowl or your gloves.
- Remove the sticky ball, add a little more stone art to the bowl to ‘flour’ the ball
- Knead and condition until the clay can be pushed into a textured surface and removed again without sticking.
- Store in a zip lock plastic bag.
- For longer storage (a few months), cover with a wet chux cloth, put it in a zip lock plastic bag and then pop it in an airtight container. It may need ‘flouring’ with Stone Art if it is too sticky or more PTX Universal Medium if too dry, when you go to use it.
Step Three - Assembling the Roll
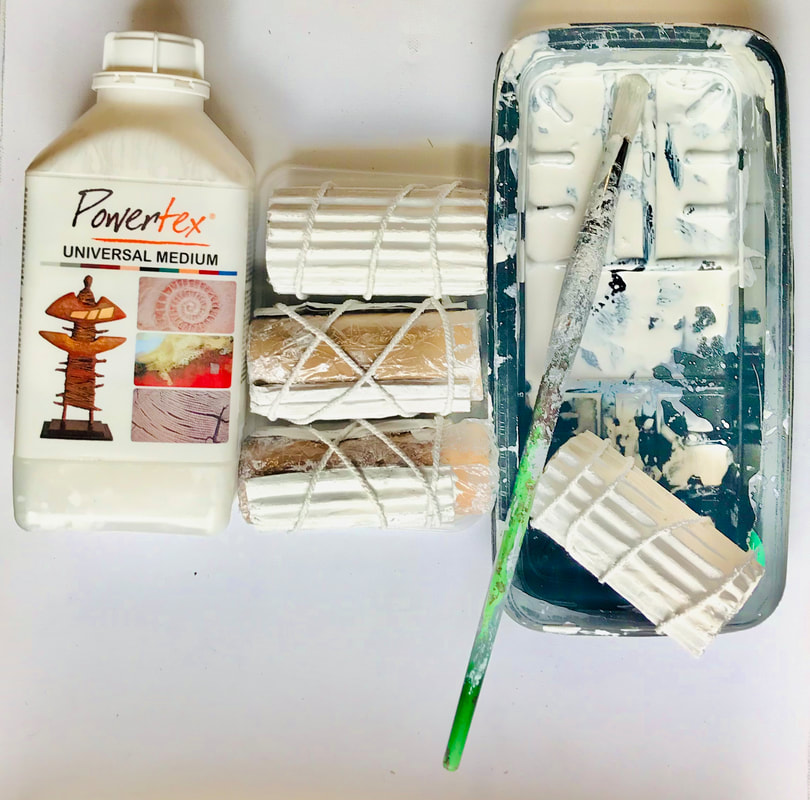
- Pre-dip string by placing into your bowl of PTX universal medium and massaging it through. Squeeze out excess by running string through thumb and forefinger. Put to one side or in hot/dry weather wrap in gladwrap.
- With a paint brush paint both sides of the cardboard.
- Wrap the cardboard around your glad-wrapped roll.
- Wrap the pre-dipped string around the cardboard to hold it into place.
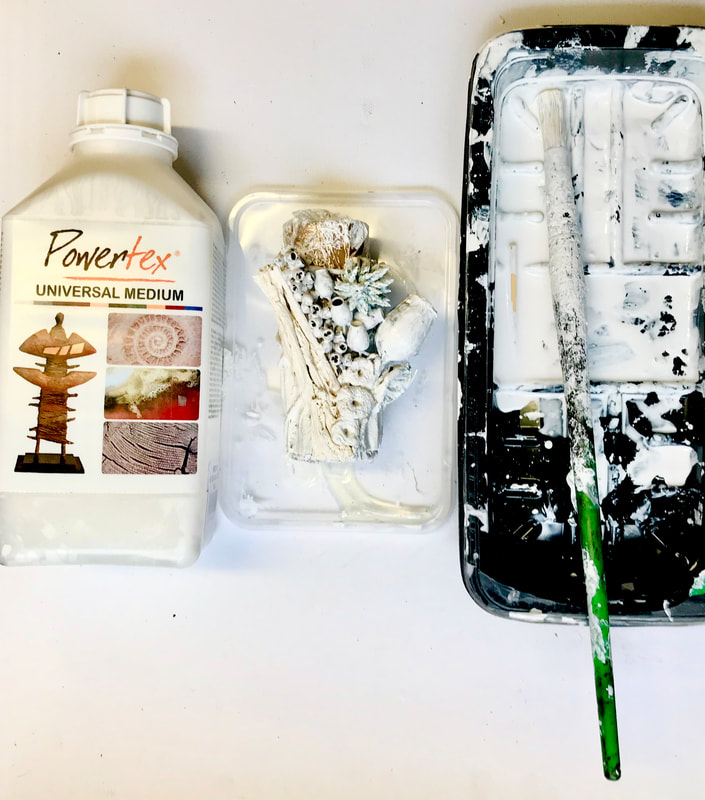
Step Four - Assembling Found Objects
|
|
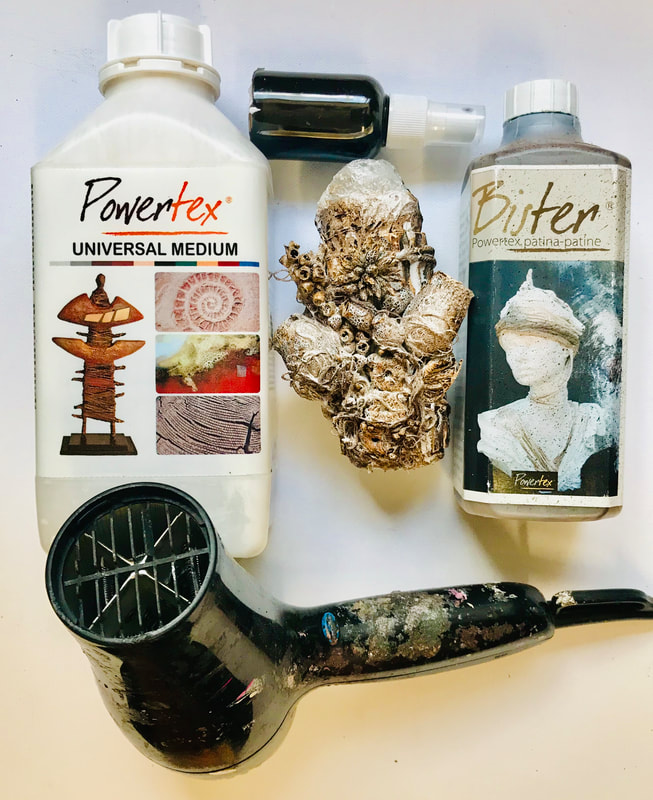
Step Five - Bister
|
|
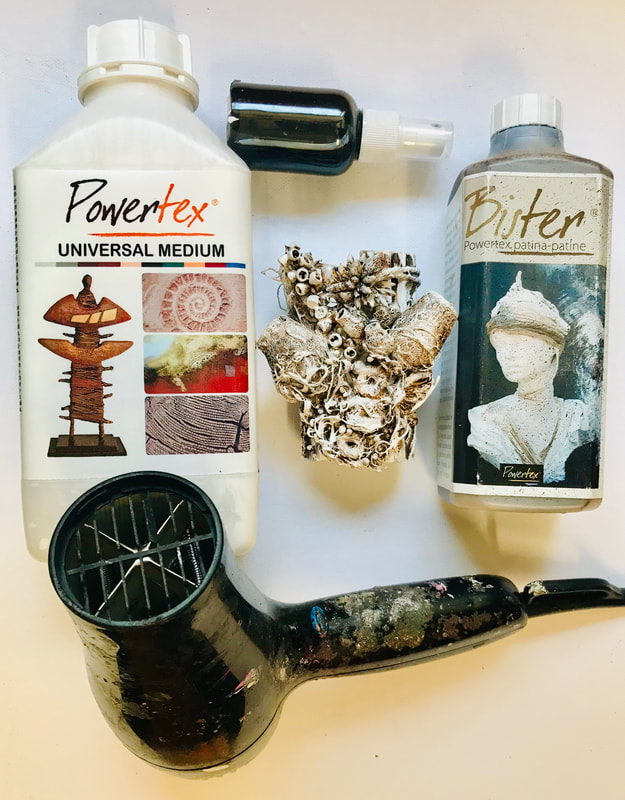
Step Six - Setting
|
|
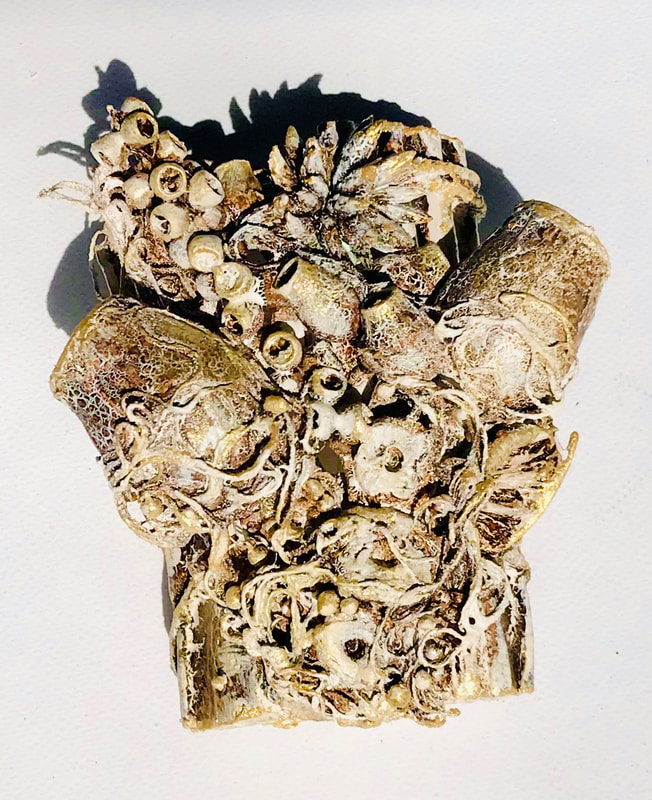
Step Seven - Pigment Embellishing
|
|
Just Add Your Napkins Congratulations Stay Tuned for more Country Christmas www.bagendstudio.net
Something Blue
Wedding Planner Holder
Naughty November 2019
By Natalie Parish
Australian Powertex Design Team
www.bagendstudio.net
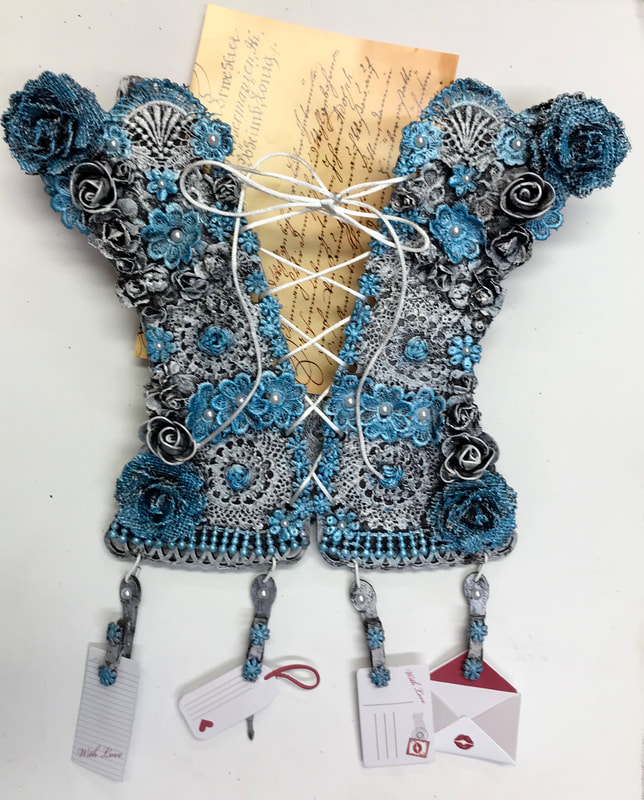
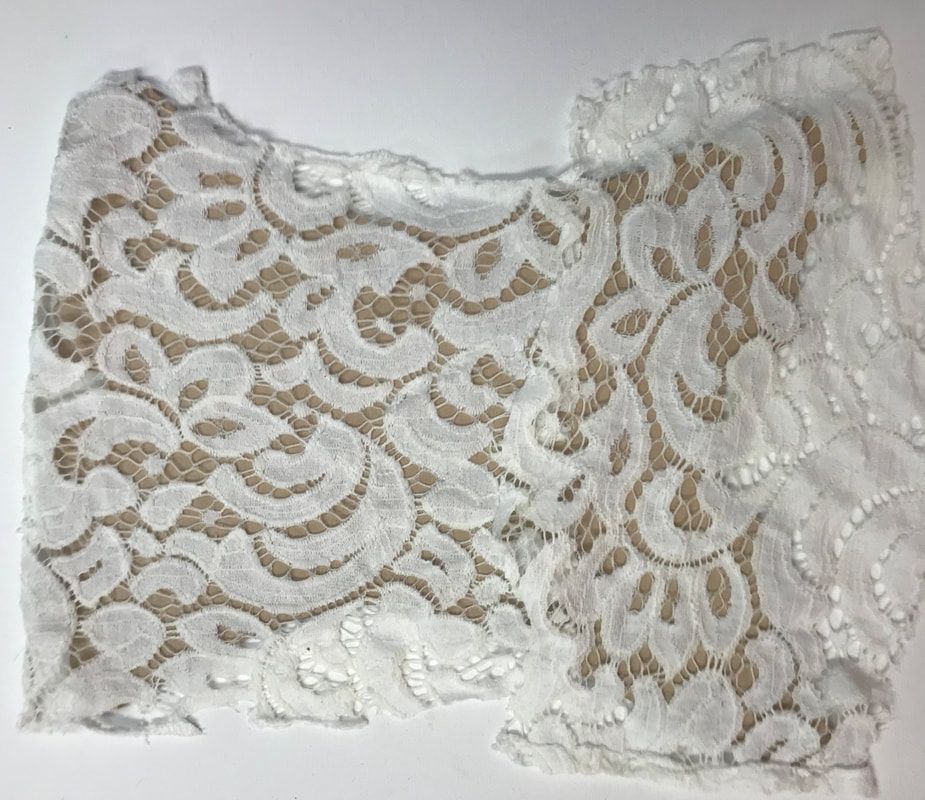
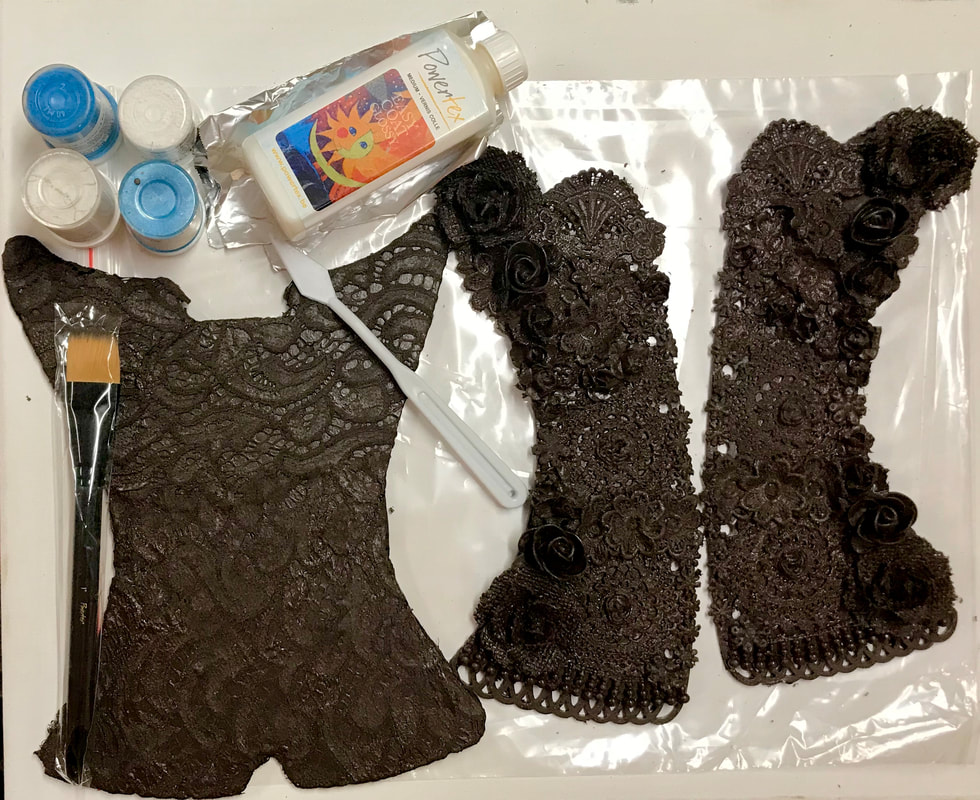
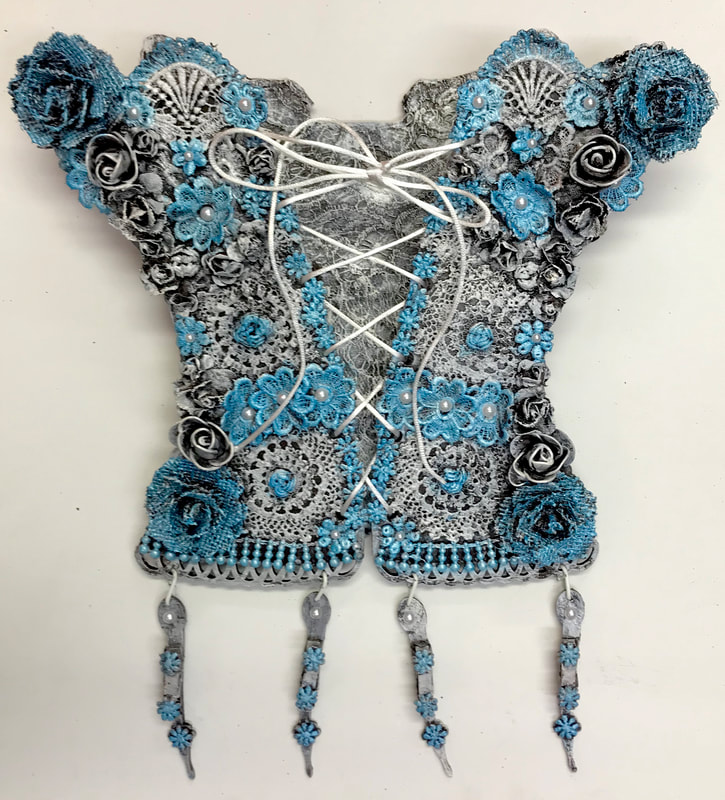
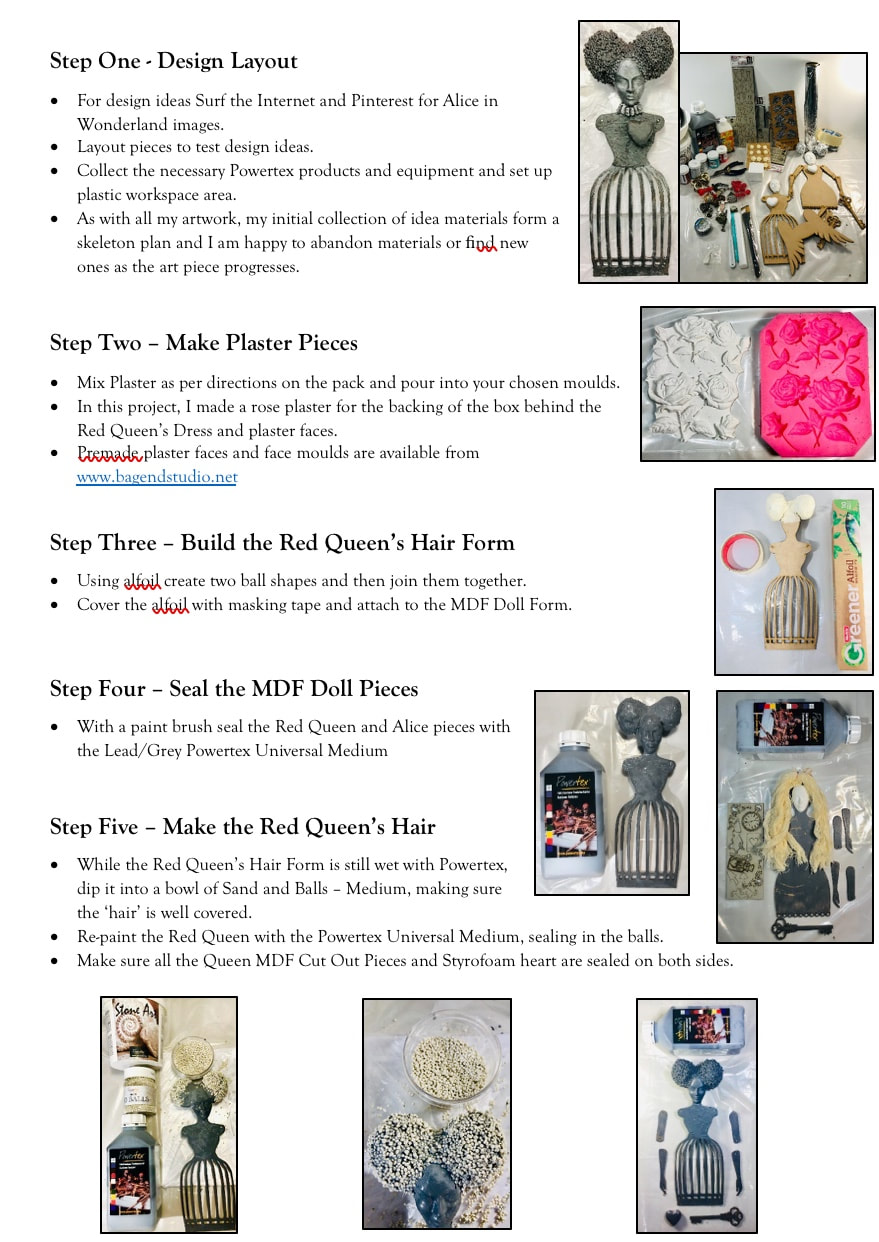
Whilst the November Theme was Naughty, I surprisingly ended up being Nice. Originally, I wanted to make the corset into an envelope holder to store important upcoming bills because I often put money in my brassier. It’s a safe place right. However, as I was running behind schedule and Erika had finished her gorgeously Naughty Moulin Corset, I felt another colour was needed. I jumped to white and the idea of a wedding corset quickly followed. In the end, my artwork ideas came together with a bit of inspiration from a very familiar wedding adage from the 1890s:
Something Old, Something New, Something Borrowed, Something Blue.
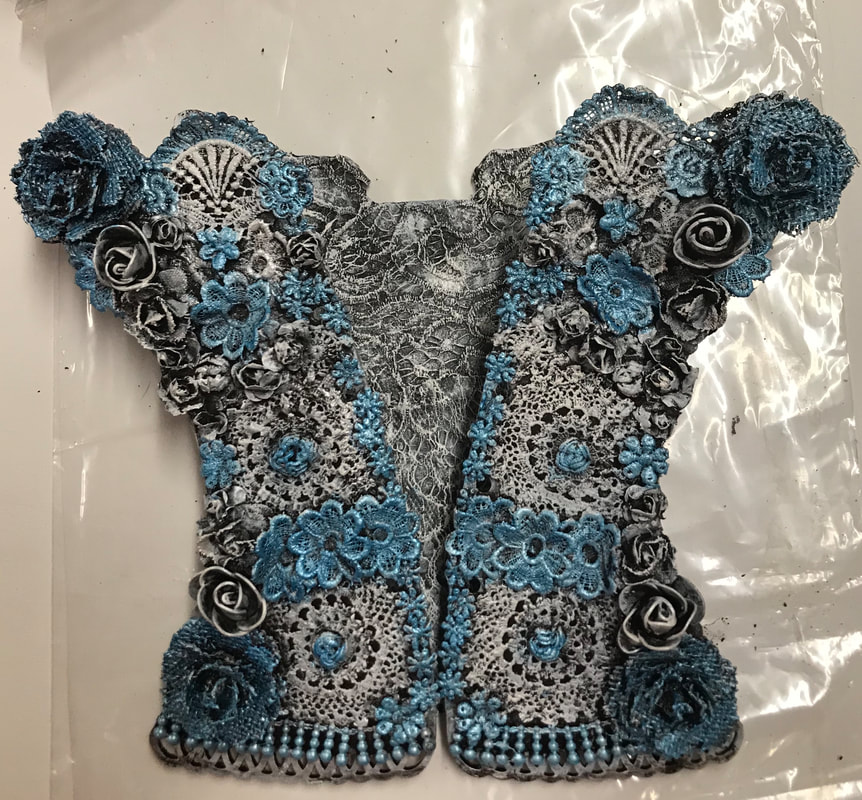
So in keeping with my adage, I used some old lace pants, on a new MDF design board and as my blog was terribly late I wrote it on borrowed time and adding the blue brought the whole piece together.
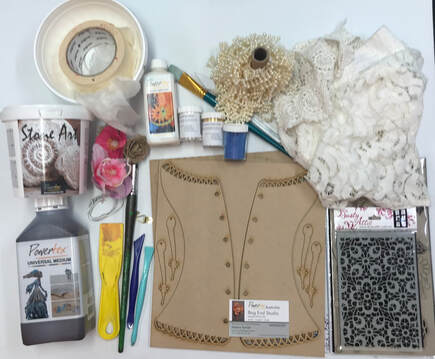
Materials:
- Corset MDF Cut Outs
- Powertex Universal Medium. Colour of your choice. I used bronze
- Stone Art
- Easy Coat Varnish - Glossy
- Powercolours colours of your choice. I used titantium white and light blue
- Colourtrix colours of your choice. I used white silver, blue lustre and red pearl.
- Note: I did not use the DA Designer Mat or the stencil in the kit.
- Triangle Hook for hanging.
- I used an old pair of lace shorts for the background MDF.
- Old Bits of lace – I focused on cutting the flowers out.
- Paper & Fabric Flowers
- Beads, stick on pearls, little pegs
- Mixing Bowl
- Paint Brushes (one for Powertex and one for pigment colours)
- Lids for Palette (or alfoil)
- Palette Knife, skewers, flat spatula, modelling tool
- Washing up Container or cleaning
- Gloves, Chux Cloth, Paper towel
- Gladwrap (to wrap Stone Art and to cover opened Powertex bottles) & Air-tight container to store clay.
Step One - Design Layout
- Collect the necessary Powertex products, equipment and bits from your useful box.
- Set up plastic workspace area.
- Cut out lace pieces and make ready to Powertex.
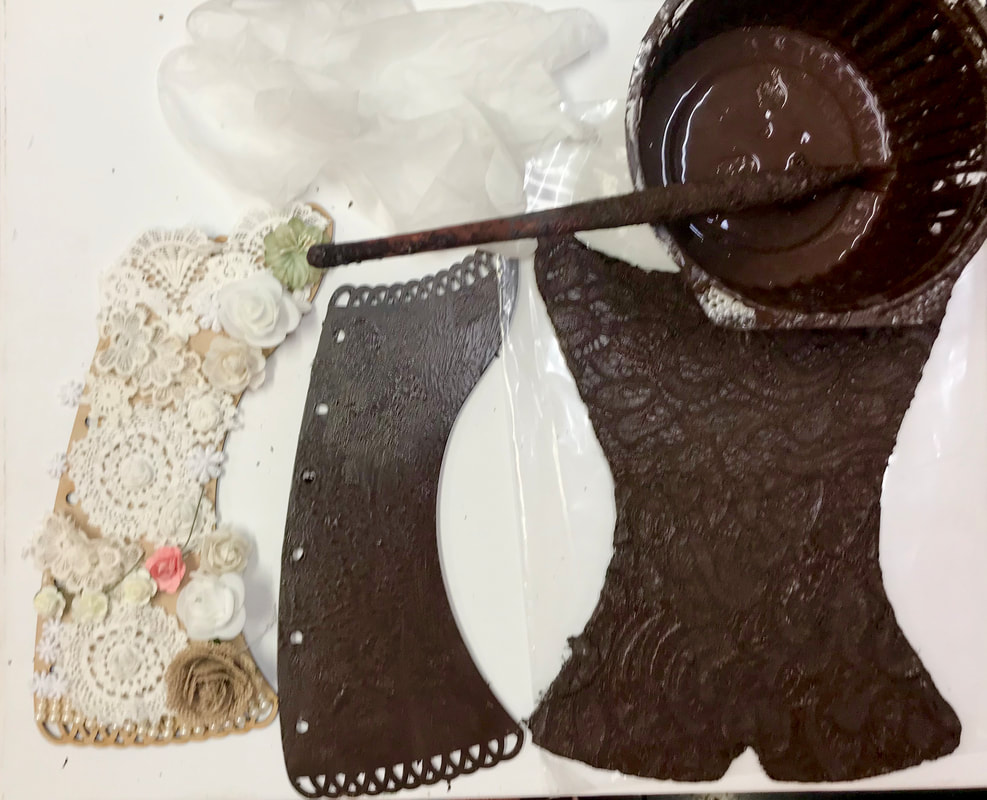
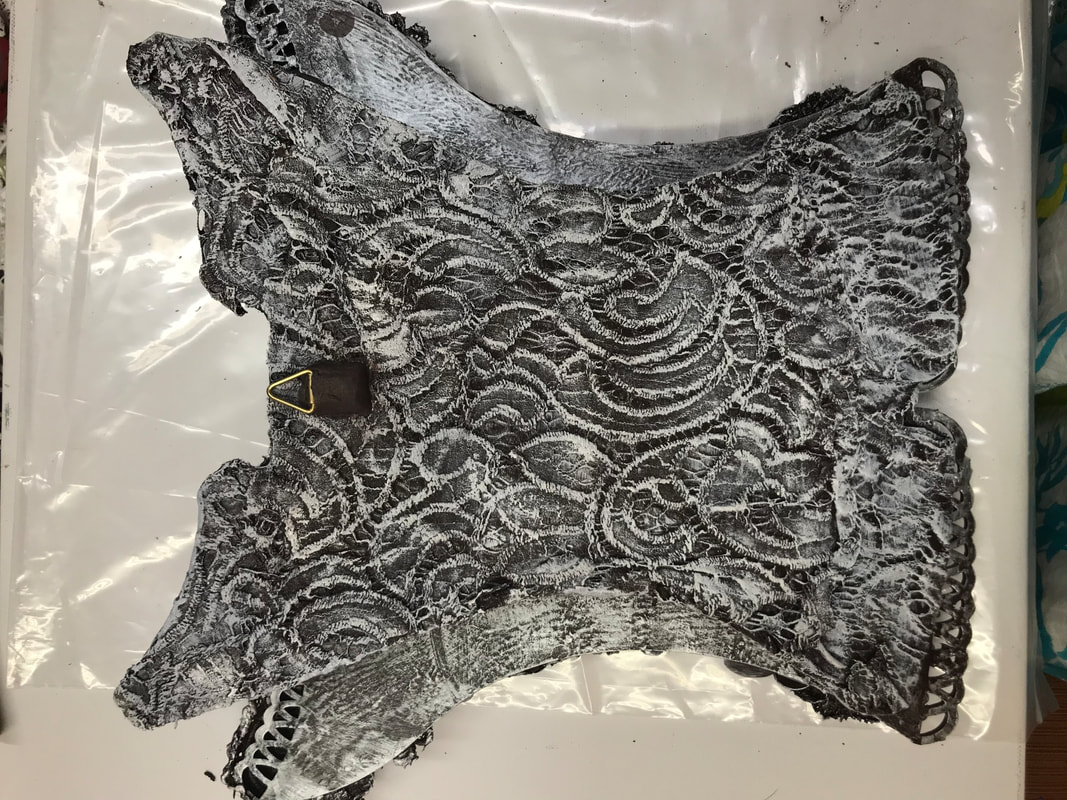
- I decided on a symmetrical theme for the front bodice section. I laid out my design on one of the front sections so that I could copy it onto the blank piece once I started powertexing.
Step Two – Seal boards and Attach Lace Pieces
- Seal the backs of all the MDF corset pieces
- Seal the MDF corset pieces, by applying Powertex with a paint brush.
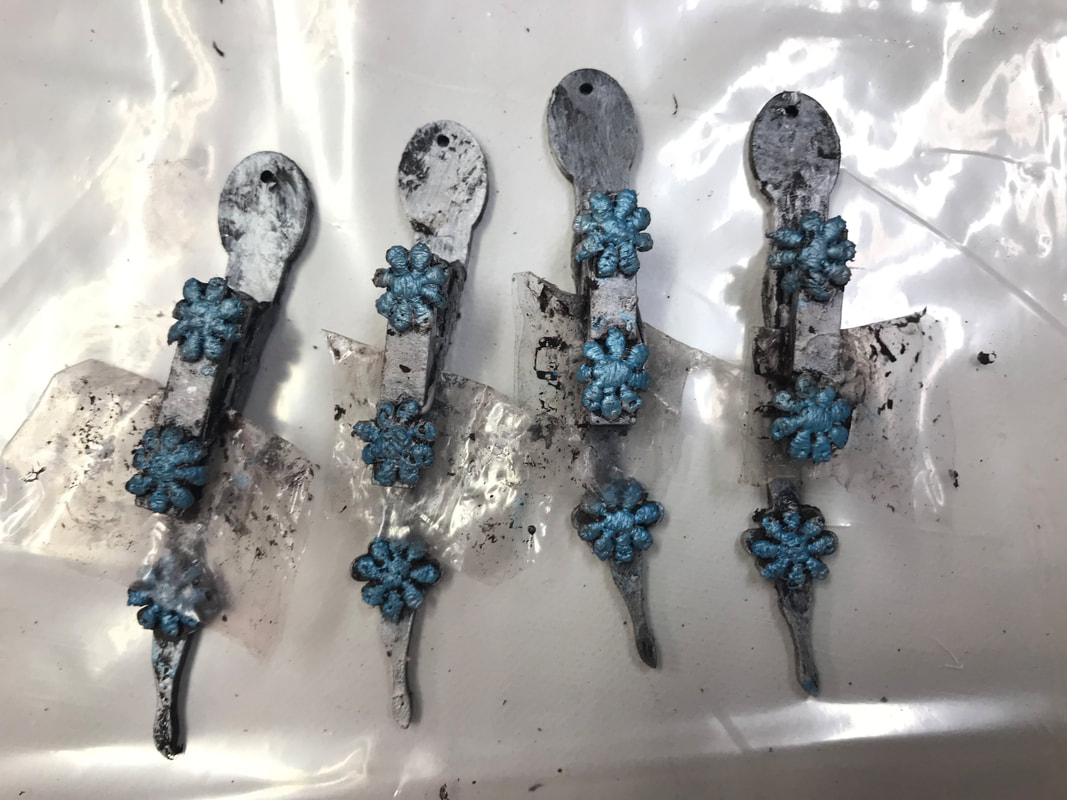
- Seal the small pegs with Powertex and peg them to a piece of plastic to avoid them sticking together.
- A hairdryer can be used to speed up drying at any stage.
- I used both a dip and paint brush method for applying the lace to the MDF boards.
- For the larger pieces of lace, using gloved hands, dip one end of the fabric into the bowl and massage the Powertex in to acquire full coverage without being too wet and shiny. Then lay it out flat onto the MDF using a paint brush.
- For the flowers, paint the pieces in your gloved hand before applying to the MDF Corset front and touch up once in position.
Step Three – Embellish
- Pour a small amount of Easy Coat Glossy Varnish into a lid or alfoil palette.
- Palette out the matt Powercolours & metallic Colourtrix pigments of your choice.
- With a very dry brush take up a small amount of the Glossy Easy Coat Varnish onto the brush tips and criss-cross your brush onto the palette to load the varnish into your brush.
- Pick up a small amount of the pigment and criss-cross your brush with it into the palette to create a paint. Repeat process using colours as desired.
- Note: - I used White Titantium and Light Blue Powercolours first for a strong base colour and then White Silver and Blue Lustre Colourtrix over the top to add sparkle. Love to Layer.
Step Four – Make Stone Art
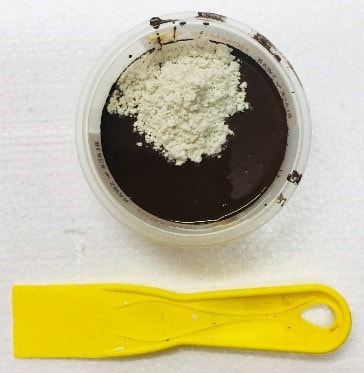
- In a bowl with a medium amount of grey Powertex Universal Medium (approx. 1/4 cup), add Stone Art (approx. 1/4 cup) and mix with a flat spatula.
- Keep adding small handfuls of Stone Art until it forms a kneadable dough like mixture that no longer sticks to the bowl or your gloves. Remove the sticky ball and add a little more Stone Art to the bowl to ‘flour’ the ball. Knead well until the clay can be pushed into a textured surface and be removed again without sticking.
- Keep the clay ball wrapped in glad wrap to prevent hardening until use.
- Left over clay can wrapped in wet chux, glad-wrapped and stored in an airtight container.
Step Five - Stone Art Pillars and Hanging Hooks
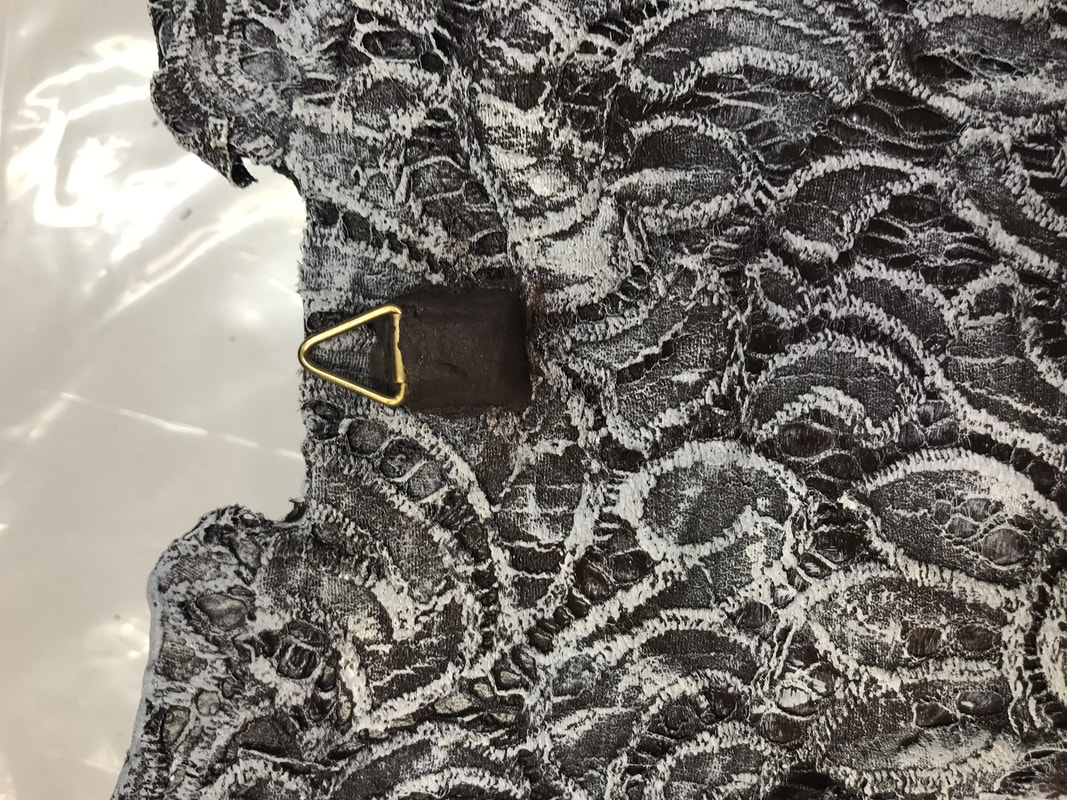
- Take a very small portion of your pre-made clay and create a square to lay the base of the triangle hook into.
- Using a little bit of Powertex, on the underside of the clay as a glue, place the clay square in the centre of the back of the base MDF.
- Press triangle hook down into the clay square to secure and cover the hook’s base with clay making sure that the hook can still swing free.
- Splay sides of the clay square to improve attachement to MDF.
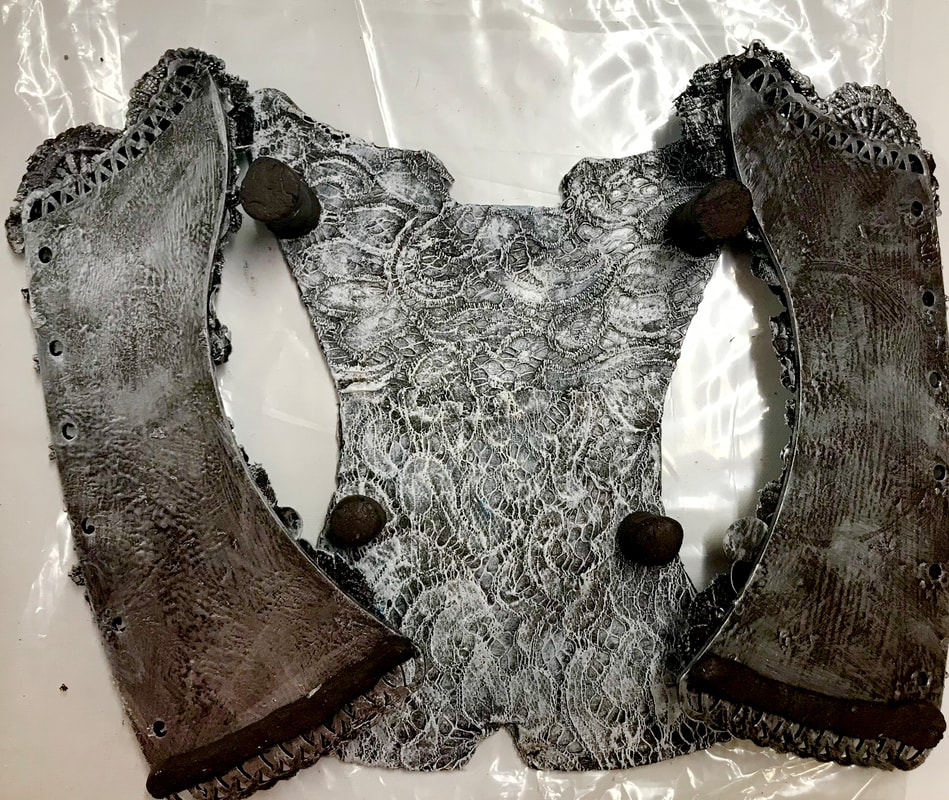
- Take a portion of your clay and roll out two long but thin sausage shapes that will fit along the base and underside of each of the front bodice sections.
- Using a larger portion roll out a long thick (4 times bigger) sausage shape. Divide into two equal pillars. Divide those portions into two but not in half – 2/3 pillar and a 1/3 pillar.
- Shape the pillars slightly to broaden the tops and bases to increase adhesion surface area.
- Place the longest pillars (2/3 size) onto the Back Bodice MDF closer to the top.
- Place the shortest pillars (1/3 size) onto the Back Bodice almost half- way down.
- Test position.
- Once happy it will sit right. Place a little Powertex on both sides of all clay sausages/pillars to assist with adhesion.
- Gently press shapes together focusing on clay points of attachment.
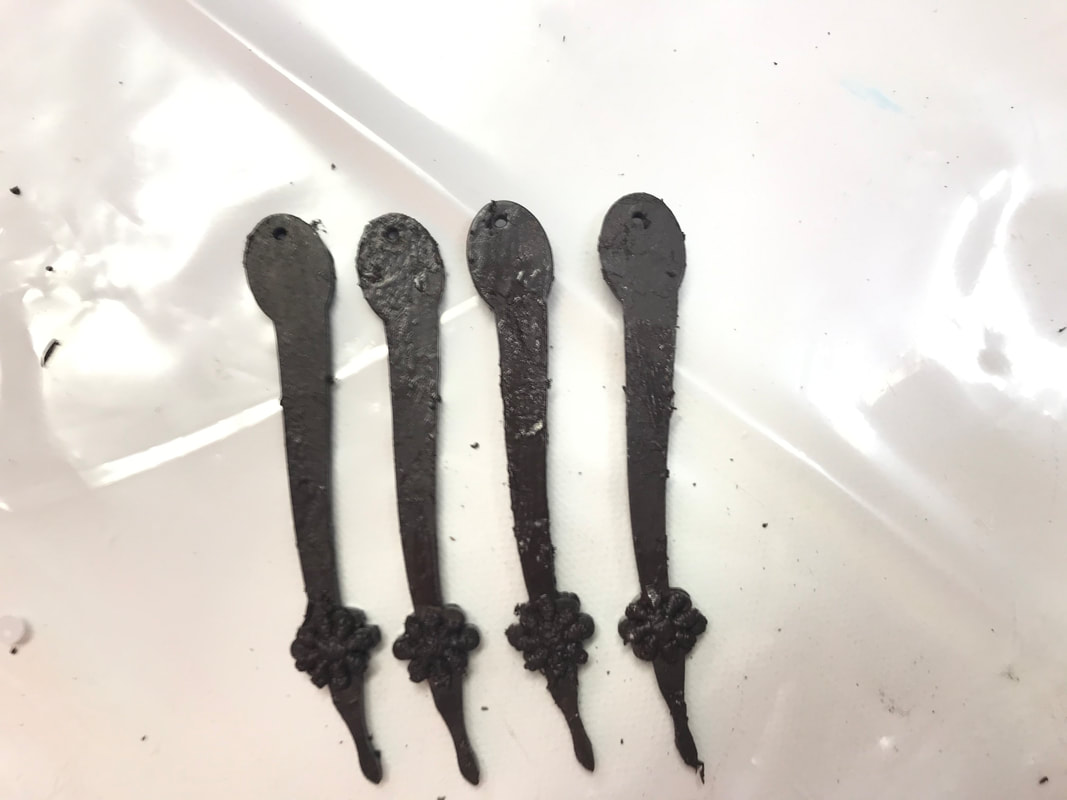
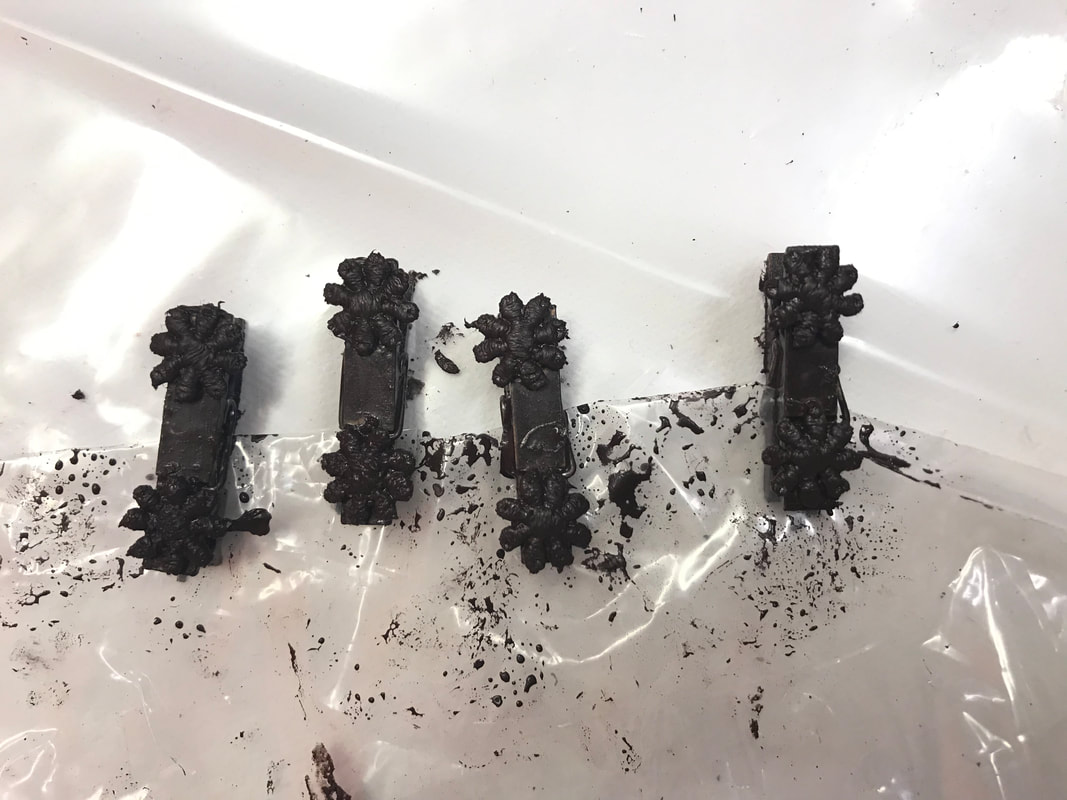
- Make four more sausages to attach the little pegs to the dangle attachments. Apply a small amount of Powertex to improve adhesion and mould sides to keep a clean finish.
- Leave overnight to dry.
Step Six – Lace Up and Hang Up.
- Touch up pillars and clay sections with colour pigments to finish off your artwork.
- Attach the dangles with wire or chain jump rings.
- Lace up the corset front.
- Note: It takes 3 weeks for your Powertex products to fully harden and cure. So I always wait that time before hanging.
Congratulations you’re finished.
I hope you had as much fun as I did.
See you next month for Christmas.
Natalie Parish from Bag End Studio.
I hope you had as much fun as I did.
See you next month for Christmas.
Natalie Parish from Bag End Studio.
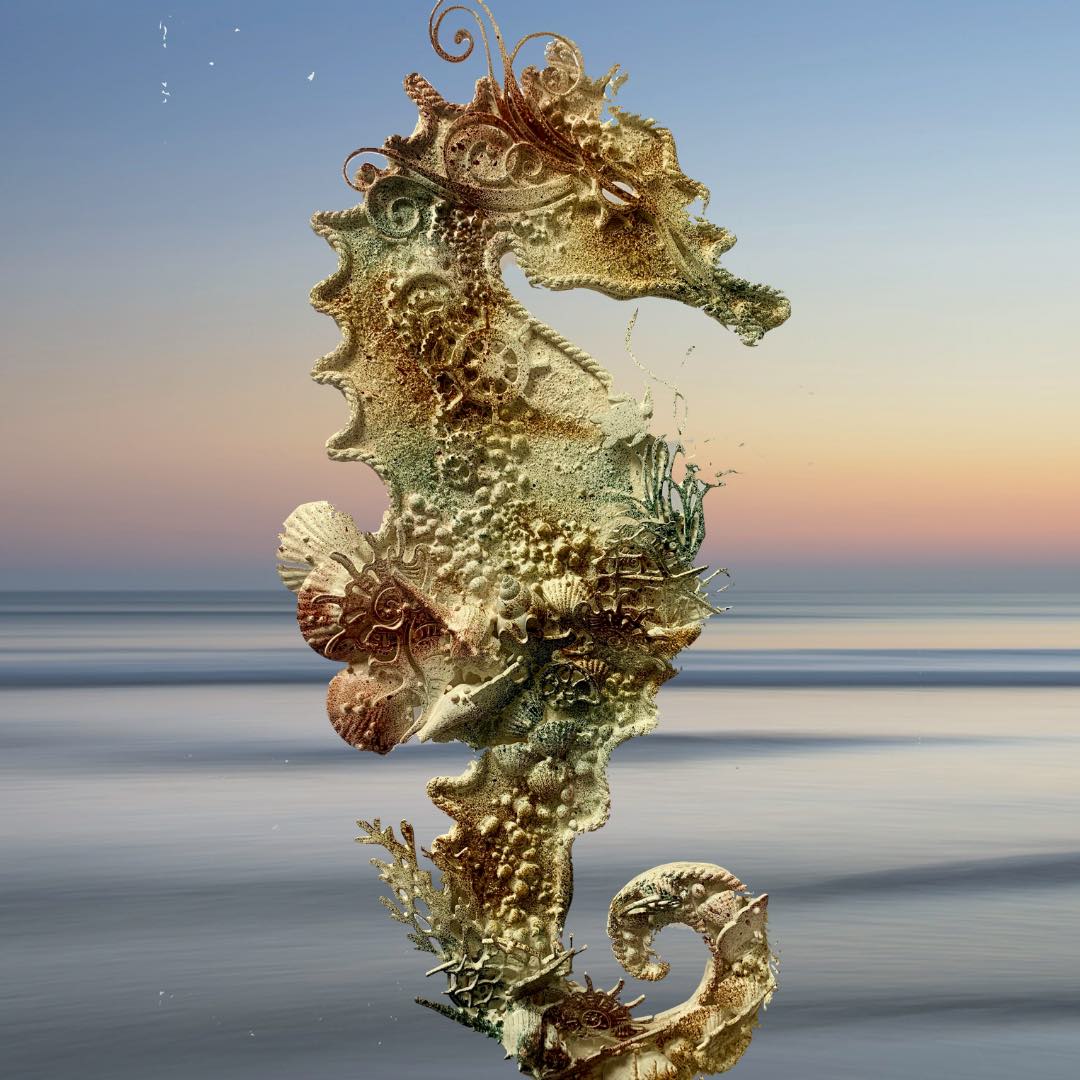
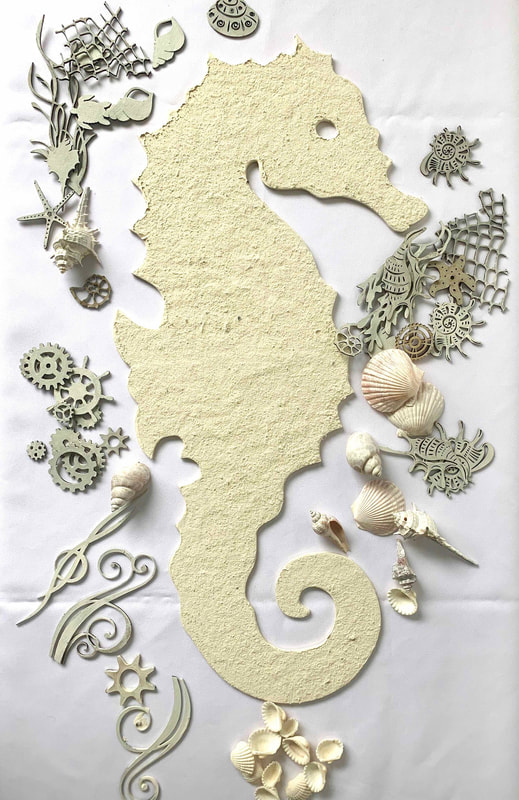
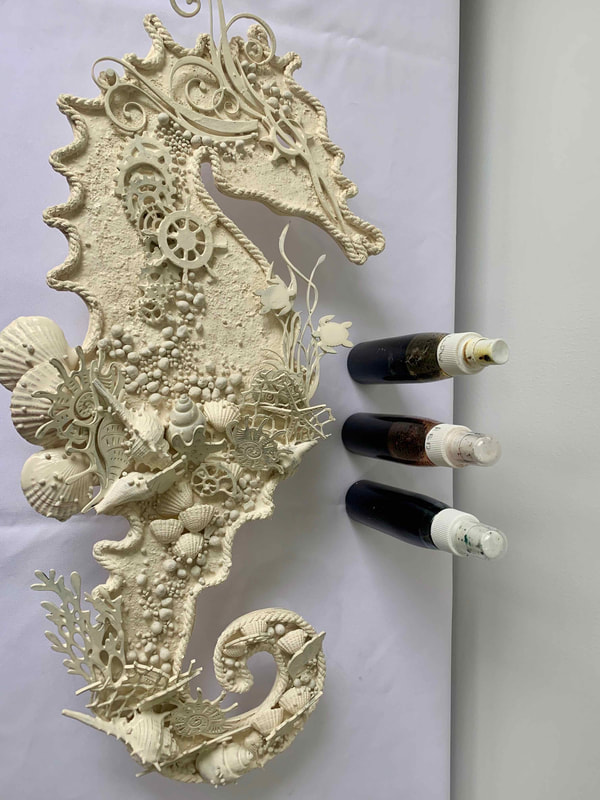
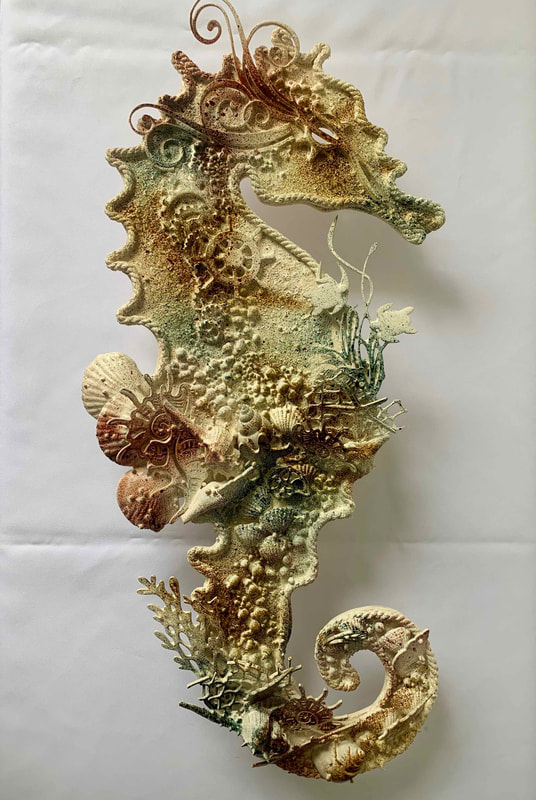
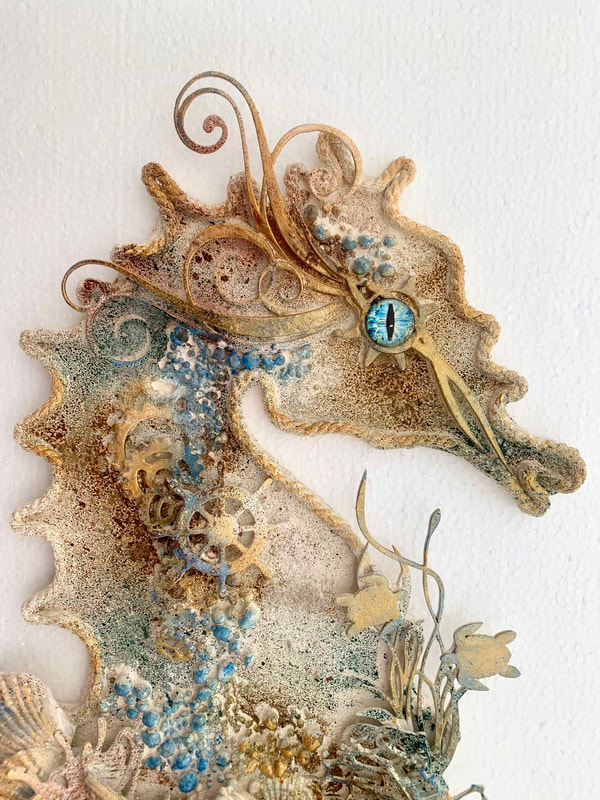
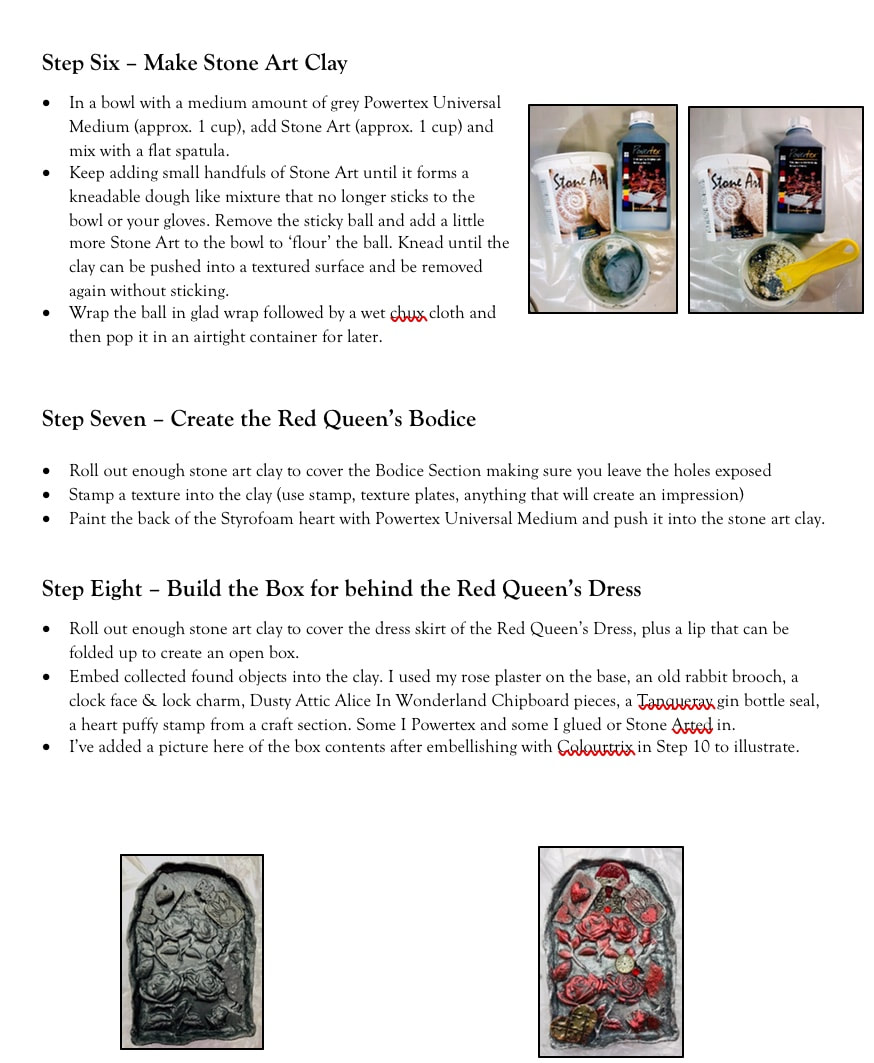
The theme for this month is Seaside and our MDF kit is this lovely Seahorse. I was very excited to start designing this project and all the embellishments just made me even more exited! So, this is how I designed my Seaside September Seahorse.The theme for this month is Seaside and our MDF kit is this lovely Seahorse. I was very excited to start designing this project and all the embellishments just made me even more exited! So, this is how I designed my Seaside September Seahorse.
Step 2.
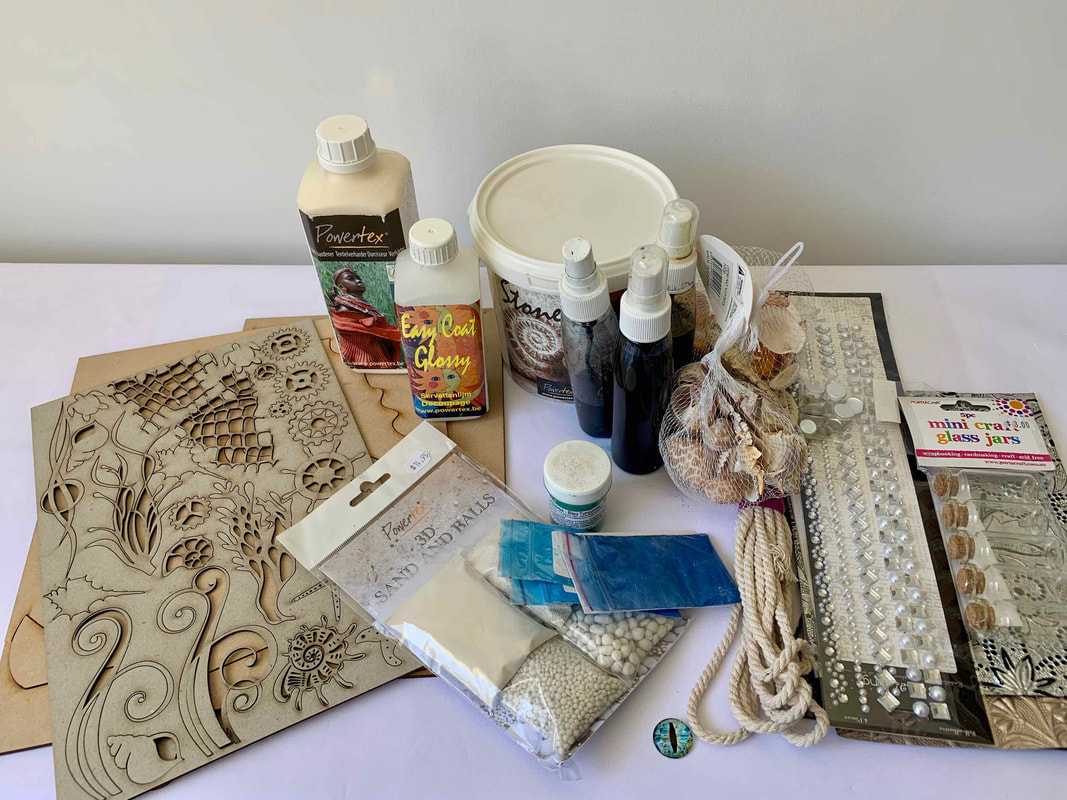
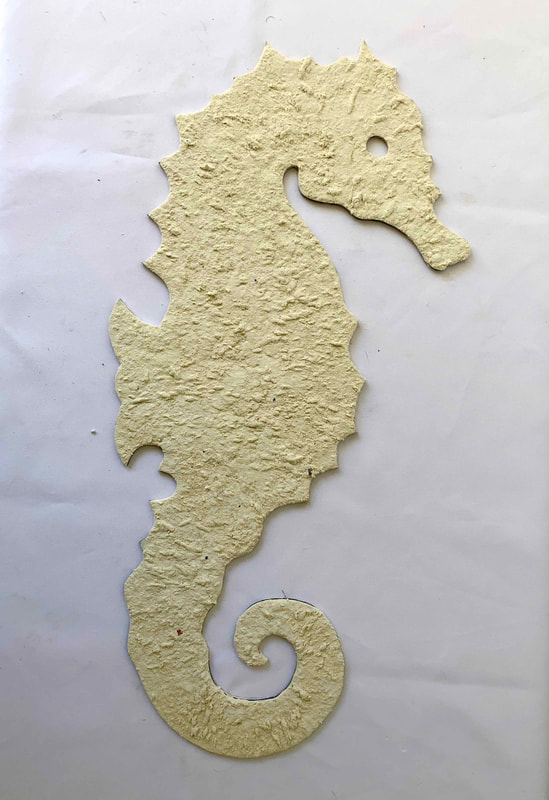
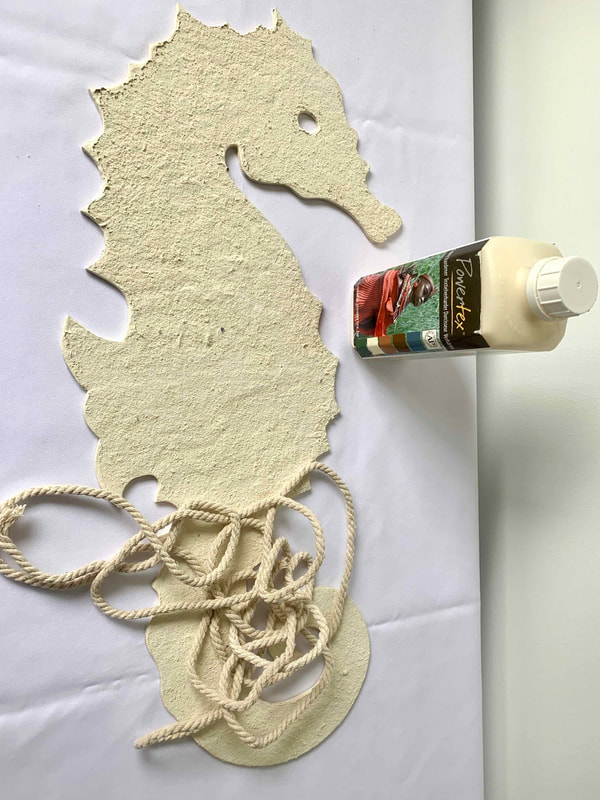
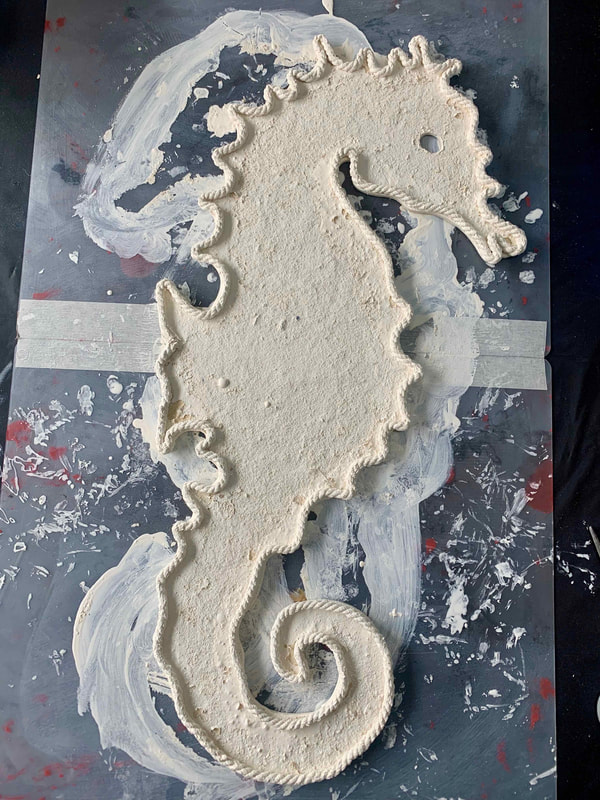
When the Stone Art is dry rub all the excess off and place it in a separate container to use for another project. Pour Powertex Ivory into a bowl. Pre-measure the rope around the edges of the Seahorse to make sure its not to long or to short. Paint a strip around the edge and dip the rope into the PowerteX Ivory and drape it around the edges of the Seahorse making sure you press it into the Stone Art.
When the Stone Art is dry rub all the excess off and place it in a separate container to use for another project. Pour Powertex Ivory into a bowl. Pre-measure the rope around the edges of the Seahorse to make sure its not to long or to short. Paint a strip around the edge and dip the rope into the PowerteX Ivory and drape it around the edges of the Seahorse making sure you press it into the Stone Art.
Step 3.
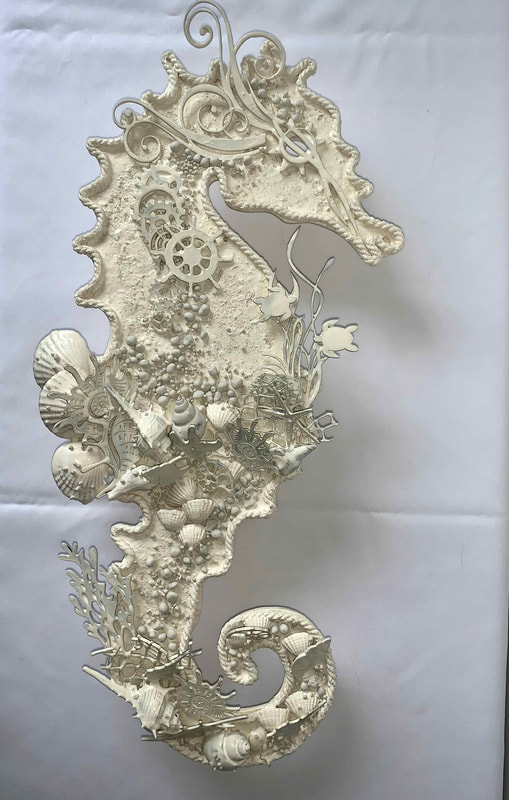
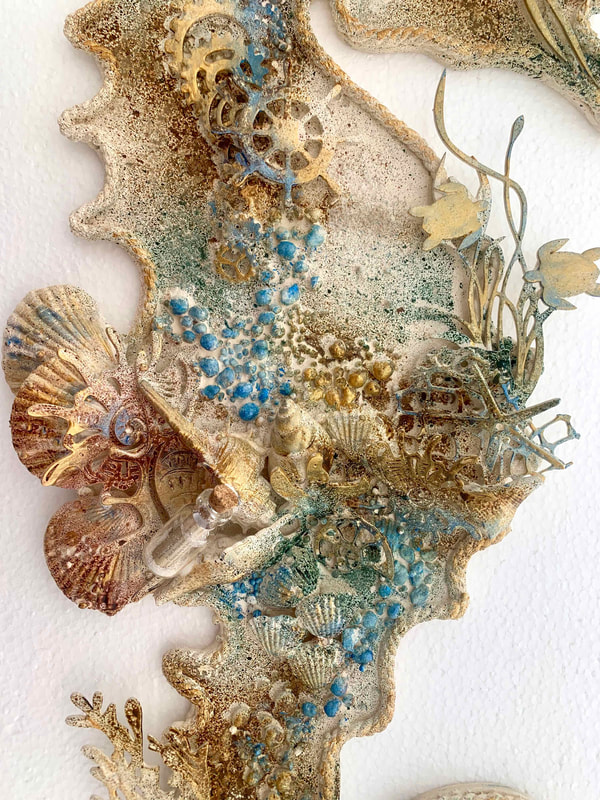
Use Powertex Ivory to paint over the Stone Art and then dip the MDF embellishments into the Powertex Ivovy and arrange them onto the Seahorse. Pour some 3D Sand and balls in some areas and leave to dry (I used a hairdryer on cold and low to speed up the process) Paint another layer over the 3D sand and balls to secure them onto the Seahorse.
Use Powertex Ivory to paint over the Stone Art and then dip the MDF embellishments into the Powertex Ivovy and arrange them onto the Seahorse. Pour some 3D Sand and balls in some areas and leave to dry (I used a hairdryer on cold and low to speed up the process) Paint another layer over the 3D sand and balls to secure them onto the Seahorse.
Step 4.
Use Bister Yellow, Blue and Red to spritz some areas with colour, as desired. Then mix Colourtrix Blue with Easycoat glossy and apply it onto the 3D Balls using a dry brush technique. Use some Easycoat glossy and Glue the eye on. I also used Colourtrix Rich Gold to highlight the shells and the MDF embellishments. More embellishments can be added anytime. I used a little glass bottle with a note and 3D sand in it to complete my Seaside September Seahorse. This project will dry quickly to touch and will harden in a few days. If you wait for this Seahorse to cure fully for 3 weeks it can
Use Bister Yellow, Blue and Red to spritz some areas with colour, as desired. Then mix Colourtrix Blue with Easycoat glossy and apply it onto the 3D Balls using a dry brush technique. Use some Easycoat glossy and Glue the eye on. I also used Colourtrix Rich Gold to highlight the shells and the MDF embellishments. More embellishments can be added anytime. I used a little glass bottle with a note and 3D sand in it to complete my Seaside September Seahorse. This project will dry quickly to touch and will harden in a few days. If you wait for this Seahorse to cure fully for 3 weeks it can
I had so much fun design and creating this project,
but I feel there’s something missing…
He needs a friend… coming soon!
“ENJOY THE RIDE”
Erika
but I feel there’s something missing…
He needs a friend… coming soon!
“ENJOY THE RIDE”
Erika
Author
Natalie Parish creates eclectic pieces of art. She is the Distributor and Design Team Trainer for Powertex in QLD Australia and enjoys sharing her passion for the product
Archives
September 2021
June 2021
December 2020
October 2020
September 2020
June 2020
May 2020
April 2020
March 2020
February 2020
December 2019
November 2019
July 2019
May 2019
April 2019
March 2019

 RSS Feed